

Rockwool Radiant Barrier Installation: The Boulder City Owner’s Guide
If you already have Rockwool in place and need a radiant barrier installed over or alongside it in Boulder City, most jobs land between $1,100 and $2,600 installed, depending on square footage, whether an air-sealing pass is included, and how much prep the attic floor needs. We handle these as same-week appointments, with a written price before any work starts. You’ll usually discover the need for one of two reasons: summer attic temperatures that push your second-floor rooms past 85°F even with the AC running hard, or a home energy audit that flagged radiant heat gain through the roof deck as your largest single loss.
Key Takeaways
- Boulder City’s desert sun drives roof-deck temperatures above 160°F in July – a radiant barrier earns its cost here faster than in milder climates.
- Rockwool mineral wool and radiant barrier solve different problems; the barrier reflects radiant heat, the Rockwool slows conductive and convective loss. They work together, not instead of each other.
- Air sealing comes first. A barrier stapled over leaky top plates traps hot attic air where you don’t want it.
- We’re an independent installer, not affiliated with Rockwool. We also work with Reflectix if that’s what you’ve already bought.
Which Rockwool Models This Applies To
Radiant barrier isn’t a Rockwool product line – it’s a separate foil-faced material that installs in the same attic assembly. What matters is how the barrier integrates with the Rockwool batt or blown product you already have. If you’re running Rockwool Comfortbatt between rafters, the barrier typically goes on the underside of the roof deck with a minimum 3/4-inch air gap facing the living space side, so the foil can reflect rather than conduct. If you have Rockwool R-15 or R-23 batts in a vented attic on the floor joists, the barrier belongs on the roof deck or as a foil-faced sheathing layer, never laid directly on the mineral wool.
To identify what you have, check the batt wrapper for the Rockwool “AFB” or “Comfortbatt” designation and the R-value printed on the poly bag. Measure the joist cavity width – 16-inch on-center framing needs a 15-1/4-inch batt, 24-inch on-center needs 23-inch. Those measurements determine whether your existing Rockwool stays put or gets trimmed back to fit the barrier’s air channel.
OEM vs. Aftermarket for This Assembly
Rockwool doesn’t manufacture radiant barrier, so “OEM” is a bit of a misnomer here. The equivalent-quality decision is whether the foil you buy meets ASTM C1313 Class A or Class B for radiant barriers, and whether it carries a perforated or solid facing. Solid foil in a humid attic traps condensation; perforated foil lets vapor pass. In Boulder City’s dry climate, solid foil is usually fine, but any home with a swamp cooler or evaporative moisture load needs the perforated version. We source from established manufacturers and won’t upsell a proprietary product – if the barrier you found locally meets spec, we’ll install it.
Signs Your Rockwool Radiant Barrier Installation Is Failing
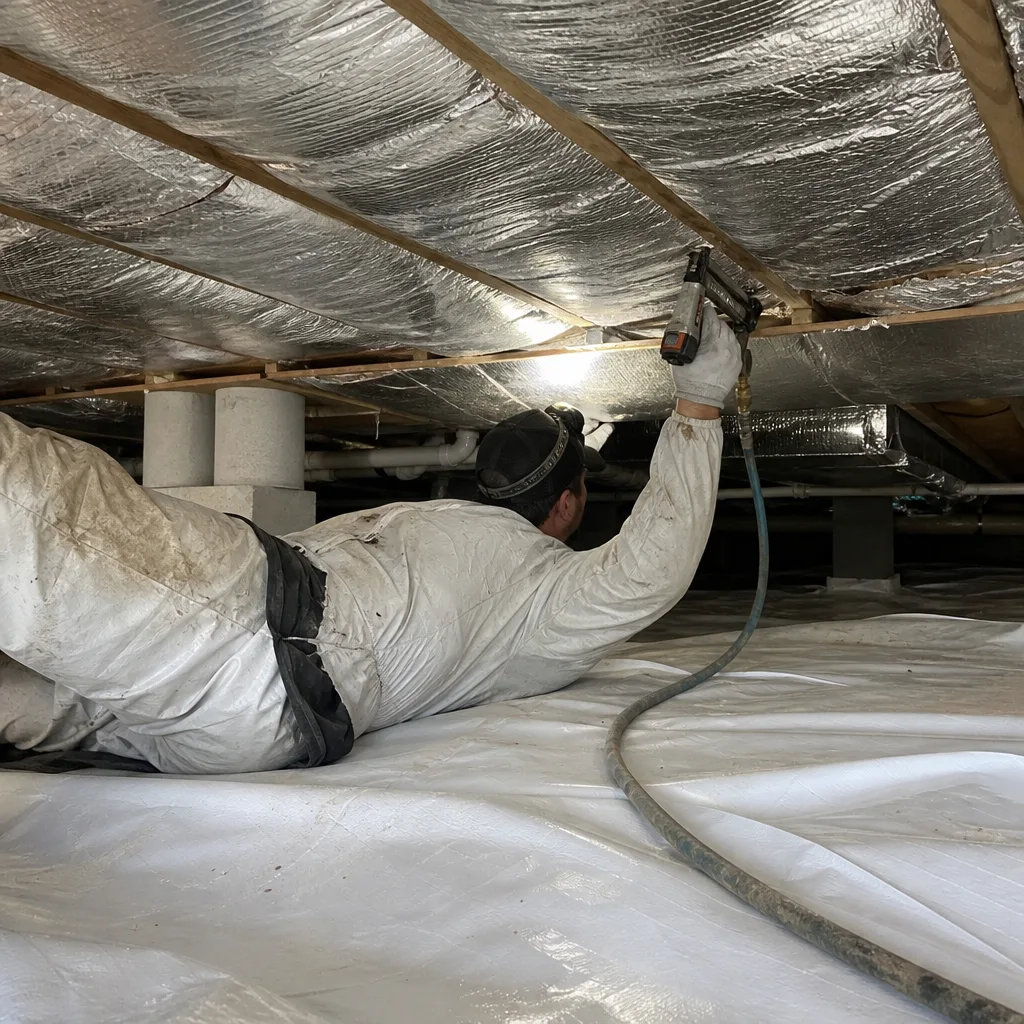
Radiant barrier doesn’t wear out the way a motor or a spring does. It fails through installation error, moisture, or physical damage. Here’s what to look for:
- Foil sagging off the rafters. Staples pull through foil over time as the roof deck expands and contracts in Boulder City’s 40-degree daily temperature swings. A sagging barrier loses its air gap and stops reflecting.
- Tears around penetrations. Can lights, plumbing vents, and bathroom fan ducting punch through the barrier. Every unsealed hole is a radiant leak, and you’ll feel it as a hot spot on the ceiling below.
- Foil-backed surface facing the wrong direction. The reflective side must face the open air gap. If it’s pressed against the deck or covered by insulation, it conducts instead of reflecting and does nothing.
- Water staining or oxidation. Any roof leak will streak the foil and dull the reflective surface. Once oxidized to a white haze, the reflectivity drops and the barrier is effectively spent. This is more common in homes with aging roof underlayment.
- Missing air gap. The 3/4-inch gap is the whole mechanism. If a previous installer stapled the barrier tight against the deck or laid it flat, the assembly reads like any other ceiling – no benefit.
Replacement Cost & What’s Included
Most radiant barrier installations in a Boulder City home between 1,500 and 2,800 square feet run $1,100 to $2,600 installed, including materials, labor, and the air-sealing prerequisite. What drives the range:
- Square footage of roof deck covered – a single-story ranch covers more roof per living square foot than a two-story.
- Air sealing before install – top plates, can lights, and penetrations. We won’t install barrier over an unsealed attic floor; that’s the order we work in.
- Access and prep – attic height, HVAC clutter, and whether old damaged foil needs removal.
- Barrier spec – solid vs. perforated foil and the ASTM rating.
You get a written scope, a written warranty, and a flat price before anyone lifts a tool. On applicable jobs, before-and-after blower-door numbers go into your record so you can see the air loss change in a single reading. Every visit closes with a Documented Photo Record. Our 365-Day Done Right Promise covers the work: if it’s not right, we make it right.
DIY or Call Us?
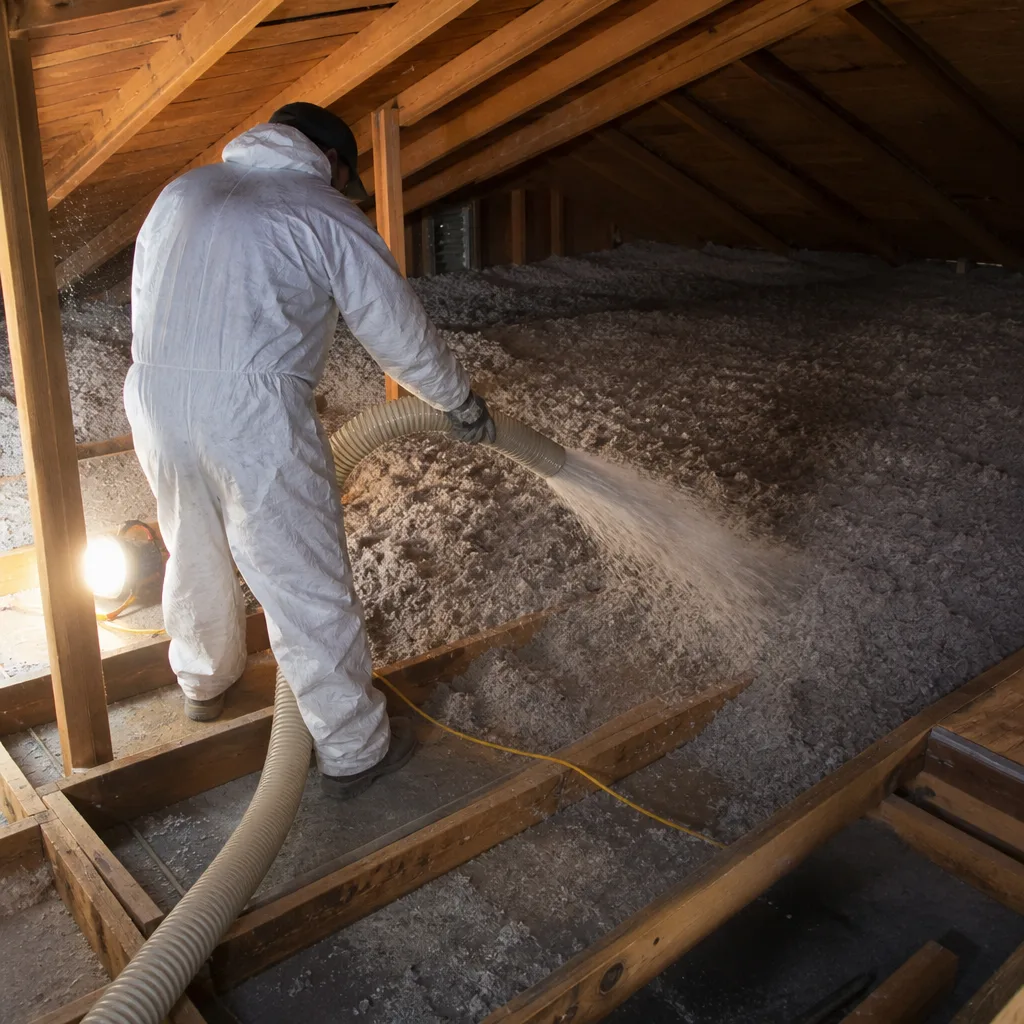
You can safely check the attic yourself: look for sagging foil, tears at penetrations, water staining, and whether the reflective side faces open air. Those are visual inspections, no tools required. What we’d steer you away from is installing the barrier yourself, and not for safety reasons – it’s a hot, cramped, fiberglass-adjacent job that rewards a fast, careful crew. The bigger risk is doing it in the wrong order: barrier over an unsealed attic floor traps hot air and can make summer cooling worse, not better. Air sealing first, then barrier, then any insulation top-up is the sequence that actually performs.
If you’ve been quoted a radiant barrier job and want a free second opinion, bring the written estimate – we’ll read it with you. Call (844) 320-7926 and a live person will pick up, any hour.
FAQs
Twenty to twenty-five years is realistic for a properly installed foil barrier in this climate, with the reflective surface degrading faster than the substrate. UV exposure and moisture are the main enemies; a sealed roof deck and perforated foil where moisture is present extend life. An annual visual check keeps you ahead of small tears.
Yes, if the damage is localized – small tears, a few pulled staples, foil sagging in one bay. We patch and re-fasten rather than re-roof the whole barrier when the existing material still has reflectivity. Call (844) 320-7926 with photos and we’ll tell you honestly whether a repair or full replacement makes sense.
Most attic-only installations run four to six hours for a typical single-family home, with air sealing adding two to three hours if it wasn’t already done. We confirm the schedule in the written scope before work starts, and text you when the crew is on the way.
We source from established manufacturers including Reflectix and other ASTM-rated foil producers, and we’re not locked into any single proprietary product – if the barrier you found meets spec, we’ll install it. We’re an independent contractor, not affiliated with Rockwool, so our recommendation is driven by your assembly, not a brand obligation.
Written by the team at Envelope Insulation Boulder City, serving Boulder City and nearby areas.