
Last updated November 17, 2026
DIY vs Professional Crawl Space Encapsulation & Vapor Barrier: What’s Safe to Do Yourself
Homeowners who DIY a crawl space vapor barrier using 6-mil poly from a home-improvement store typically spend $300 – $600 and end up with less moisture control than a properly sealed 20-mil system. Not because the work is hard, but because the materials and the seaming method are wrong before the first roll is cut. We’ve watched this play out in Boulder City crawl spaces more times than we can count: a weekend of work, a stapled sheet of thin plastic, and the same damp smell by the following spring.
This guide draws a clear line. It tells you which tasks you can safely handle yourself, which ones produce measurable failure when done by hand, and what crossing that line actually costs you in money and documentation. You’ll learn the real material gap between poly sheeting and a reinforced liner, when Boulder City requires a permit, and why the perimeter seal is where most DIY jobs quietly fall apart.
Quick Answer
You can safely DIY the prep work and, in an unobstructed crawl space with no standing water history, a simple ground-contact vapor barrier. You should not DIY full encapsulation: the perimeter wall connection, penetration sealing around plumbing and columns, and drainage provisions all require mechanical fastening, specific boot products, and detailing that no hardware store instruction sheet covers. Those are the three places where DIY encapsulation fails a moisture test within a year.
Table of Contents
- Where Exactly Is the DIY Line?
- What Can You Do Yourself in Boulder City?
- The Three Tasks Where DIY Encapsulation Fails
- 6-Mil Poly vs 20-Mil Liner: The Material Gap That Matters
- Do You Need a Permit in Boulder City?
- The Honest Cost Comparison
- The Documentation Difference
- Common Mistakes to Avoid
Where Exactly Is the DIY Line?
The line sits between “ground contact” and “full encapsulation.” A ground-contact vapor barrier is a sheet laid over the dirt floor, lapped at the seams, and weighted or lightly adhered at the edges. A true encapsulation system extends the barrier up the walls, fastens it to the structure, seals every penetration and column, and connects a drainage or dehumidification provision. Those two things are not the same project, even though both start with a roll of plastic.
If your crawl space has never held standing water, has open access, no plumbing or ductwork crossing the floor, and no history of moisture staining on the joists, a careful homeowner can lay a ground-contact barrier and see improvement. That’s a real, useful weekend project. But the moment the space has piers, a sump, a boiler, or a slab transition that gets damp after monsoon season, the job has shifted into encapsulation territory.
In Boulder City, the calcic soil and low annual rainfall can lull people into skipping moisture control altogether. But the same dry summers that make the surface look fine year-round push vapor up through the soil and into the cool crawl space whenever temperatures swing overnight. That vapor doesn’t disappear in a dry city. It condenses on the first cool surface it hits and works its way into floor framing.
What Can You Do Yourself in Boulder City?
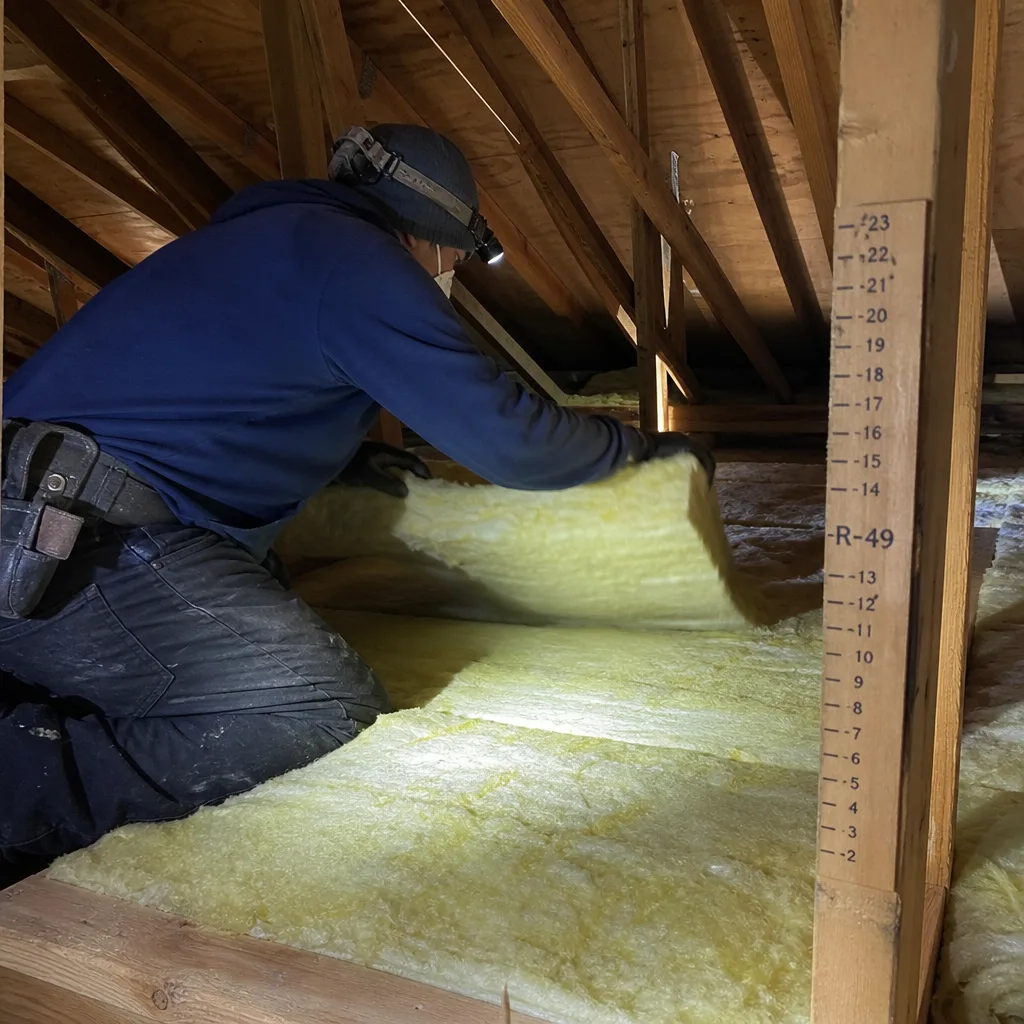
Several tasks are low-risk, genuinely useful, and worth your time. These are the ones we tell Boulder City homeowners to handle before calling anyone, and they’re the prep work a crew would otherwise bill for anyway.
- Remove the old barrier material. Pull out torn or degraded poly, de-laminated foil, and any waterlogged fabric. Bag it and haul it out. This is grunt work and it’s yours to do.
- Clear debris and stored items. Old construction lumber, broken masonry, forgotten paint cans, and leaf litter should all leave the space before anything new goes down.
- Take baseline humidity readings. A $20 hygrometer left in the crawl space for two to three days gives you a number in the 40 – 60% relative humidity range that you can compare against later. Write the readings down with the date. This is the single most useful thing you can do before any work begins.
- Install a simple ground-contact barrier in a clean, unobstructed space. If your crawl space is dry, open, and uncomplicated, lay a proper liner over the dirt, overlap the seams, and weight them. We cover the material choice below.
- Photograph everything. Before and after shots of the crawl space, taken with your phone, dated and saved. If you ever sell the house, those photos matter.
This is the same general work a professional would build on, but doing it yourself means knowing exactly what you’re looking at. That’s a benefit we’d never argue against. Our Envelope Insulation Boulder City home page explains how the larger envelope interacts with the crawl space, and reading it before you start can save you a re-do.
The Three Tasks Where DIY Encapsulation Fails
Three specific tasks cause most DIY encapsulation failures. Each one looks simple in a video and behaves very differently in a real Boulder City crawl space.
1. The perimeter wall connection
This is where the liner meets the foundation wall. Tape alone doesn’t hold. The connection has to be mechanically fastened: a termination bar, a batten strip, or an adhesive-backed seal pressed into block or poured concrete and then covered with a mechanical strip. If your foundation is concrete block, the wall surface is uneven, and a tape-only connection will peel at the first temperature swing. A liner that pulls off the wall has stopped being an encapsulation system.
2. Penetration and column sealing
Plumbing stacks, columns, support piers, and ductwork come up through the floor, and each one needs a specific boot or wrap-up product. Tape wrapped around a round pipe in a skirting of liner loosens within a season. Proper penetrations use a flexible boot bonded to both the pipe and the liner, or a mechanically fastened wrap. Without that detailing, the barrier has gaps exactly where vapor pressure is highest.
3. Any installation in a wet or graded space
If the crawl space has drainage issues, a low spot, or a down-slope entry point, an encapsulation system needs to manage water before it manages vapor. That means a drainage provision, sloping, or a dehumidification strategy. This is not a detail most homeowners can sort out independently, and it’s the single most common reason DIY encapsulation gets torn out and redone. A barrier laid over a hidden puddle simply hides the problem while it worsens.
6-Mil Poly vs 20-Mil Liner: The Material Gap That Matters
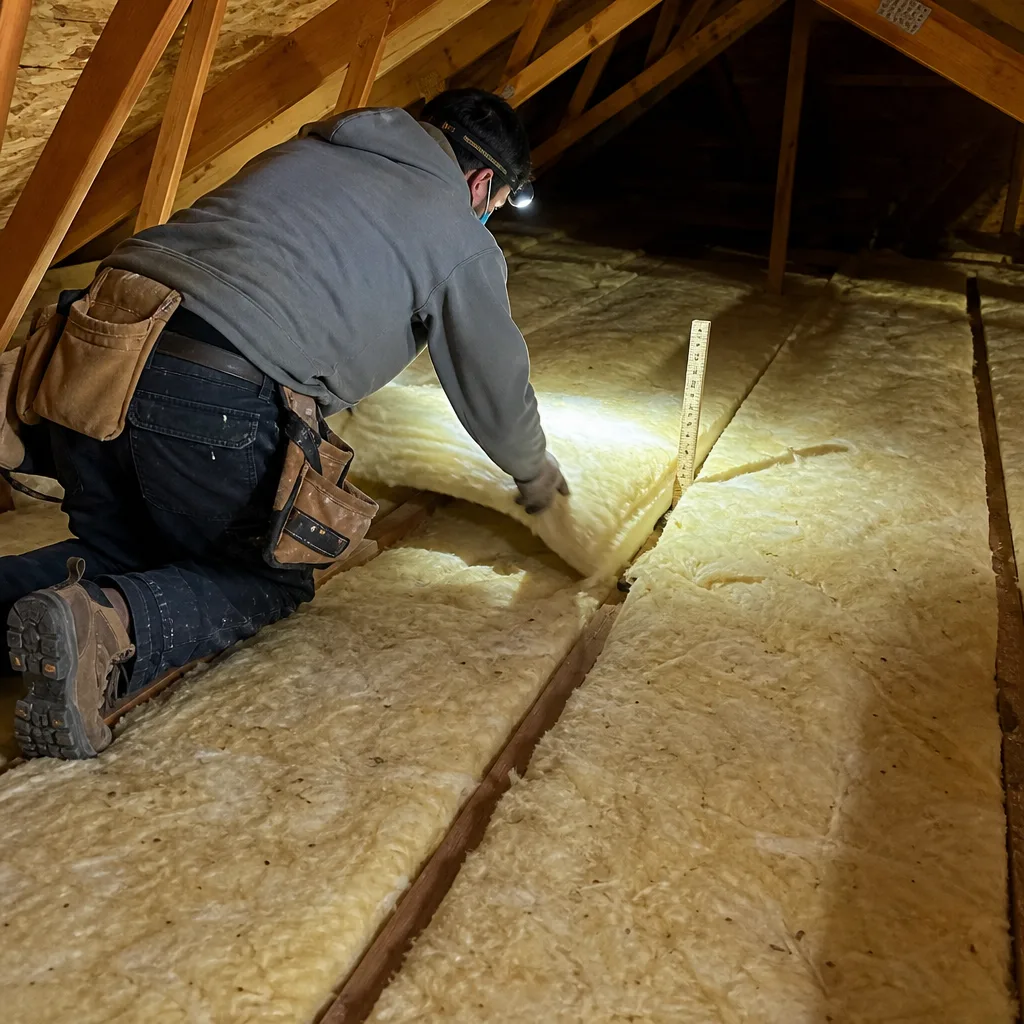
The material specification is where the invoice and the instruction sheet part company. What the hardware store sells as “vapor barrier” and what a proper encapsulation uses are separated by a wide specification gap.
- 6-mil poly sheeting. A common hardware-store roll. It meets minimal ASTM vapor-retarder ratings for wall placement, and it tears easily against gravel and pier corners. It can’t take foot traffic during a repair. It does not carry a puncture-resistance specification suitable for soil contact in a space with movement.
- 20-mil reinforced liner. A heavier liner with a scrim or reinforcement mesh that meets published puncture and tensile ratings. It resists tears at column and pier contact points, tolerates crawl-space movement, and stays intact under a technician walking through for a plumbing repair.
The difference is visible in the warranty. Thin poly in a soil-contact application tends to fail in a specific pattern: pinhole punctures, seam separation, and pulling away from fasteners. A reinforced liner addresses all three. We source barriers from Owens Corning and Johns Manville product lines for this reason: the published material specs are transparent and there is no proprietary lock-in. That lets a homeowner who wants to verify ratings actually do so.
Seams and lapping
Seams on a ground-contact barrier should be overlapped and sealed, not just stapled or weighted. A 6-mil sheet cannot carry a proper seam-tape bond at the edges without the fasteners pulling through during temperature cycling. A reinforced barrier holds a taped seam and stays put.
If your broader plan is to pair the crawl space work with attic improvements, our Attic Insulation in Boulder City page covers the sealing-first approach we take on every job. The logic is the same on both ends of the house: seal the leaks before you add insulation.
Do You Need a Permit in Boulder City?
Whether your encapsulation requires a building permit depends on the scope. Code varies by jurisdiction and by how the work is classified; ground-contact vapor barriers and structural encapsulation are treated differently. The honest answer for a homeowner deciding between DIY and professional is that you should confirm with the Boulder City building department before you start, and expect any professional encapsulation to come with permit handling already built into the written scope.
What an inspection typically covers:
- Vapor barrier installation and coverage area.
- Fastening and termination of the liner at the foundation wall.
- Penetration detailing and structural clearances.
- Combustion air and venting if any appliance is in the space.
Unpermitted encapsulation becomes a real problem at resale. A buyer’s inspector who finds a sealed crawl space with no permit record will flag it. The buyer’s lender will ask questions. You may be asked to open the space and have the work re-inspected, at your cost, before the sale closes. That’s the part that goes in a disclosure form and not in a weekend project plan.
The Honest Cost Comparison
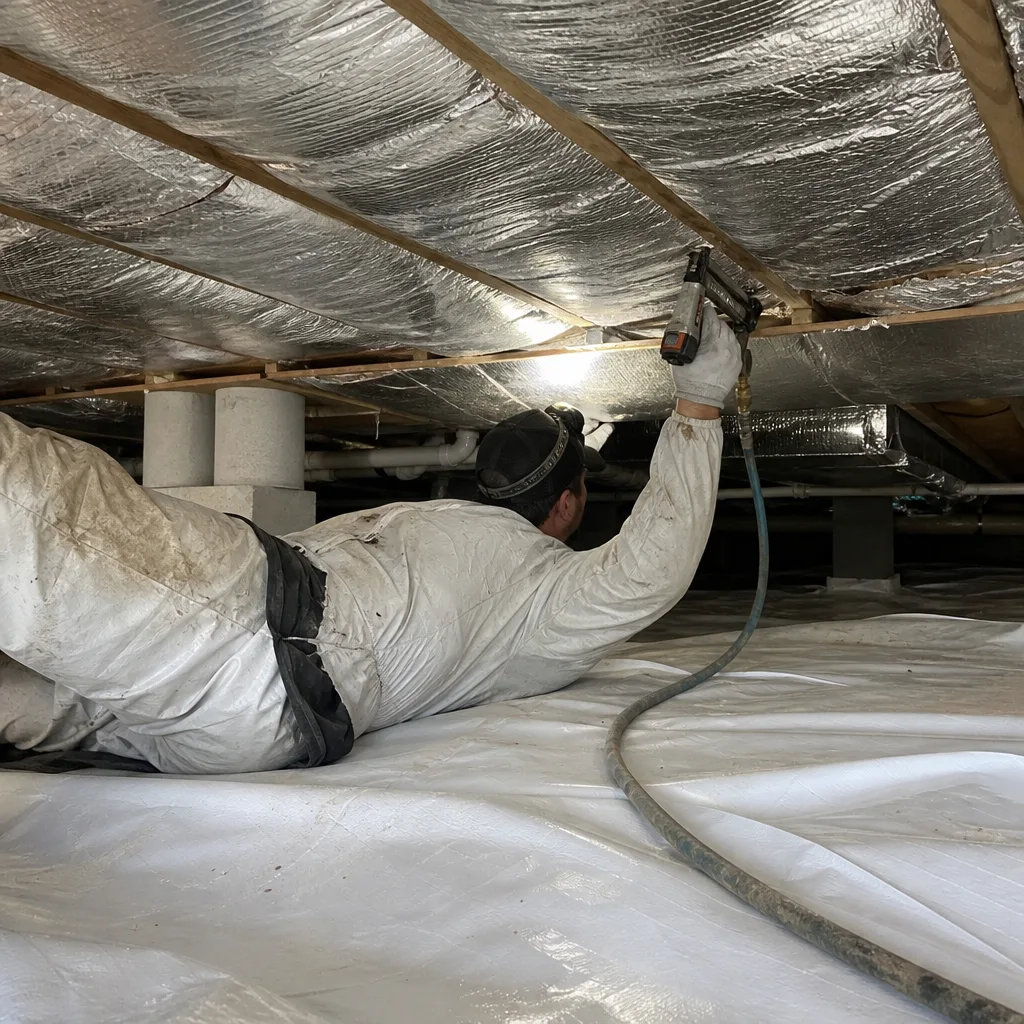
Here’s what each path actually costs when you finish the math. Our published pricing on a typical Crawl Space Encapsulation & Vapor Barrier in Boulder City page gives real line-item numbers. Compare those against what a well-equipped DIY job totals.
- DIY 6-mil poly ground barrier: typically $300 – $600 in materials. Add $80 – $150 for a fan, $20 – $40 for a hygrometer, $60 – $200 for tool rental. No documentation, no permit, no warranty.
- DIY 20-mil liner, DIY detailing: $600 – $1,200 in materials before you’ve dealt with fastener strips, boots, and tape. Most homeowners buy two or three times what they needed on the first attempt.
- Professional encapsulation, standard single-family crawl space: most jobs in the $2,500 – $6,500 range depending on square footage, wall detailing, and drainage provisions. Includes written scope, permit handling, materials specification, and documented post-job humidity readings.
DIY wins on materials. But a homeowner who spends $600, hits the perimeter connection problem, tears it out, and re-does it the second time with boots and batten strips spends more than the professional job and gets a system with no documented performance and no warranty. On a 1,500-square-foot crawl space the professional job starts looking reasonable the moment the first attempt fails.
The Documentation Difference
A DIY job ends with a pile of old poly in the yard and a phone full of photos. A professional encapsulation ends with a written scope, a photo record of the installation, and a set of post-job humidity readings taken in the same spot as the baseline. Those records matter when a buyer’s inspector or a homeowner’s insurance carrier asks for proof the work was done correctly.
For a resale in Boulder City, the documentation package is the difference between a five-minute inspection conversation and an open question that delays a closing. On any applicable job, we also provide before-and-after blower-door numbers (a pressurization measurement that shows, in a single figure, how much conditioned air the home was losing before and after the envelope work). On crawl space jobs, that reading often illuminates just how much air the crawl space contributes to the whole-house envelope.
Common Mistakes to Avoid
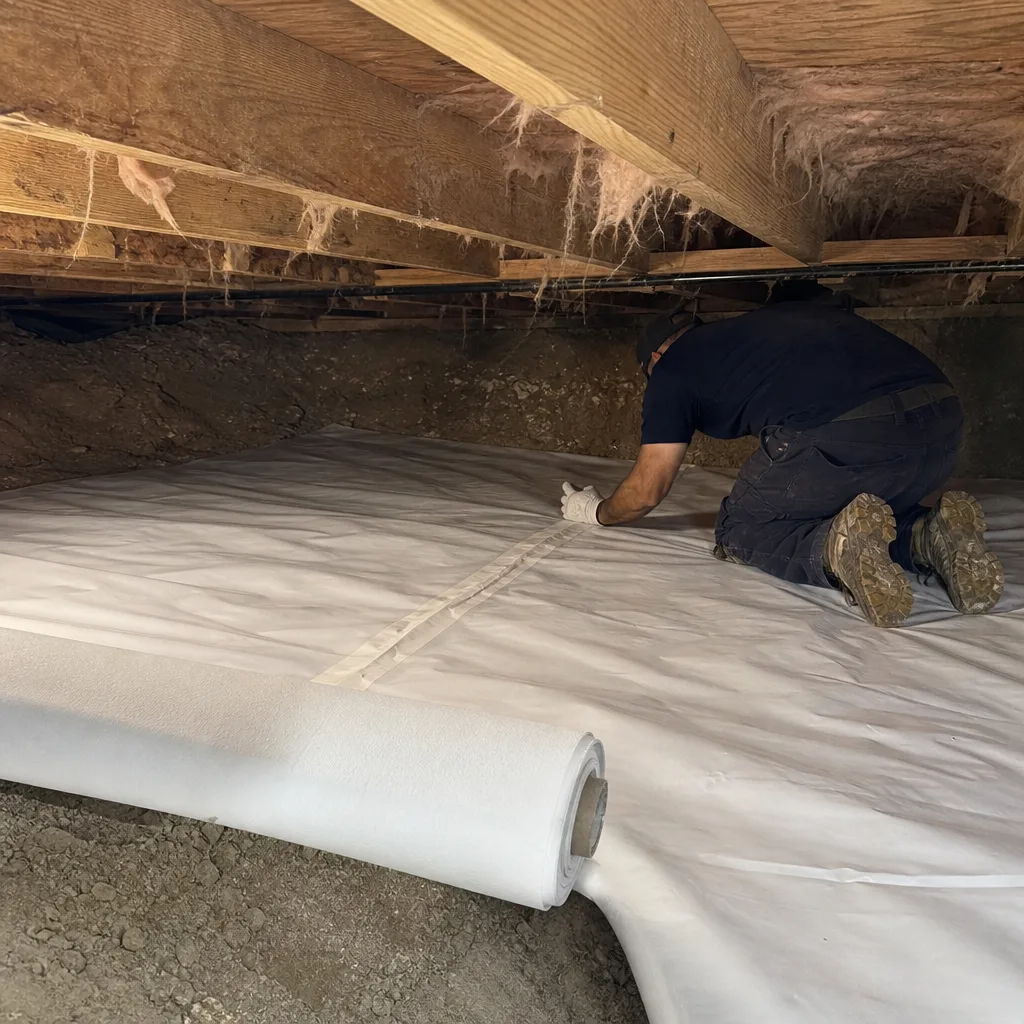
- Taping the liner to the foundation wall instead of mechanically fastening it. Tape alone peels at the first temperature swing and takes the whole perimeter seal with it.
- Laying barrier over a wet floor or hidden low spot. Boulder City crawl spaces can hold moisture at the footing interface even when the surface looks dry; a barrier over a puddle hides the problem and gives it a place to grow.
- Using 6-mil poly in a space with piers or columns. The corners tear through thin sheeting, and each tear becomes a vapor path. Reinforced liner handles the same corner for years.
- Wrapping a plumbing stack with tape instead of a boot. The pipe and the liner need a flexible, bonded transition or you’ve just created a gap with a tidy edge.
- Skipping the baseline humidity readings. Without a documented starting number, you can’t prove the job worked, and you can’t tell if it’s failing. Read the number before you lay the first sheet.
- Starting work without confirming permit requirements. A clean job done without a permit becomes a resale problem. Check with the Boulder City building department before anything goes down.
- Sealing the crawl space without addressing the wider envelope. Air movement from an unsealed attic floor means the crawl space is fighting pressure the rest of the house is losing. Seal first, then insulate. Our Spray Foam Insulation in Boulder City page describes how that sequencing works in practice.
When to Call a Professional
Call a professional if the crawl space has ever held standing water, if it has a support pier or column that needs detailing, if there’s plumbing or ductwork crossing the floor, if the foundation wall is concrete block, or if you’re planning to sell within a few years and want the work documented. Any one of those conditions pushes the job out of DIY territory and into encapsulation scope. We also recommend a professional for any case where a homeowner has already laid one barrier and seen it fail. The second attempt benefits from the detailing the first one skipped. Envelope Insulation Boulder City offers free estimates in Boulder City on encapsulation and vapor barrier work, with a written price before any work starts and a free second opinion on any competing written estimate. Call (844) 320-7926 to schedule.
Frequently Asked Questions
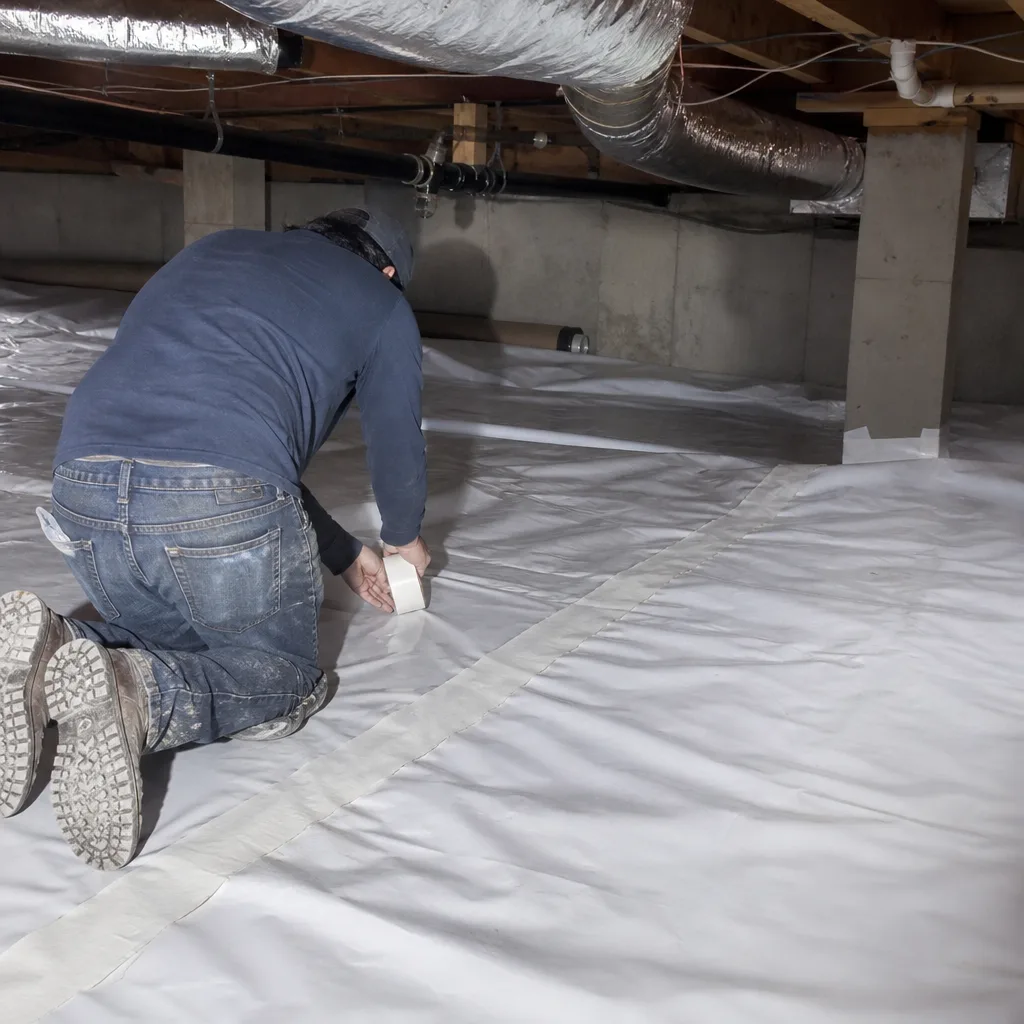
Usually only on the first attempt. A basic 6-mil barrier runs $300 – $600 in materials, but if the job has piers, plumbing, or drainage, most homeowners end up redoing it and spend more than a professional installation. The professional job includes the detailing that makes the system perform.
6-mil poly is thin vapor-retarder sheeting that tears at column and pier corners and can’t carry a mechanically fastened perimeter. A 20-mil reinforced liner has a scrim that resists punctures and holds fasteners, which is why it’s the standard for encapsulation. The specification is not cosmetic.
It depends on the scope, and you should confirm with the Boulder City building department before you start. Ground-contact barriers and structural encapsulation are classified differently. Unpermitted encapsulation often becomes a resale issue because a buyer’s inspector will flag the missing record.
Yes, in a clean, open, unobstructed space with no standing water history and no plumbing or columns, a careful homeowner can install a ground-contact barrier. That’s real progress and worth doing. The moment the space has penetration detailing or wall connections, the job crosses the DIY line.
You measure. A hygrometer left in the crawl space for two to three days before and after the work gives you comparable relative humidity readings, and a blower-door test shows the envelope impact. On applicable jobs we publish the before-and-after readings so the homeowner can verify the result, rather than take our word for it.
Most standard single-family crawl space jobs run in the $2,500 – $6,500 range, depending on square footage, wall detailing, and drainage provisions. Every job comes with a written price, a written scope, and a written warranty before anyone starts. Call (844) 320-7926 for a free estimate.
The Bottom Line
Prep work, baseline readings, and a ground-contact barrier in a dry, open crawl space are all reasonable DIY projects. Perimeter wall connections, penetration sealing, and any wet or graded space are not. The gap is not labor, it’s the detailing and materials that no big-box instruction sheet covers, and it shows up in the first wet season. If your Boulder City crawl space has piers, plumbing, or a moisture history, get a written price and a written scope before you start. That document is worth more at resale than a weekend of saved labor, and it’s the difference between a job that performs and one you’ll redo.
Envelope Insulation Boulder City treats air sealing as a hard prerequisite and publishes before-and-after blower-door readings on applicable jobs. Our technicians have up to 10 years of experience, and every job comes with a written price before work starts, a free second opinion on any competing written estimate, and the 365-Day Done Right Promise. Call us at (844) 320-7926 for a free estimate on your crawl space encapsulation or vapor barrier project. A live person answers, 24/7.
Written by the team at Envelope Insulation Boulder City.