
Last updated November 17, 2026
DIY vs Professional Radiant Barrier Installation: What’s Safe to Do Yourself
The most common DIY radiant barrier mistake isn’t crooked stapling or torn foil. It’s buying the wrong product. Walk into any big-box store in the Las Vegas Valley and you’ll find reflective bubble wrap, perforated metalized film, and true foil barriers stacked in the same aisle at wildly different prices. Only one of those categories performs as a real radiant barrier, and the wrong pick runs a Boulder City homeowner $400 to $800 while shaving almost nothing off attic heat gain. This guide names the exact product specification to verify before you buy, the attic conditions where DIY is genuinely safe, and the point where the job quietly stops making sense.
Quick Answer
DIY radiant barrier installation is safe and reasonable only in a simple gable attic with clear rafter bays, enough headroom to move and work safely, existing ventilation baffles already in place, and no HVAC equipment or ductwork overhead. Anything else – hip roofs, attic duct systems, knob-and-tube wiring, or existing insulation you’d need to move – belongs with a professional who can measure the result. If you don’t know your product’s emissivity and ASTM testing number, stop and get the spec sheet before you spend a dollar.
Table of Contents
- The product specification that narrows the field
- The DIY-safe scope: what your attic has to have
- Air gap math: the number most guides won’t give you
- When the job becomes professional territory
- Honest cost comparison: materials vs installed
- The documentation gap and what it means at resale
- Common mistakes to avoid
- When to call a professional
The product specification that narrows the field
Here’s the number that matters most: emissivity. It measures how much radiant heat a surface gives off, on a scale from 0 to 1. A true radiant barrier has an emissivity of 0.10 or lower on its reflective face. That’s the threshold a homeowner should verify before buying, and it’s tested two ways according to the trade standard: ASTM C1313 (the specification covering reflective foil and sheet material) or ASTM E408 (the test method for total normal emittance).
Ask for the spec sheet and check three things:
- Emissivity ≤ 0.10 – printed on the manufacturer’s data sheet, not inferred from the word “reflective” on the packaging.
- ASTM C1313 or ASTM E408 reference – a testing citation the manufacturer stands behind.
- Perforated or not – in humid climates, a perforated product lets moisture pass through. Boulder City sits in a dry desert basin, so solid foil is common here, but a perforated version is still acceptable if it’s tested to the same spec.
Applying those three filters leaves far fewer products than the shelf suggests. Reflective bubble wrap is a different animal – it has a lower emissivity rating than many shoppers assume and behaves more like a thin layer of insulation than a radiant barrier. That’s the mistake that costs money. Whether the store bought the right box or the wrong one, checking the spec sheet first takes five minutes and saves the entire project.
The DIY-safe scope: what your attic has to have
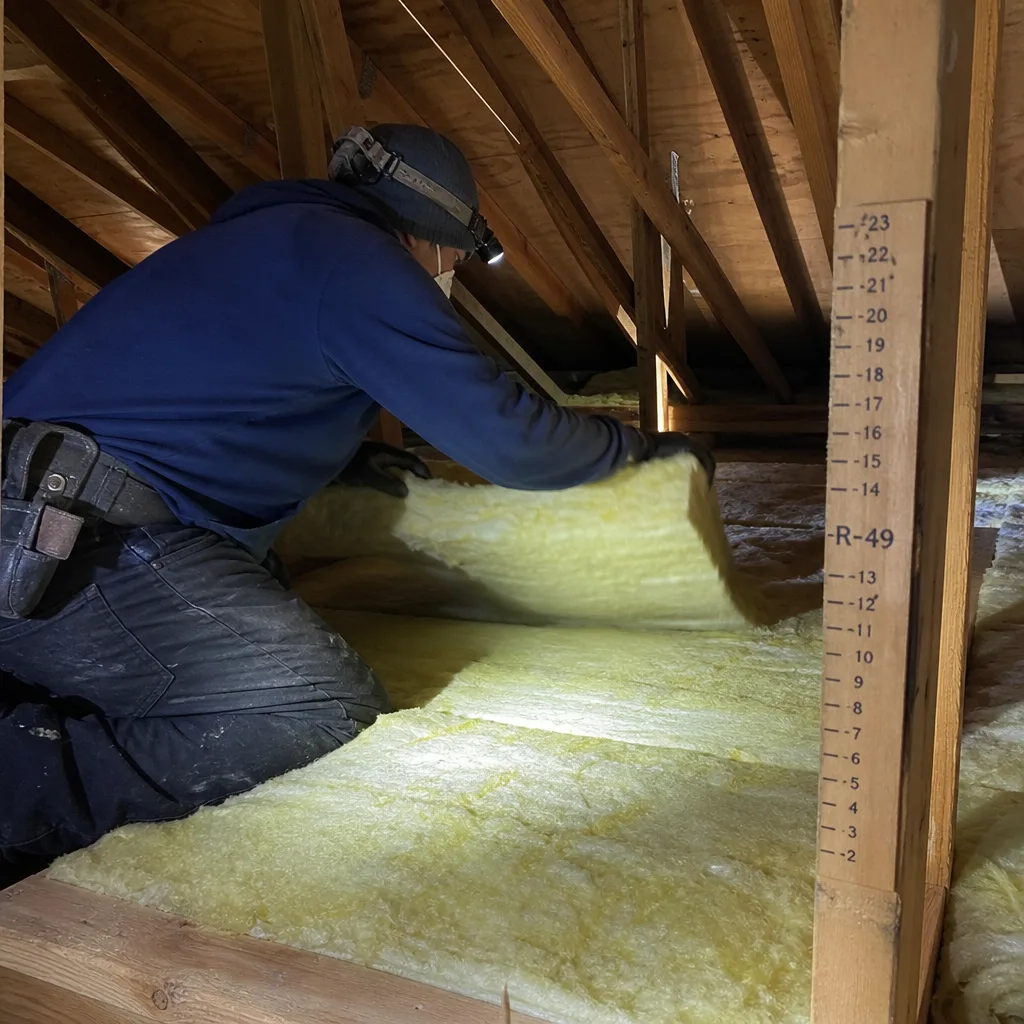
A radiant barrier works by reducing the radiant heat transfer between the hot roof deck and the cooler attic floor. It has to face an air gap to do that job. That means the installation itself is often as simple as stapling foil across the underside of the rafters, which is genuinely within reach of a physically capable homeowner. But the attic has to meet a specific set of conditions before that work is both safe and effective.
Before you buy materials, walk your attic and confirm all of the following:
- Simple gable attic – a clear bonus-room-free, single-ridge roof with straight rafter bays. Hip roofs and multiple intersecting ridges make the cut-and-fit work difficult and the air gaps inconsistent.
- Enough headroom – you need to be able to move, turn, and work safely. Attics with less than about 4 feet of clearance at the ridge are not worth the fall risk and the foil will end up poorly positioned anyway.
- Existing ventilation baffles in place – the soffit-to-ridge airflow path has to be protected. If the baffles aren’t there, radiant barrier installation is the wrong job on that day.
- No HVAC equipment or ducts overhead – an attic duct system changes everything. Foil sitting over a duct run can raise duct surface temperature or block access for air-sealing.
- No knob-and-tube wiring in the installation zone – old wiring gets brittle and should never be covered or moved by a homeowner.
If all five are true, a Boulder City homeowner with a free weekend and a helper can install a radiant barrier and see a real reduction in attic heat load. If any one of them fails, the math turns and the job shifts toward professional.
Air gap math: the number most guides won’t give you
Radiant barriers are a reflective surface, not insulation. They don’t stop heat by thickness; they stop it by facing an air gap that blocks radiant transfer. Get the gap wrong and the foil is decorative.
The trade targets an air gap of at least 0.75 inch to 1 inch on the reflective face. The gap should be continuous. Foil pressed against a rafter or touching stored items on the attic floor loses most of its reflective value in those spots. That’s why the installation step most homeowners underestimate is the offset – the installation-specific measurements between the foil face and the surface it’s reflecting away from.
Three practical points on gap math:
- Foil to the rafter underside, gap toward the attic floor. The reflective face points down into the attic space.
- Keep the gap clean. Don’t drape foil over ductwork, boxes, or insulation mounds.
- Let the deck breathe. Never staple foil tight to the roof deck itself. Trapped moisture between foil and decking has caused rot issues on roofs around Boulder City that see summer monsoon humidity come in fast.
Get the air gap right and the foil does what the spec sheet promised. Get it wrong and you’ve spent the weekend and $600 to reflect heat at a surface nobody is measuring.
When the job becomes professional territory
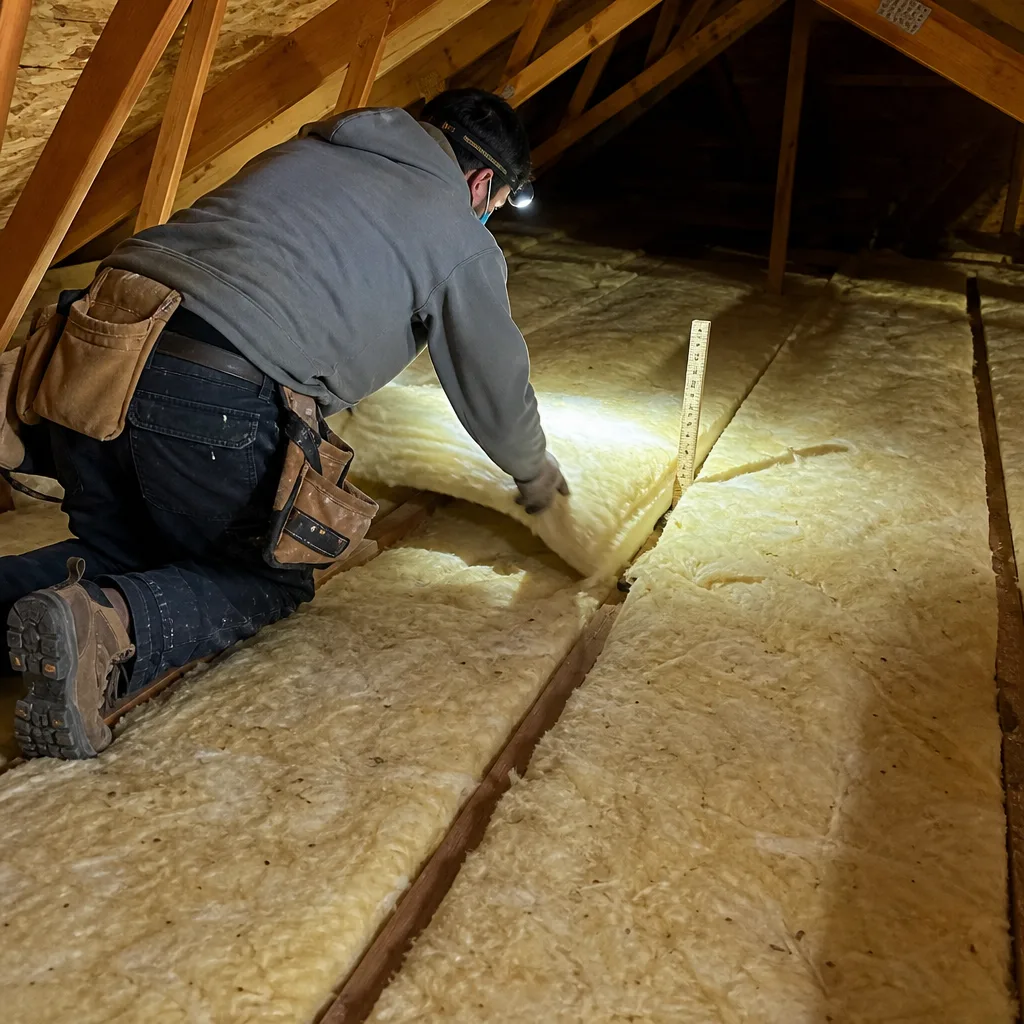
Radiant barrier installation is a good candidate for DIY in maybe a third of the attics we walk. The rest carry conditions that turn a straightforward job into a careful one.
The conditions that push the job into professional territory:
- Hip roofs and complex geometry – hip ridges require measuring and cutting around multiple planes, and air gaps vary bay by bay unless the installer is measuring them.
- Attics with duct systems – foil placement has to coordinate with duct runs, and a duct system usually means the correct first step is air-sealing the attic floor before any radiant work. Envelope Insulation Boulder City won’t blow insulation over an unsealed attic floor, and we won’t install a radiant barrier over one either.
- Knob-and-tube wiring – old wiring can’t be moved by a homeowner and needs evaluation before any reflective material goes near it.
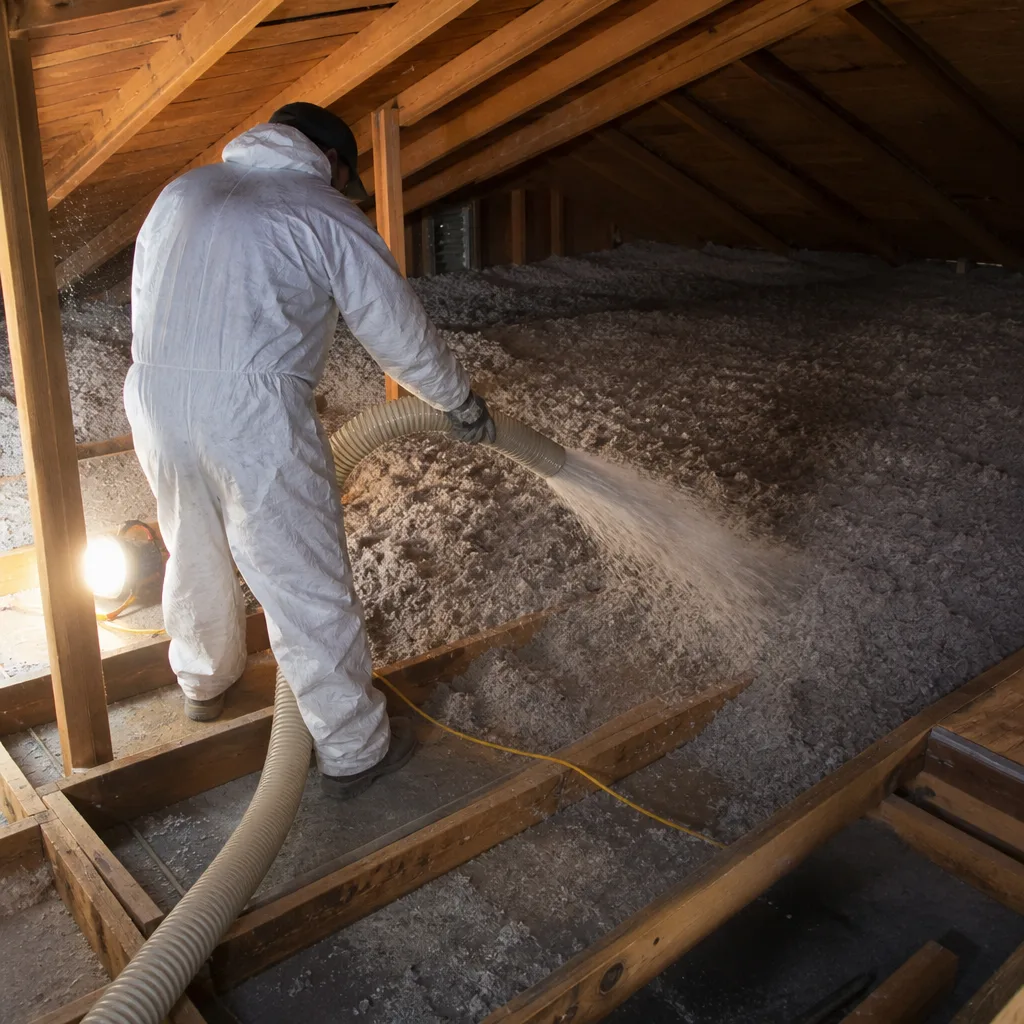
- Existing insulation that has to be moved – if the foil has to be installed from below the insulation line, that material has to be lifted, kept clean, and reinstalled. It’s a two-person job with a compressor for the loose-fill products like GreenFiber and Owens Corning.
- Attic height under 4 feet at the ridge – the fall and heat risk is too high for a weekend project.
- Any question about roof deck moisture – if you see staining, mold, or soft decking, radiant barrier goes on hold until a professional looks at ventilation.
Boulder City’s attic heat in summer pushes 130°F to 150°F on the deck. That’s not a comfortable work environment, and it’s not one where a homeowner should be learning on the fly.
Honest cost comparison: materials vs installed
Here’s the cost case in plain numbers for a typical Boulder City home with a 1,000-square-foot attic footprint. The ranges below are what we see on written estimates and what the shelf prices actually total once you factor in the extras that installation guides leave out.
| Line item | DIY materials-only | Professional installed |
|---|---|---|
| Radiant barrier material | $0.25-$0.50 per sq ft | Included |
| Tape, staples, foil knife, gloves, safety glasses | $40-$80 | Included |
| Ventilation baffles (if not already present) | $2-$4 each | Included |
| Air-sealing materials (foam, caulk, top plate fill) | Often skipped in DIY | $300-$900 as a separate line |
| Estimated total for 1,000 sq ft | $300-$700 | $1,200-$2,500 |
| Labor hours (homeowner budget) | 14-20 hours | Not applicable |
| Attic temperature measurement | Not performed | Documented on every applicable job |
The honest read: DIY saves roughly $500 to $1,800 per 1,000 square feet on this job, assuming your attic clears the safe-scope conditions. The trade is your time, your heat exposure, and the fact that no one is going to measure whether the barrier actually changed attic temperature. If your home also needs the attic floor sealed and insulated – and most Boulder City homes built before 2010 do – the professional scope covers more than the radiant barrier, and the pricing is structured together.
For a broader look at what professional work on this envelope layer costs when it’s bundled with attic insulation in Boulder City, we keep those ranges on the service page.
The documentation gap and what it means at resale
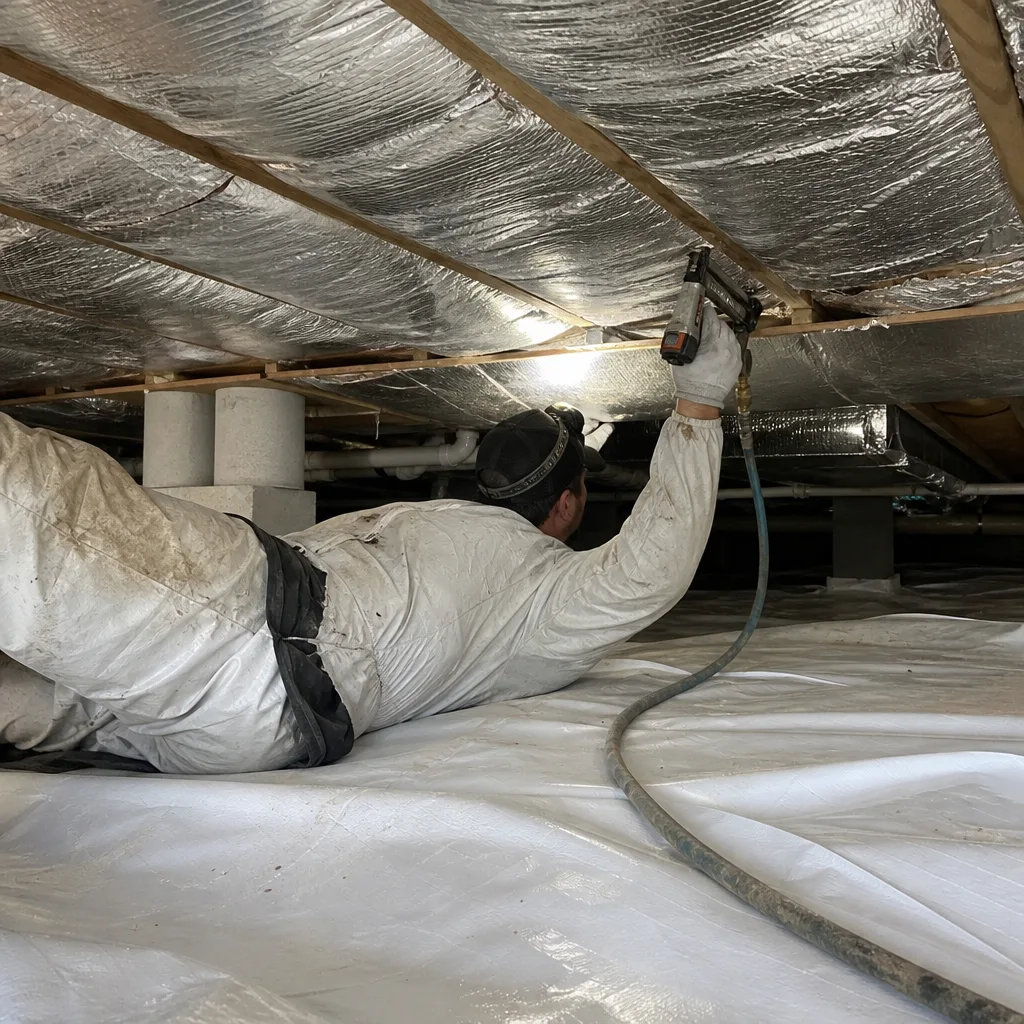
A DIY radiant barrier installation leaves a product box, a receipt, and a staple pattern. What it doesn’t leave is a before-and-after attic temperature differential record. That record matters more than most homeowners realize – on the resale disclosure, in the conversation with a future buyer’s inspector, and in any performance dispute if the barrier doesn’t deliver what the label promised.
What a homeowner can self-document after a DIY install:
- Photos of the attic rafters with the foil installed, dated, showing the air gap between foil and attic floor.
- The product spec sheet with emissivity and ASTM testing citation, saved to cloud storage in case the packaging is lost.
- Receipt of purchase and the square footage covered.
- A simple attic thermometer reading on a hot afternoon, taken before and after, with the outdoor temperature noted.
What requires professional measurement:
- Attic temperature differential recorded on matched weather days before and after.
- A blower-door test – a pressurization reading that shows, in one number, how much air your building envelope is losing before and after the air-sealing step that typically precedes or accompanies a radiant barrier install.
- A documented photo record signed off by the installing contractor.
On every applicable job, Envelope Insulation Boulder City provides before-and-after blower-door readings and a Documented Photo Record. The blower door number is the single figure a future buyer’s inspector can verify. A DIY attic doesn’t produce that figure.
Common Mistakes to Avoid
- Buying reflective bubble wrap instead of foil. Bubble wrap is sold in the same aisle as true radiant barrier, and the $300 you save up front isn’t a saving at all if the emissivity doesn’t meet the 0.10 threshold. Verify the spec sheet before purchase, not after.
- Stapling foil tight to the roof deck. This is the single most common cause of trapped moisture in Boulder City attics. The foil needs an air gap, and the deck needs to be able to dry. Reflective face down, gap toward the attic floor.
- Covering the soffit ventilation path. The soffit-to-ridge airflow needs baffles to stay open. Foil stapled across the eaves blocks the intake and pushes attic temperatures up, not down.
- Installing over an unsealed attic floor. Radiant barrier doesn’t stop air leakage through can lights, top plates, or penetrations. Sealed first, then insulated – in that order. Foil over an unsealed attic floor is polishing a leaky bucket.
- Skipping the attic walkthrough before buying materials. Hip roofs, attic duct systems, and knob-and-tube wiring each change the scope. Walking the attic first with a tape measure and a flashlight saves a return trip to the store.
- No before-and-after readings. Without a temperature record, you can’t tell if the barrier is performing. Even a simple attic thermometer log beats nothing.
- Working an attic over 120°F without a plan. Boulder City summer attics regularly break 140°F on the deck. Work morning hours, take water every 20 minutes, and never work solo in an attic.
When to Call a Professional
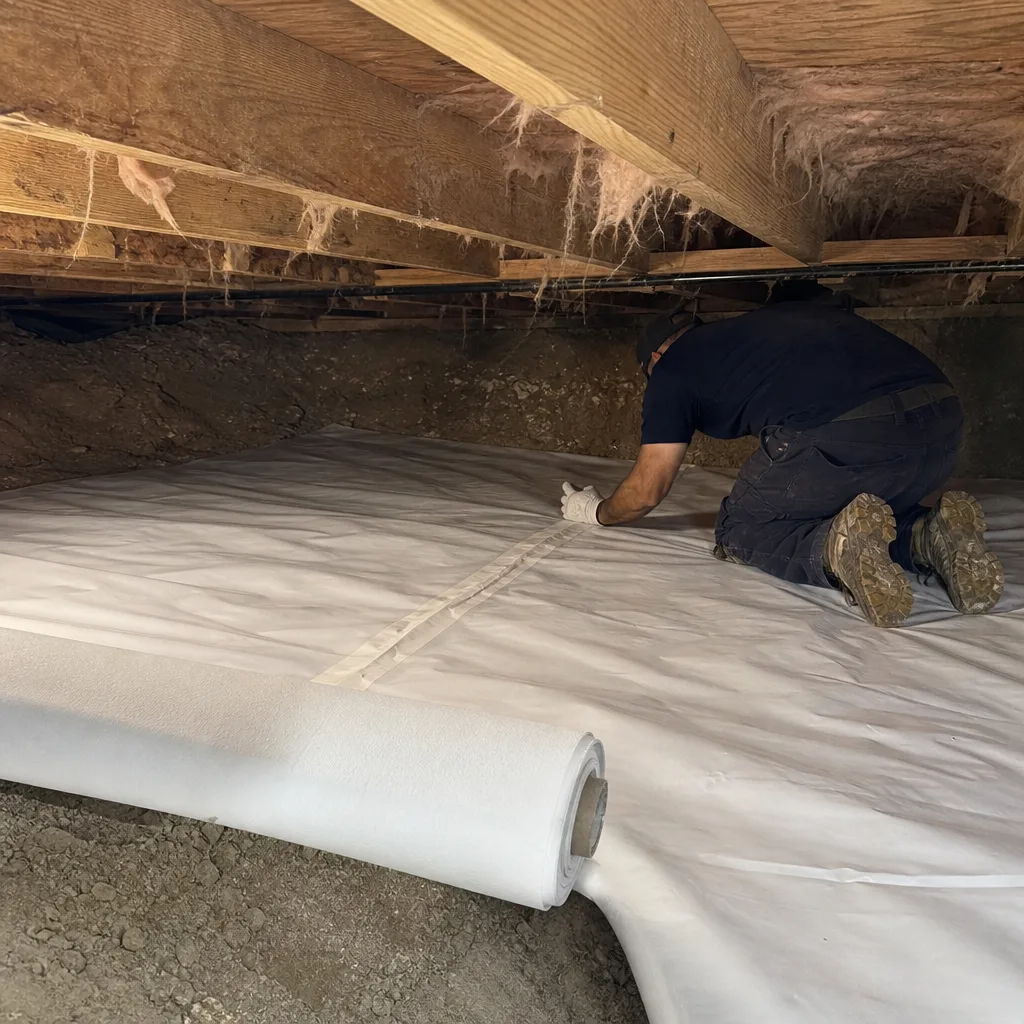
Call a professional when your attic has any of the conditions we covered: hip roof geometry, existing attic ductwork, knob-and-tube wiring, less than 4 feet of headroom at the ridge, or loose-fill insulation that has to be moved to reach the deck. Call us if you’ve already installed a radiant barrier and want the result documented – we can attach attic temperature readings and blower-door numbers to the work that’s already there. Call us if a competing estimate is sitting on your kitchen table and you want a free second opinion on it, read line by line. Under The Haven Standard, Envelope Insulation Boulder City provides a written price before any work starts, and every visit closes with a Documented Photo Record – included, not on request. Free estimates in Boulder City; call (844) 320-7926.
Frequently Asked Questions
Yes, if your attic is a simple gable with clear rafter bays, adequate headroom, ventilation baffles already installed, no attic ducts, and no knob-and-tube wiring. If any of those conditions is missing, the installation is a professional job. Verify your product’s emissivity at 0.10 or lower before you start either way.
0.10 or lower on the reflective face, tested to ASTM C1313 or ASTM E408. Anything higher acts more like thin insulation than a radiant barrier. Ask the retailer for the spec sheet – if the number isn’t published, don’t buy the product.
Materials-only DIY runs roughly $300 to $700 for a 1,000-square-foot attic footprint, not counting 14 to 20 hours of your own labor. Professional installed cost runs $1,200 to $2,500 including air-sealing materials and measurement. Call (844) 320-7926 for an exact written price on your attic – estimates are free.
Yes. Boulder City’s desert attic heat pushes roof deck temperatures past 130°F on summer afternoons, and reducing radiant transfer from the deck to the attic floor measurably cuts cooling load. Combined with attic air-sealing and a proper insulation layer, the effect is cumulative – radiant barrier alone helps, but it’s one layer of a full envelope strategy.
Only if it’s installed tight to the deck and blocking roof deck drying. Installed correctly with a 0.75-inch to 1-inch air gap and the reflective face toward the attic floor, moisture problems are rare in Boulder City. If you see existing staining before installation, address ventilation first.
A written scope before work starts, a Documented Photo Record of the finished installation, and – on jobs where air-sealing accompanies the radiant barrier – before-and-after blower-door readings. Call (844) 320-7926 to talk through what your attic would document. Free second opinion on any written estimate you’re holding.
If your scope extends to the space beneath the house, we cover the same documentation standard on crawl space encapsulation and vapor barrier in Boulder City, and for tricky bays or duct-adjacent spots, spray foam insulation in Boulder City often pairs with a radiant barrier layer. Start at the Envelope Insulation Boulder City home page to see the full service line.
The Bottom Line
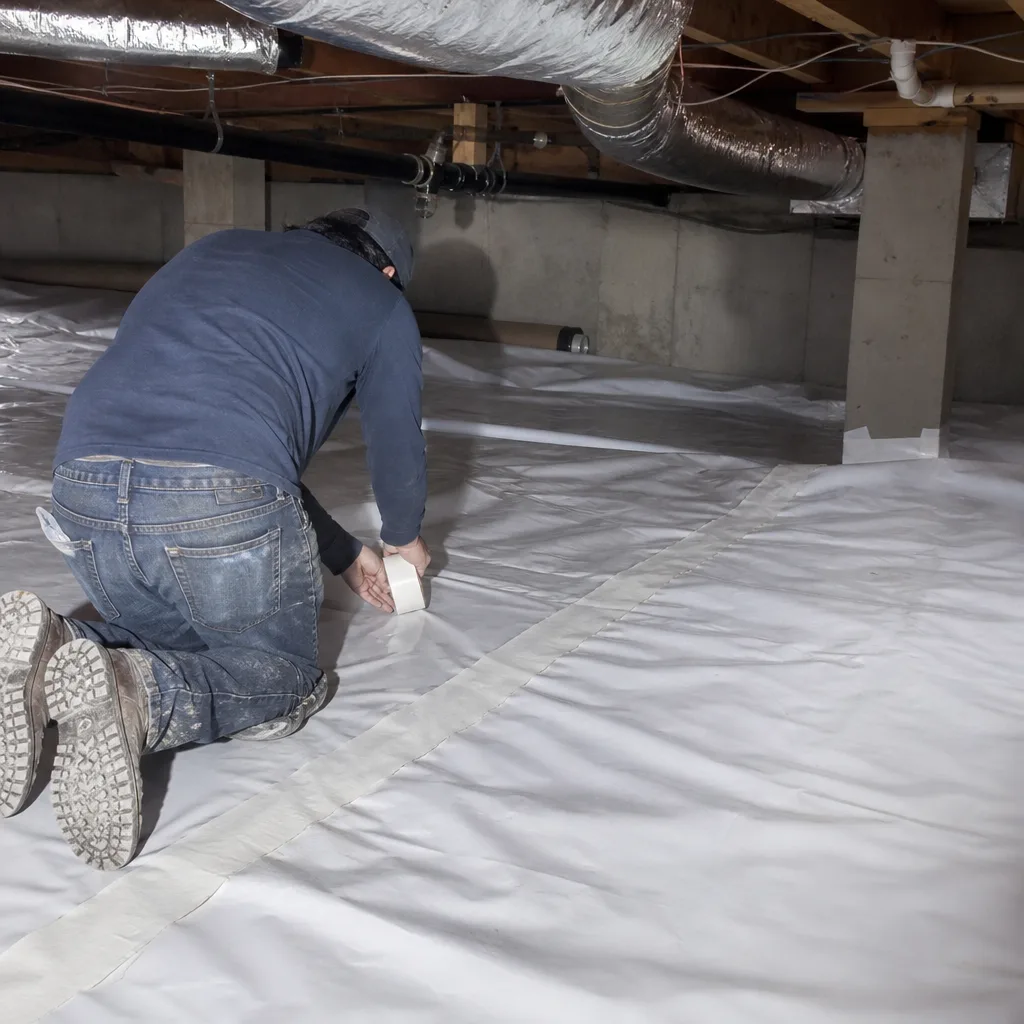
DIY radiant barrier installation works when three things line up: the right product (emissivity ≤ 0.10, tested to ASTM C1313 or E408), the right attic (simple gable, adequate headroom, no ducts, no old wiring, baffles in place), and the right air gap (0.75 to 1 inch, reflective face toward the attic floor). Miss any one and the job stops performing. Expect 14 to 20 hours of your own labor and $300 to $700 in materials for a 1,000-square-foot attic, versus $1,200 to $2,500 installed with air-sealing and measurement. The number that decides at resale isn’t the receipt – it’s the before-and-after reading you either have or don’t.
If your attic carries any of the professional-scope conditions in this guide, call Envelope Insulation Boulder City at (844) 320-7926 for a free estimate. We’ll walk the attic, put the price in writing before any work starts, and leave you with a Documented Photo Record and, where applicable, before-and-after blower-door readings you can point to. Under The Haven Standard, that’s how every job closes – and it’s why homeowners comparing a DIY weekend to a written price deserve both numbers on the same page.
Related Reading
- Attic Insulation in Boulder City
- Crawl Space Encapsulation & Vapor Barrier in Boulder City
- Spray Foam Insulation in Boulder City
- Envelope Insulation Boulder City home
Written by the team at Envelope Insulation Boulder City.