
Last updated November 17, 2026
How Long Does Crawl Space Encapsulation & Vapor Barrier Take? Timelines and What to Expect
Most crawl space encapsulation quotes describe the liner-and-seal phase and skip everything that comes before the crew ever unrolls plastic. In our experience, that’s the part that decides whether the barrier actually performs. If a crawl space reads 85% relative humidity on the baseline inspection, it can’t be lined the next day. The wood framing won’t hold adhesive and a sealed liner over an actively wet substrate traps moisture against the joists. In Boulder City, where ambient humidity is low but slab and soil moisture still climb under slab-on-grade homes near the lake corridor, that single condition routinely adds 24 to 72 hours to a job. This guide breaks an encapsulation into its real phases so you can plan your calendar around the full sequence, not just the crew’s on-site hours.
Quick Answer
A typical crawl space encapsulation on a 1,000 to 2,000 square foot footprint takes one to three days of on-site crew time, but the complete calendar from signed scope to final humidity verification usually runs three to seven days. Active moisture, standing water, or heavy debris pushes the full timeline toward two weeks. The liner install is fast; the drying and verification steps around it are where the calendar stretches.
Table of Contents
- The Five Real Phases of an Encapsulation Timeline
- Phase 1: Inspection and Moisture Baseline Reading
- Phase 2: Drying and Pre-Treatment Window
- Phase 3: Liner Installation and Seam Detailing
- What Adds Hours to a Boulder City Encapsulation
- How Boulder City’s Climate Affects the Timeline
- What You Receive at Job Close
- Red Flags in a Compressed Timeline Quote
The Five Real Phases of an Encapsulation Timeline
An encapsulation isn’t a single event. It’s five linked phases, and each one gates the next. When a contractor quotes you “one day,” they’re quoting Phase 3. Here’s the full sequence we run on every crawl space encapsulation and vapor barrier in Boulder City job:
- Inspection and moisture baseline. Time, temperature, and relative humidity readings taken at multiple points, plus a look at foundation vents, standing water, and wood condition. Half a day.
- Drying or pre-treatment. Fans, dehumidification, or encapsulated mold treatment, depending on the baseline numbers. 24 to 96 hours, occasionally longer.
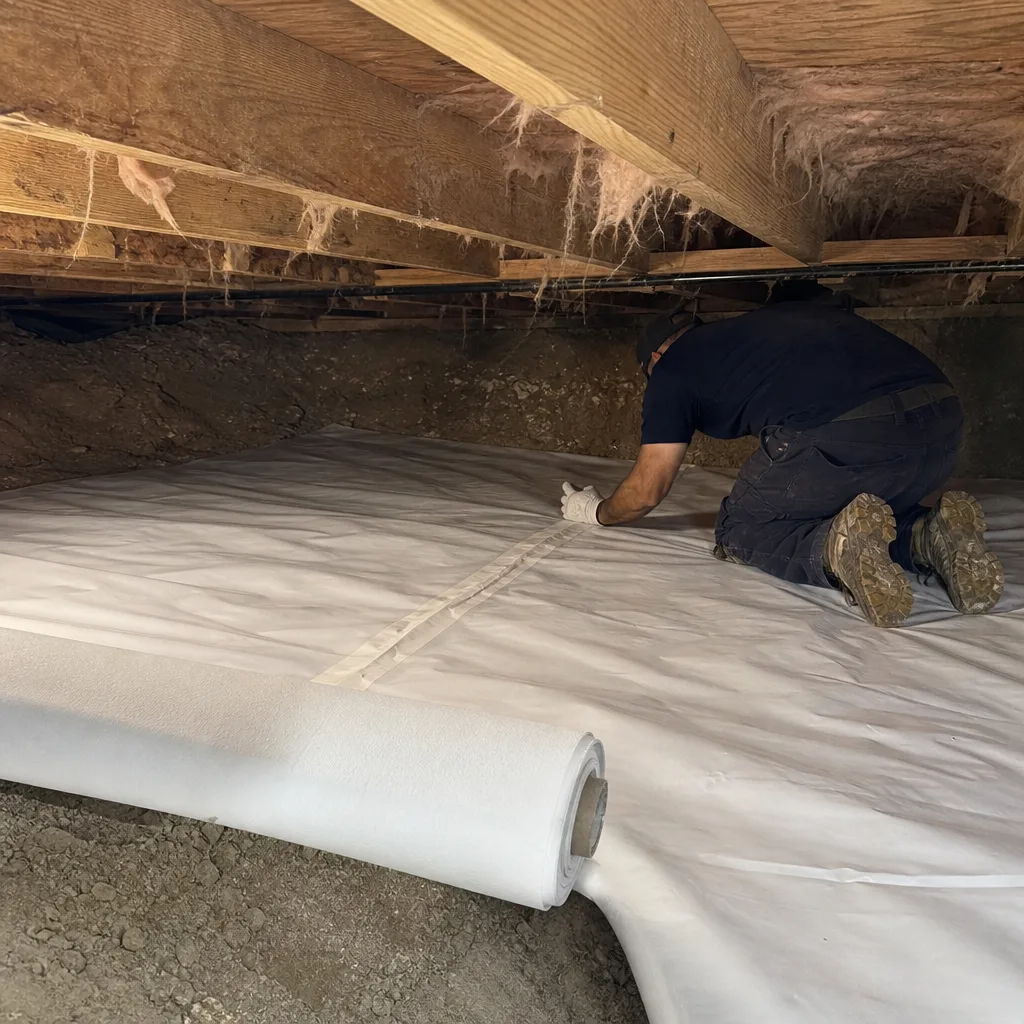
- Liner installation. 8 to 16 mil reinforced polyethylene or a dimpled membrane, fastened to the foundation wall and foundation piers, then floor-covered and overlapped at seams. One to two days on most homes.
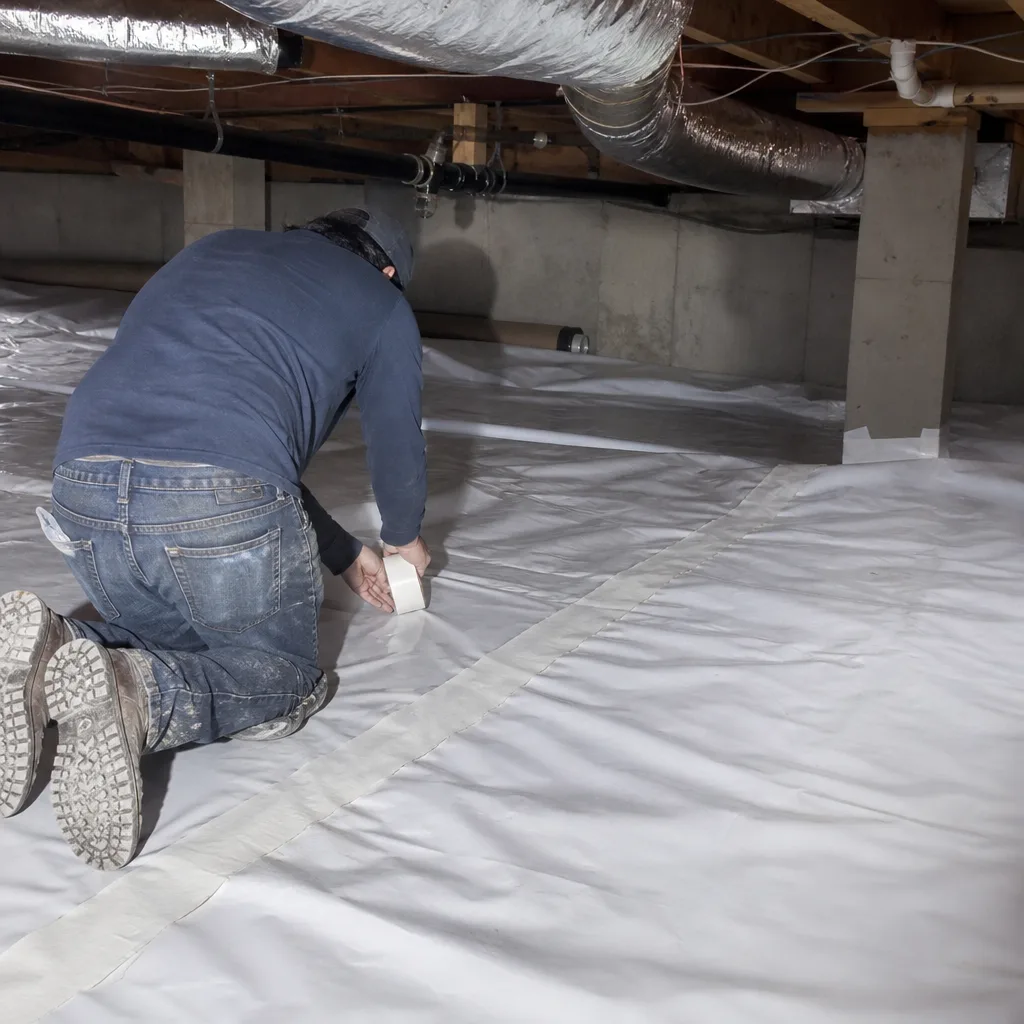
- Seam sealing and penetration detailing. Seams taped and sealed, pipe and duct penetrations booted or sealed with compatible mastic, vent and hatch trim completed. Half a day to a day.
- Final humidity verification. Post-install readings taken with the same instrument used at baseline, documented and handed to you. Same day as closeout.
Total: three to seven calendar days for a routine job, more when Phase 1 or 2 turn up surprises. That gating structure is why we treat the baseline reading as non-negotiable. You can’t plan a timeline without the number that dictates it.
Phase 1: Inspection and Moisture Baseline Reading
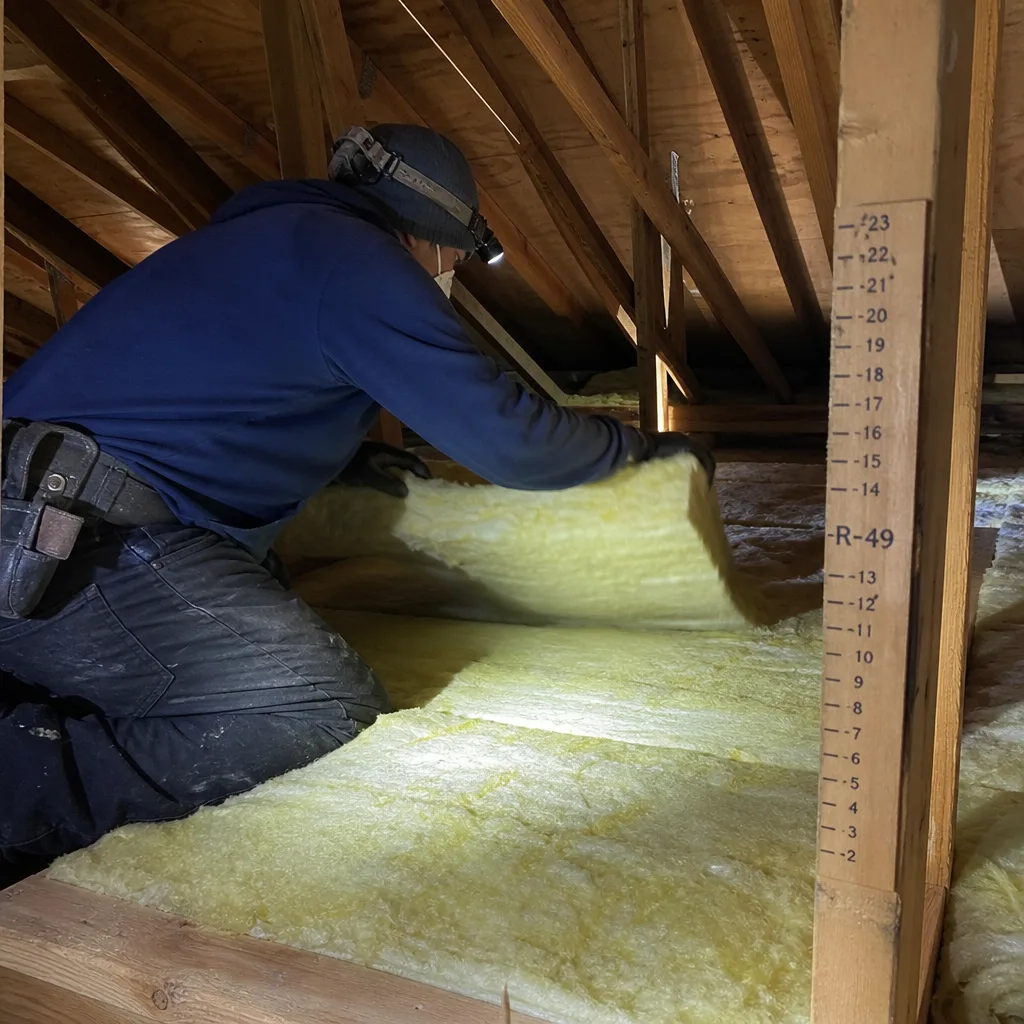
The baseline reading is the single most useful number in the entire project. It tells us whether the substrate is dry enough for adhesive, whether wood framing is above the moisture content threshold that lets a liner go down safely, and whether there’s an active water source to solve before encapsulation. We take temperature, relative humidity, and wood moisture content at three to five points across the crawl, and we photograph all of it as part of the Documented Photo Record on every visit.
What gets measured during the inspection:
- Relative humidity and temperature at the access hatch, midpoint, and far wall
- Wood moisture content on floor joists and the subfloor above
- Presence of standing water, pooled moisture, or active seepage at the foundation wall
- Condition of existing vapor barrier (if any) and whether it’s failed, torn, or missing
- Vent count, vent location, and whether the foundation has an operable venting strategy
- Ductwork penetrations, plumbing stubs, and any condition requiring pre-treatment
In Boulder City’s dry climate, we still find active moisture in crawl spaces near the lake and along blocks with slab-on-grade transitions, because the source isn’t outdoor humidity. It’s groundwater wicking through the foundation wall and condensation on cold plumbing. The baseline tells us which one we’re looking at.
Phase 2: Drying and Pre-Treatment Window
This is the phase most timelines lie about. If the baseline reads high relative humidity (typically above 70% in a crawl space) or the wood framing reads above 18% moisture content, you can’t roll out a vapor barrier the same afternoon. The substrate has to come down to safe levels first, because a liner installed over active moisture seals that moisture against the joists and gives mold a warm, dark, wet environment with no way to vent.
What we do in Phase 2 depends entirely on the numbers:
- Fan-driven ventilation (24 to 48 hours): the lightest case. Substrate moisture is elevated but there’s no active water and no visible fungal growth.
- Dehumidification (48 to 96 hours): higher readings, but still no active standing water. We close the vents and run the space dry rather than pushing more humid outside air in.
- Standing water removal and drainage correction (3 to 7 days): if there’s pooled water or an active seep, the water source gets corrected before any product goes down. Encapsulating over a wet footing is the single biggest encapsulation mistake we see in Boulder City.
- Mold assessment and treatment (adds 3 to 5 days): visible fungal growth gets assessed, treated, and re-verified at the baseline instrument before encapsulation begins.
We’ll come back and re-read the space when we said we would, and that number goes in the file. No work starts before we have a substrate that will hold the liner and stay dry under it.
Phase 3: Liner Installation and Seam Detailing
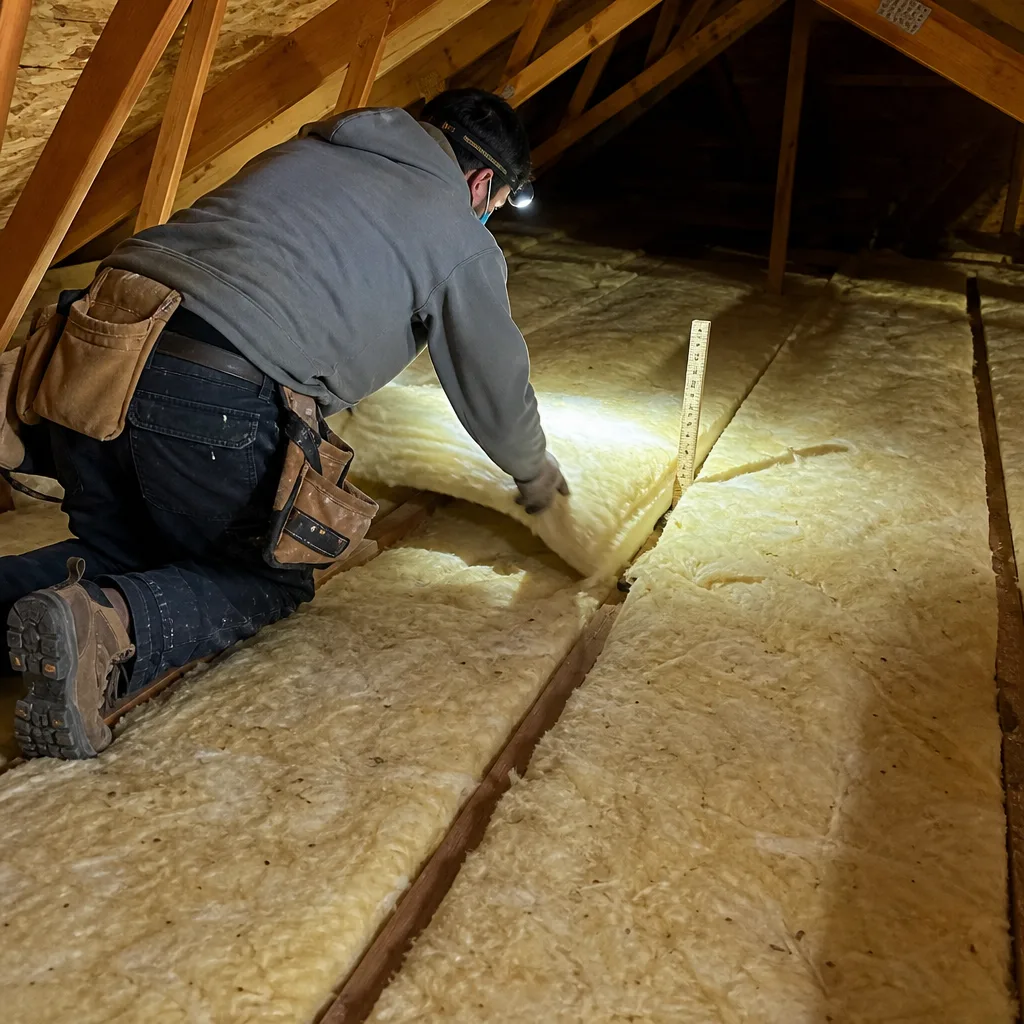
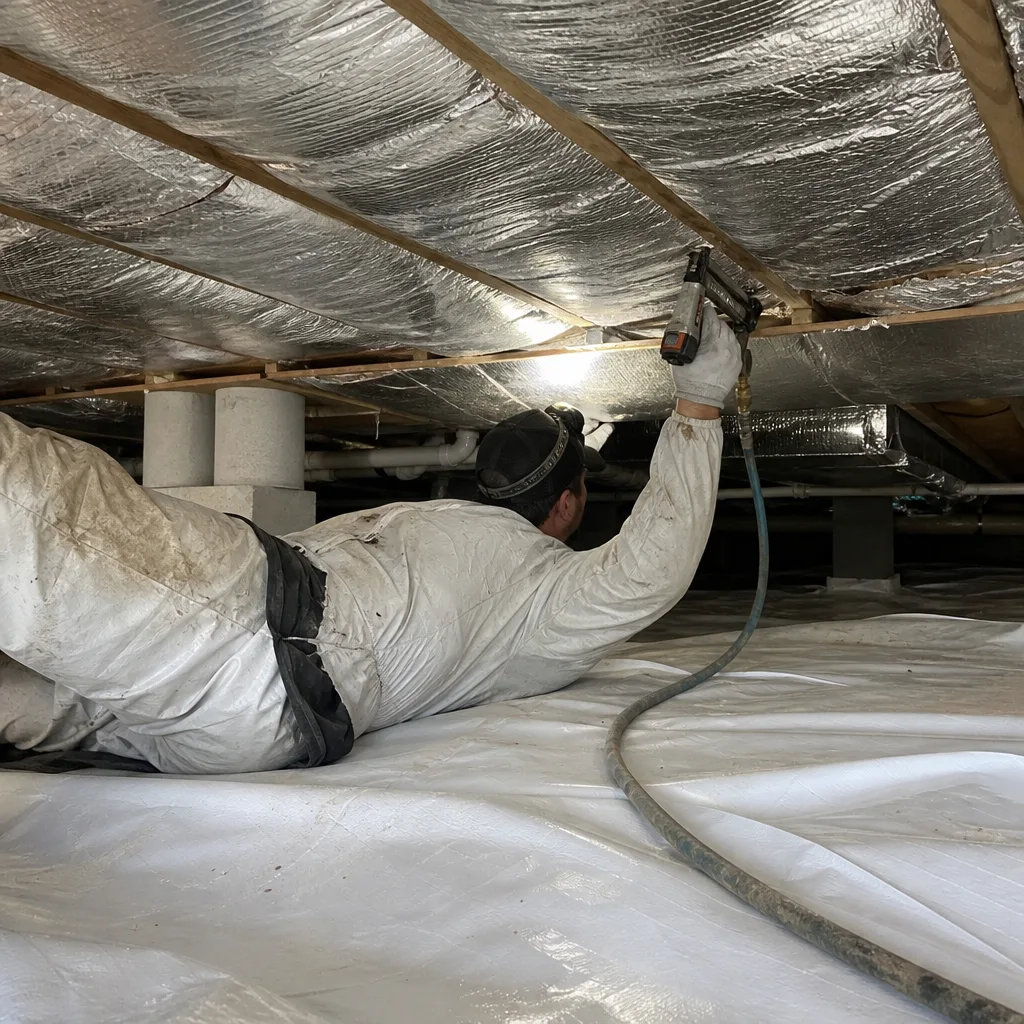
Once the substrate is verified dry, the installation itself is the most efficient phase of the job. On a 1,200 square foot crawl, a crew typically lays and secures the liner in a single day. Larger footprints and obstructed spaces – joists and plumbing stacks every few feet, low headroom, split crawl layout – run into a second day. Detail work on seams and penetrations adds another half day.
The install sequence, in order:
- Wall liner hung and mechanically fastened at the top edge and around the rim
- Foundation pier wraps installed around each pier with sealed overlaps
- Floor liner unrolled and cross-lapped at seams (typically 12-inch overlap minimum)
- Seams caulked or taped with liner-compatible tape, depending on the mil thickness and product spec
- Pipe, duct, and wire penetrations booted or sealed with compatible mastic
- Access hatch framed and trimmed so the liner isn’t torn at the entry point
Mil thickness matters to the timeline too. A 10-mil liner installs faster than a 20-mil reinforced product, but the reinforced material takes penetrations and foot traffic better and often eliminates a second visit down the road. The right choice depends on how the crawl space gets accessed and what loads it will see.
What Adds Hours to a Boulder City Encapsulation
Every encapsulation is unique to its crawl space, but the variables that stretch a timeline are consistent. Here are rough figures we use when we build the written scope:
- Crawl space square footage: plan roughly 4 to 6 crew-hours per 500 square feet of floor, which lands a 1,000 square foot crawl at one day and a 2,000 square foot crawl at two.
- Debris removal: old failing vapor barrier, construction debris, or abandoned duct runs add 2 to 6 hours depending on volume. Hauling out old material takes longer than most homeowners expect.
- Standing water: adds 24 to 72 hours minimum because the source has to be addressed before the space can be dried. This is the single biggest timeline multiplier.
- Low headroom or tight access: if the crew can’t stand up or fits through an 18-inch hatch with difficulty, add half a day to a day to the install phase.
- Existing duct or plumbing penetration count: every penetration is a detail requiring a boot or mastic seal. Dozens of unsealed penetrations add hours.
- Vent strategy changes: sealing foundation vents or adding mechanical ventilation affects the finished system and adds a few hours to the closeout phase.
For comparison, a typical attic insulation in Boulder City job clocks under a day of on-site time, but it carries the same gating rule: air sealing happens before insulation goes in, never after. That’s a separate job from this one, but the same principle – nothing goes on top of an unverified surface.
How Boulder City’s Climate Affects the Timeline
Boulder City’s low ambient humidity does work in our favor. The average outdoor relative humidity in the region stays far below what you’d see in the Southeast or Pacific Northwest, and outdoor air that gets pulled into a crawl space carries less moisture with it. That compresses the fan-driven drying phase. In a wetter climate, the same elevated baseline might mean a four-day drying window; here, it often means two.
But low ambient humidity doesn’t eliminate the substrate moisture check. Two Boulder City conditions keep the check mandatory:
- Groundwater near the lake corridor. Homes closer to the lake basin and the lower-lying blocks can see foundation wall seepage after heavy winter rain or irrigation overrun, even though the outside air reads 20% humidity. That’s groundwater, not atmospheric moisture. The baseline reading catches it.
- Cold plumbing condensation. Copper and PEX supply lines running through warm crawl spaces condense in the summer, and the water pools on any existing vapor barrier that’s already failing. Again: baseline reading, not guesswork.
We’ve seen this in Boulder City across Bristlecone and the older ranch blocks off the main corridor, where slab-on-grade transitions and aging vapor barriers combine to trap moisture at the footing. The dry climate helps a job; it doesn’t tell you the substrate is ready. Only a reading does.
What You Receive at Job Close
An encapsulation is only as good as what you can prove afterward. Here’s what should be in your folder at closeout – and what we hand over on every job:
- Pre-install and post-install moisture readings. Relative humidity at the same three to five test points, taken with the same instrument, documented in writing. You should be able to compare the before and after the same way you’d read a before-and-after blower door on an attic job.
- Documented Photo Record. Wall, floor, seam, and penetration photos, plus the access hatch and the closed vents. Included on every visit, not available on request.
- Liner specification record. Mil thickness for wall and floor liner, seam overlap dimensions, and tape or mastic product used.
- Mechanical ventilation settings. If a dehumidifier or exhaust was installed, the setting, run schedule, and any condensate drain routing you need to maintain.
- Written warranty. Coverage in writing before work starts, tied to the scope. Under Haven Standard Clause 1, you get a flat written price and written warranty before anyone lifts a tool.
If any of that isn’t in your closeout folder, ask for it before the final payment clears.
Red Flags in a Compressed Timeline Quote
Timelines get compressed when a contractor bids fast and schedules tight. Any of the following in your quote is a warning sign that the process has been shortcut past safe practice:
- Same-day liner installation promised without a site assessment. A crawl space that reads high humidity can’t be lined the same day it’s inspected, and a contractor who promises that hasn’t measured anything.
- No pre-moisture reading in the scope. If the quote doesn’t mention a baseline reading, there’s no way to verify the substrate before the liner goes down, and no way to prove the post-install result.
- No drying or pre-treatment phase described. Every crawl space gets the “ready to install” assumption. That’s how moisture gets sealed against framing.
- No post-install humidity verification. The job isn’t done at seal; it’s done when the number proves it.
- Debris removal folded into “install day” with no separate hour allowance. Someone is working short, or rushing the detail work, on install.
- A price that changes after the crew is already on site. Under our Written Price Before Any Work Starts, the number in the written scope is the number you pay, and no work begins until you have that in hand.
Compare any written estimate against those six checks. If a quote skips the baseline or the verification, that’s the compression.
Common Mistakes to Avoid
- Lining a wet crawl space. An encapsulation over an active moisture source turns a cold, damp crawl into a warm, damp crawl, and the framing takes the worst of it. Address the source first.
- Encapsulating before correcting drainage. In Boulder City, a foundation wall that seeps after winter rain needs the water redirected before any product goes down. That correction alone can add a week to the calendar, and skipping it means a failed liner in 12 to 18 months.
- Skipping the baseline reading to “save time.” There’s no scenario where measuring takes longer than fixing an encapsulation that can’t survive its own trapped moisture.
- Assuming low ambient humidity means a dry crawl space. Boulder City’s dry air doesn’t dry groundwater or condensation. Only a reading tells you which one you have.
- Choosing a thin liner to shorten the install. A 6-mil liner tears at the access hatch and punctures at foot traffic. A 10 to 20 mil product costs slightly more in the material line but saves a repair visit.
- Skipping seam compatibility checks. Tape made for polyethylene doesn’t stick to every reinforced liner. If the manufacturer spec calls for mastic, tape is the mistake.
- Not asking for the post-install number. The finished relative humidity reading is the entire proof the encapsulation works. If a contractor doesn’t document it, you’re trusting a feeling instead of a measurement.
If you’ve had a competing quote and want a second read, we’ll go through it with you, line by line, against the six red-flag checks above. That’s the Envelope Insulation Boulder City home service standard, and it’s free.
When to Call a Professional
Some phases of this job are genuinely dangerous, and encapsulation touches several of them. If your crawl space shows active standing water, obvious mold growth on framing, or foundation seepage that keeps coming back after rain, that’s a moisture problem to solve before encapsulation can be planned, and it needs eyes under the house. If the crawl space has exposed electrical junctions, gas appliance connections, or a furnace and duct system in it, those get handled by the right trade before a liner goes in. And if the job involves correcting a foundation vent strategy or touching the home’s moisture barrier strategy at all, a trained pro needs to build that scope in writing. Envelope Insulation Boulder City offers free estimates in Boulder City – call (844) 320-7926.
Frequently Asked Questions
Most crawl space encapsulations on a 1,000 to 2,000 square foot footprint take three to seven calendar days from signed scope to final humidity verification. On-site crew time is one to three days; the rest is inspection, drying, and post-install verification. Call (844) 320-7926 for an exact timeline on your home – estimates are free and the scope is written before work begins.
Only the installation phase can be done in a day, not the entire job. The liner install itself is fast, but a one-day promise that skips the baseline moisture reading and the drying window is a red flag. Call (844) 320-7926 and we’ll read a competing quote with you.
Yes, in the drying phase – low ambient humidity means fan-driven drying usually takes 24 to 48 hours instead of several days. But it doesn’t remove the need for a substrate moisture check, because groundwater and cold-pipe condensation can still leave a crawl space too wet to line. The baseline reading decides the schedule, not the outdoor weather.
For a 1,000 to 2,000 square foot crawl space, most encapsulation jobs in the Boulder City market run between $3,500 and $9,000 depending on liner thickness, debris removal, and any pre-treatment required. A written price comes before any work starts, and the number in the scope is the number you pay. Call (844) 320-7926 for an exact quote on your crawl space.
Work pauses at Phase 2 until the substrate moisture comes down to safe levels, which typically adds 24 to 96 hours. A contractor who proceeds anyway is sealing moisture against framing and creating a mold problem behind the liner. We re-read the space before the liner goes down and keep the reading in the job file.
You should receive pre-install and post-install humidity readings, a Documented Photo Record of seams and penetrations, the liner mil-thickness and seam overlap specification, any mechanical ventilation settings, and a written warranty. If any of it is missing from the closeout folder, ask for it before final payment. Call (844) 320-7926 with questions – a live person answers, and the estimate is free.
The Bottom Line
Crawl space encapsulation timelines are set by the phases around the liner install, not by the install itself. A 1,000 to 2,000 square foot crawl in Boulder City generally runs three to seven calendar days, with the liner on the floor for one to three of those days. The baseline moisture reading and the drying window are what determine the schedule – and what determine whether the barrier actually holds. A quote that skips either one has compressed the timeline past safe practice. Ask for the baseline number, ask for the post-install number, and get both in writing. That’s how you know what you paid for.
Envelope Insulation Boulder City works to the Haven Standard on every crawl space job: written price before any work starts, Documented Photo Record in every closeout folder, moisture readings before and after, and a 365-Day Done Right Promise. Our technicians have up to 10 years of experience, we source materials from Owens Corning, Johns Manville, and Knauf with no proprietary product lock-in, and a live person answers your call 24/7. Considering spray foam insulation in Boulder City for a related envelope issue? We can scope both in a single visit.
Written by the team at Envelope Insulation Boulder City.