
Last updated November 17, 2026
Spray Foam Insulation Maintenance Schedule: What to Do and When
Closed-cell spray foam carries a measured service life exceeding 80 years in lab conditions. That number is real, and it’s also beside the point. The foam rarely fails. The rim joist it’s bonded to can shrink seasonally in a desert climate, opening a gap at the sill plate that didn’t exist at installation. The foam didn’t fail; the substrate moved. That single distinction reshapes how you maintain the assembly, and it’s why a schedule built around the foam itself misses the failures we actually find. In this guide we’ll lay out a year-by-year maintenance schedule built around the transition zones where spray foam performance degrades first, how to test for re-opened bypasses without a blower door, what a five-year re-test tells you that visual inspection cannot, and how a Boulder City homeowner keeps a foam assembly performing for the life of the house.
Quick Answer
Spray foam insulation needs a visual inspection once a year and a professional re-test every five years. The annual check focuses on the perimeter and transition zones: where foam meets framing at rim joists, the attic hatch perimeter, and plumbing penetrations. The five-year re-test is a blower-door measurement benchmarked against the original post-installation ACH50 number, which is the only way to confirm the assembly is still sealing the way it did on day one.
Table of Contents
- The Annual Walkthrough: What to Check and Where
- Why Transition Zones Fail Before the Foam Does
- Testing for Re-Opened Bypasses Without a Blower Door
- UV Degradation in Vented Attics: Inspection Interval and the Coating Fix
- What a Five-Year Blower-Door Re-Test Tells You
- Pest Intrusion vs. Thermal-Stress Cracking at Foam Edges
- How Boulder City’s Climate Sets the Schedule
- The Full Maintenance Calendar at a Glance
The Annual Walkthrough: What to Check and Where
An annual visual inspection takes 40 minutes and prevents the majority of performance losses we find in foam assemblies. The list below is ordered by failure frequency in Boulder City homes, not by how easy each check is to perform.
- Rim joist perimeter (in the basement, crawl space, or conditioned attic): run a hand along the foam-to-wood seam at the top and bottom of the rim board. You’re feeling for a gap, a lip where the foam has separated from shrinking lumber, or a line of daylight. Any gap wider than a business card is a bypass.
- Attic hatch perimeter: open and close the hatch, then inspect the foam weatherstrip and the foam-to-framing joint. Hatches move every time someone accesses the attic, and they’re the single most common leak we re-seal.
- Plumbing and electrical penetrations in conditioned space: at each pipe, wire, and duct penetration through foam, look for a hairline ring where the foam has pulled away. Foam is rigid; the pipe isn’t.
- Top plates at exterior walls: where the ceiling framing meets the wall framing, check for a continuous foam seal. Any break is a stack-effect channel.
- Foam surface condition: note any chalky, discolored, or dusty-looking foam, especially in vented attics. That’s UV degradation, covered below.
- Pest evidence: look for gnaw marks at foam edges, droppings, and rub marks along framing. Details on distinguishing pest damage from cracking are further down.
Record what you find and photograph it. A dated photo of a small gap is the most useful thing you can hand a contractor two years later. For a deeper treatment of what we do on this side of the assembly, see Spray Foam Insulation in Boulder City.
Why Transition Zones Fail Before the Foam Does
Airtightness is an assembly property, not a material property. The foam itself is dimensionally stable and chemically inert once cured. The problem is what it’s bonded to: dimensional lumber, OSB sheathing, rim joist plates, penetration flashings, and concrete. Each of those materials has a different coefficient of thermal expansion, and each moves on a different schedule across a desert year.
Boulder City swings from summer highs well above 100°F to winter nights in the 30s. That’s a big seasonal delta for a wood frame. Lumber shrinks when it dries and swells when humidity rises, and the rim joist – which sits closest to the exterior and takes the full thermal swing – moves more than the interior framing. Closed-cell foam bonds tightly to that moving substrate. When the wood pulls away, the foam typically stays put and a gap opens at the joint. The foam didn’t crack. The joint did.
This is where spray foam differs from loose-fill products like GreenFiber or Owens Corning fiberglass batts, which tolerate substrate movement by design because they aren’t bonded. Foam’s strength – adhesion – is also the reason the perimeter needs watching. The transitions that fail in order of frequency in our work:
- Rim joist to sill plate (bottom of the rim board)
- Rim joist to top plate (top of the rim board)
- Attic hatch perimeter framing
- Plumbing penetrations through the top plate
- Foam-to-flashing joints at roof-wall intersections
In our experience in Boulder City, the rim-joint gaps are almost always seasonal – they open in late summer and partially close in spring. An inspection carried out in October catches them at their widest.
Testing for Re-Opened Bypasses Without a Blower Door
You can approximate a blower-door test on a cold, windy day with a smoke pencil, a stick of incense, or a feather on a string – the classic “poor man’s draft test.” A blower door is a pressurization reading that shows, in one number, how much air your building envelope is losing. The smoke pencil just shows you where the air is going when the house is under natural pressure. The catch: you need a real pressure difference between the house and the outside, which means the test only works well when it’s cold out and there’s a temperature or wind differential.
The procedure:
- Pick a cold, breezy morning – ideally 20°F or more between inside and outside, with some wind. Boulder City winter mornings are ideal.
- Turn off the HVAC system so you’re measuring envelope leakage, not equipment-induced air movement.
- Close all exterior doors and windows, then crack one window about an inch on the downwind side of the house. This makes the house slightly negative.
- Light the smoke pencil and hold it within ½ inch of a known weak point: rim joist seams, attic hatch edges, top plates, penetration joints.
- Watch the smoke. A steady horizontal stream into the gap means air is moving. A lazy vertical drift means the gap is sealed.
- Photograph anything that draws.
The technique has real limits: it can’t quantify the leak, it misses leaks below the sensitivity threshold, and it depends on the weather cooperating. It’s a screening tool, not a measurement. For the quantitative version, you need the five-year re-test described below. If you’d like a professional smoke test done alongside a full audit, Envelope Insulation Boulder City home lays out what a home energy audit includes.
UV Degradation in Vented Attics: Inspection Interval and the Coating Fix
Open-cell spray foam left exposed to sunlight degrades. The foam itself doesn’t melt or fail structurally, but UV radiation breaks down the polymer chains at the surface, and after a few years the surface turns chalky, then friable – crumbly to the touch. That chalky layer loses its ability to resist air movement, which defeats the point.
In a vented attic, direct sun exposure is usually limited to the foam near the gable vents, ridge vents, and any clear vent openings. Foam applied to the underside of the roof deck in a vented attic can catch scattered light through the vents. The inspection interval depends on exposure:
- Fully shielded foam (most of the attic floor): inspect every two years, no coating typically needed.
- Partially exposed foam near vents: inspect every 12 months, coat at first sign of chalking.
- Fully exposed foam in a sunlit attic: inspect every 6 to 12 months, and plan on a UV-resistant coating within the first 2 to 3 years.
The fix is straightforward: a UV-resistant coating (typically an acrylic or elastomeric attic coating) applied over the chalky surface restores the protective layer and buys the foam another decade of service. It’s a few hundred dollars on a typical Boulder City attic – far cheaper than foam removal and replacement, which runs into the thousands. Catch the chalking early and coating is a preventive; catch it late and the top quarter-inch has to be removed first, which is the difference between a coating job and a repair job. In our experience, most attic foam we see in Boulder City is caught in time, because the coating interval is short and the warning sign – chalky surface – is obvious on inspection.
What a Five-Year Blower-Door Re-Test Tells You
A blower-door test measures the total air leakage of the building envelope, reported as ACH50 – air changes per hour at a 50-pascal pressure difference. It’s a single number, which is why it’s useful: you can compare before and after, and after and five-years-later, without translating anything.
Here’s what visual inspection cannot tell you. A blower door catches:
- Distributed small leaks – dozens of hairline gaps at framing joints that a visual pass would walk right past.
- Subsurface bypasses – leaks through cavities where the foam is intact at the surface but the assembly has separated behind it.
- The cumulative effect – what the whole assembly is doing, not what each joint is doing independently.
For the re-test to mean anything, you need the original post-installation ACH50 number. At Envelope Insulation Boulder City, every applicable job closes with a before-and-after blower-door reading so the homeowner has a baseline. If yours wasn’t recorded, ask the original contractor for the report – a good contractor keeps them. If it can’t be produced, the re-test stands alone as a “current state” number you can benchmark future tests against going forward.
A useful benchmark: a well-sealed home after spray foam typically lands in the 2.0 to 4.0 ACH50 range. If a re-test five years later shows a jump of 30% or more over the post-installation number, something has opened up. It might be one big bypass at the rim joist. It might be a batch of small ones. Either way, the blower door is the only tool that catches the small ones. For the crawl-space side of this, see Crawl Space Encapsulation & Vapor Barrier in Boulder City – foam in a conditioned crawl space should be re-tested on the same five-year cycle.
Pest Intrusion vs. Thermal-Stress Cracking at Foam Edges
Two kinds of damage show up at spray foam edges in a desert climate, and they need different contractors. Confusing them wastes money and time.
Gnaw patterns (pest)
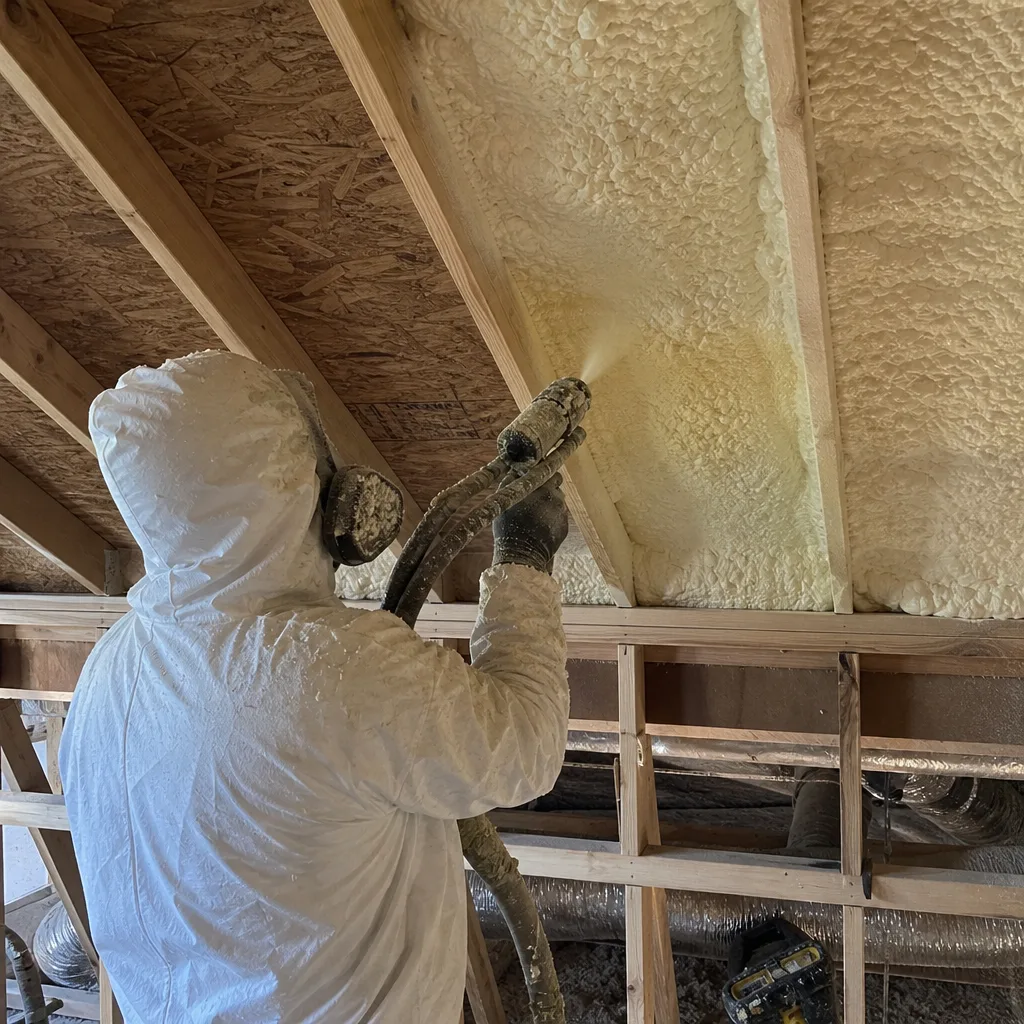
Rodents and insects leave edges that look chewed – irregular, torn, with visible tooth or mandible marks, foam crumbles or frass nearby, and often a nest or tunnel extending into the cavity. Roof rats, which are common in Boulder City, will tunnel along foam seams in an attic, widening gaps over time. You’ll also see droppings, rub marks along framing, and grease stains near entry points. Pest damage requires an exterminator or pest-control contractor first, then a foam repair after the infestation is cleared – repairing the foam without treating the source just gives the animal a fresh tunnel to open.
Thermal-stress cracking (mechanical)
Thermal-stress cracks look different. They’re straight or stepped, clean-edged, and follow the joint line between foam and substrate or run perpendicular to framing. They show no tooth marks, no debris, no pest evidence. These are the substrate-movement failures we described earlier – the foam and the wood are separating because they move on different schedules. These are a foam repair job, not a pest job. The right contractor is one who understands the assembly, because the fix is to fill the gap and – critically – re-seal the joint so it doesn’t reopen next season.
A quick way to tell: photograph the edge and look closely. Clean lines and no frass means thermal. Chewed or torn edges with debris means pest. In our experience in Boulder City, pest problems cluster in homes with trees close to the roofline and in older crawl spaces, while thermal stress clusters in homes with unvented attics that run hotter than vented ones. If you’re not sure which you’re looking at, take a photo before you touch anything. For attic-specific inspection and sealing services, see Attic Insulation in Boulder City.
How Boulder City’s Climate Sets the Schedule
The general rule – annual visual, five-year re-test – assumes a moderate climate. Boulder City doesn’t have one. Summer highs routinely exceed 105°F, winter lows dip into the 30s, and the diurnal swing between day and night is often 30°F or more. That’s a lot of thermal cycling for the framing, and it’s why foam joints in this market tend to open faster than the national average.
Three local adjustments to the general schedule:
- Inspect in early October. The rim-joint gaps reach their widest in late summer, after the June-to-September thermal load has done its work. An October inspection catches them before winter winds push air through them.
- Add a pre-summer check for exposed foam. UV exposure peaks in May and June. A quick visual on the exposed foam near vents in May tells you whether you’re due a coating before the summer load.
- Re-test after any major exterior change. A new roof, a window replacement, an addition, or a stucco repair all change the thermal and moisture balance of the assembly. Foam that was performing perfectly can develop new bypasses after a roof replacement if the deck was disturbed. Re-test within 12 months of any of those.
If you’d like a documented inspection with before-and-after numbers, call us and we’ll schedule one. Our technicians have up to 10 years of experience, and every visit includes a Documented Photo Record – not available on request, included.
The Full Maintenance Calendar at a Glance
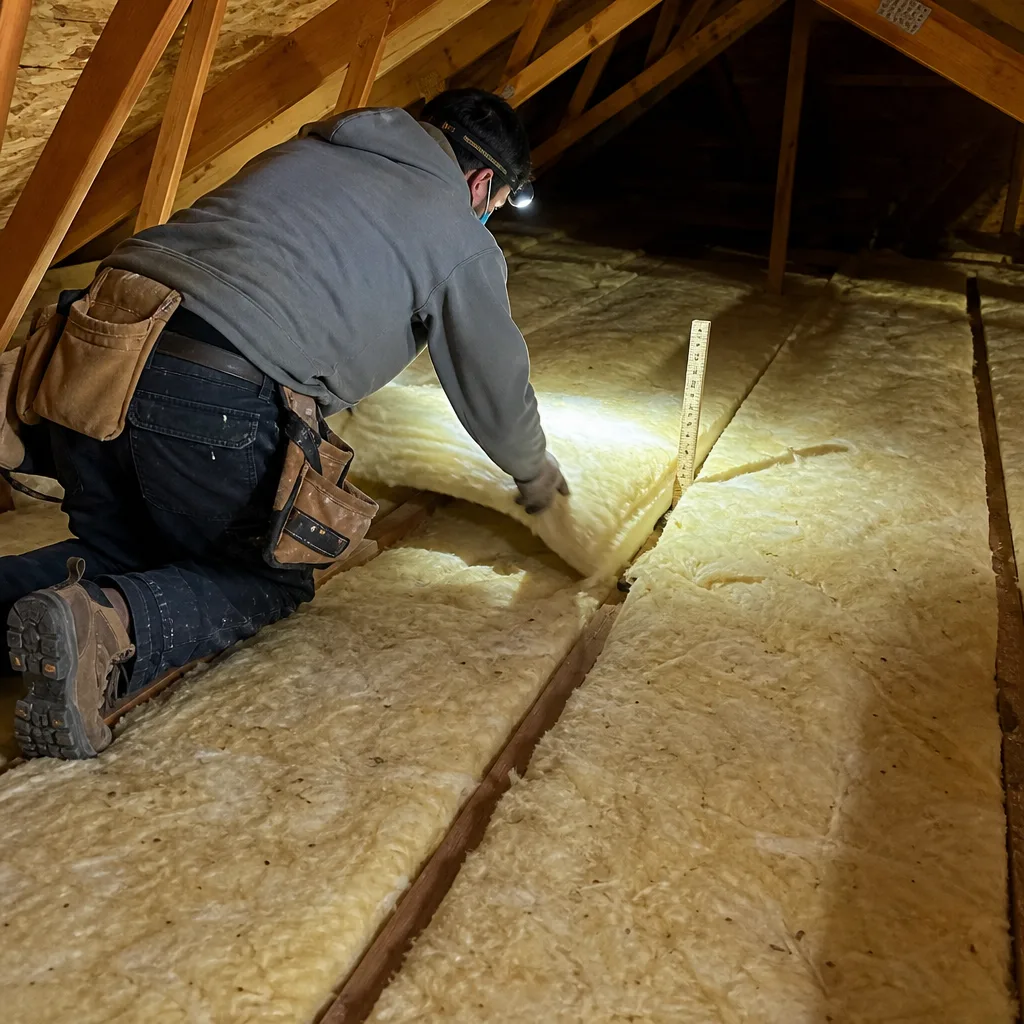
Here’s the schedule in one place. Bookmark this and work through it once a year.
- Every year (October): rim joist perimeter inspection, attic hatch check, plumbing penetration check, top plate inspection, pest evidence scan, photo record of anything found.
- Every year (May): exposed-foam UV check in vented attics, scheduling coatings for any foam showing surface chalking.
- Every 2 years: full visual walkthrough on shielded foam with no prior issues.
- Every 5 years: professional blower-door re-test, benchmarked against the original post-installation ACH50 reading.
- After any roof replacement, window swap, addition, or exterior repair: re-test within 12 months.
- Any time you smell musty odor, notice a draft at a wall outlet, or see daylight at a joint: inspect immediately, ahead of schedule.
Common Mistakes to Avoid
- Inspecting in summer. Rim-joint gaps open widest in late summer and partially close in spring. Inspecting in May tells you the assembly is fine; inspecting in October tells you the truth. In Boulder City, the seasonal swing is large enough that a summer pass can miss a real leak entirely.
- Assuming foam is maintenance-free. The foam is maintenance-free. The assembly isn’t. Every foam failure we’ve been called to fix was a transition-zone failure, not a foam-material failure.
- Re-coating UV-degraded foam without cleaning it. A coating over chalky, friable foam will fail within a year. The surface has to be stabilized first, or the coating peels and the foam continues to degrade underneath.
- Treating pest damage as thermal damage (or the reverse). Filling a chewed edge without addressing the pest is a short-term fix. Coating a thermal crack without re-sealing the joint lets it reopen next season. Know which problem you have before calling.
- Relying on the original blower-door number forever. The original ACH50 reading is the baseline for the first five years. After that, you need a fresh reading to compare against – not just the old one. Annual visual inspection doesn’t replace the re-test, and the re-test doesn’t replace the visual.
- Skipping the re-test after a roof replacement. Roof work disturbs the deck the foam is bonded to. A new roof on a Boulder City home is the single most common trigger for a fresh bypass that a visual pass won’t catch.
- DIY coating or repair on closed-cell foam. Closed-cell foam is dense and rigid; a poor repair can trap moisture or create a new thermal bridge. The repair itself is a professional job, even if the inspection isn’t.
When to Call a Professional
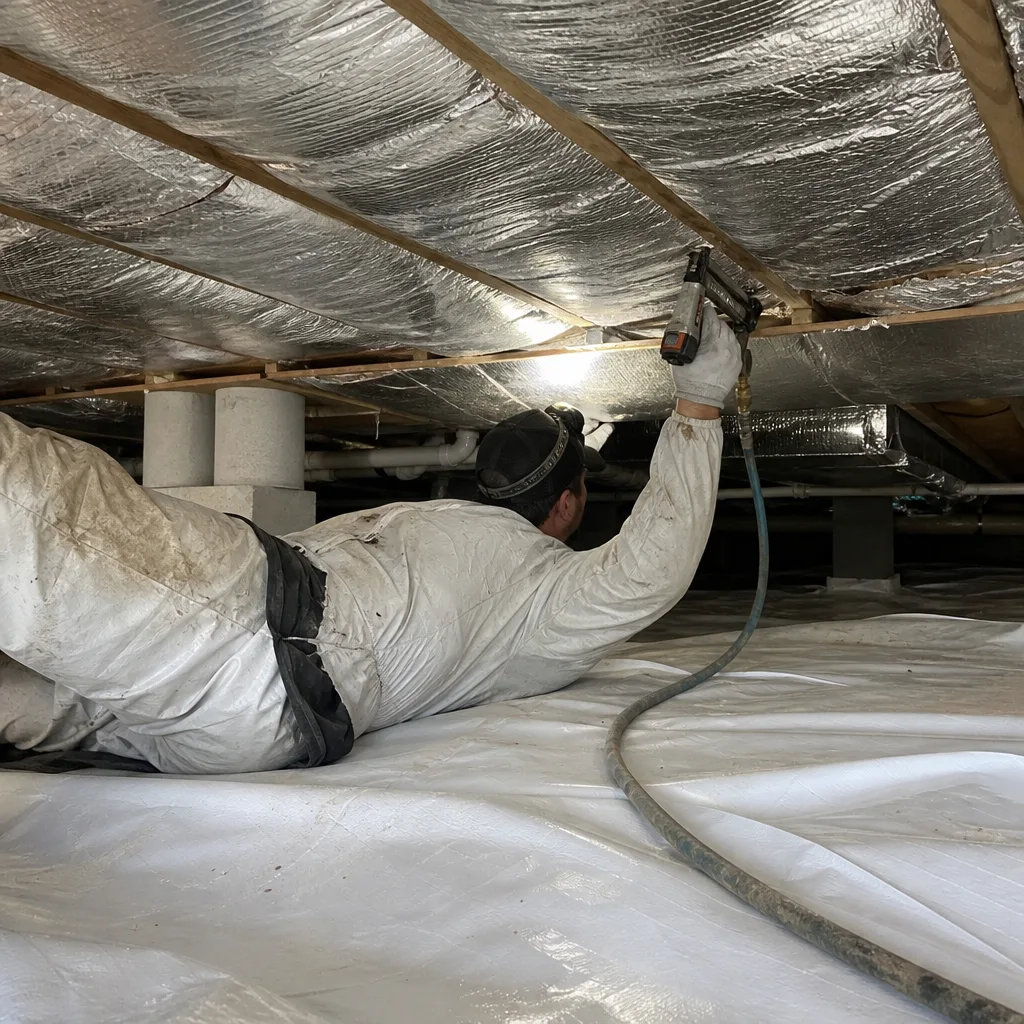
Call a professional if any of the following is true: a blower-door re-test shows ACH50 has risen 30% or more above your post-installation baseline; you find gnaw marks or droppings at foam edges; UV-degraded foam covers more than a small patch near a vent; the foam surface has turned friable and crumbles to the touch; you’re planning a roof replacement, window replacement, or addition; or you simply don’t have an original blower-door number and need a fresh baseline you can trust. Also call if a visual inspection turns up any gap you can see daylight through, or any joint where the foam has visibly separated from framing. The repair in most cases is small and the risk of waiting is a compounding leak.
Envelope Insulation Boulder City offers free estimates in Boulder City. Every job begins with a written price before any work starts, a written scope, and a written warranty under the Haven Standard, backed by the 365-Day Done Right Promise. Call (844) 320-7926 for a free estimate – a live person answers, 24/7. Bring us a competing quote and we’ll read it with you, free, as a second opinion.
Frequently Asked Questions
Once a year for visual inspection and once every five years for a professional blower-door re-test. The annual check should be done in fall so seasonal joint gaps are at their widest, and the five-year re-test should be benchmarked against the original post-installation ACH50 number. In Boulder City, add an extra May check for UV exposure if any foam is visible in a vented attic. Call (844) 320-7926 to schedule an inspection – free estimates.
The foam itself needs very little – closed-cell foam has a measured service life exceeding 80 years. The assembly around it needs more. Foam bonded to wood framing can develop gaps at rim joist joints, attic hatches, and penetration points as the substrate moves seasonally, and open-cell foam exposed to UV degrades at the surface. The annual and five-year checks are for those failure points, not the foam.
You’ll usually see it at the perimeter, not the surface. Look for daylight at a foam-to-wood joint, a hairline gap at the rim joist, chewed or torn edges (pest), a chalky dusting on the foam surface (UV), or a jump in your energy bill without a weather explanation. A blower-door re-test confirms whether these have translated into measurable leakage. For a documented inspection in Boulder City, call (844) 320-7926.
Expect $300 to $500 for a standalone blower-door test in the Boulder City market. A re-test bundled with a home energy audit is typically more cost-effective than a stand-alone test, and some energy-efficiency programs offset part of the cost. Envelope Insulation Boulder City publishes before-and-after blower-door numbers on every applicable job so you have a baseline to compare against. Call (844) 320-7926 for an exact quote – estimates are free.
It can almost always be repaired. The failures we see are gaps at transition joints, not foam material failure – a contractor fills the gap, re-seals the joint, and on UV-degraded foam applies a coating. Full removal and replacement is rare and only necessary when the foam is heavily degraded across a large area, or when pest damage extends deep into the cavity. In our experience in Boulder City, over 90% of maintenance calls are repaired rather than replaced.
Early October, before winter winds. The rim-joint gaps that open in Boulder City’s heat have reached maximum width by late summer and are easiest to see and repair before cold air starts pushing through them. A second quick check in May catches UV degradation before the summer sun does more damage. Call (844) 320-7926 to book a fall inspection – free estimates.
The Bottom Line
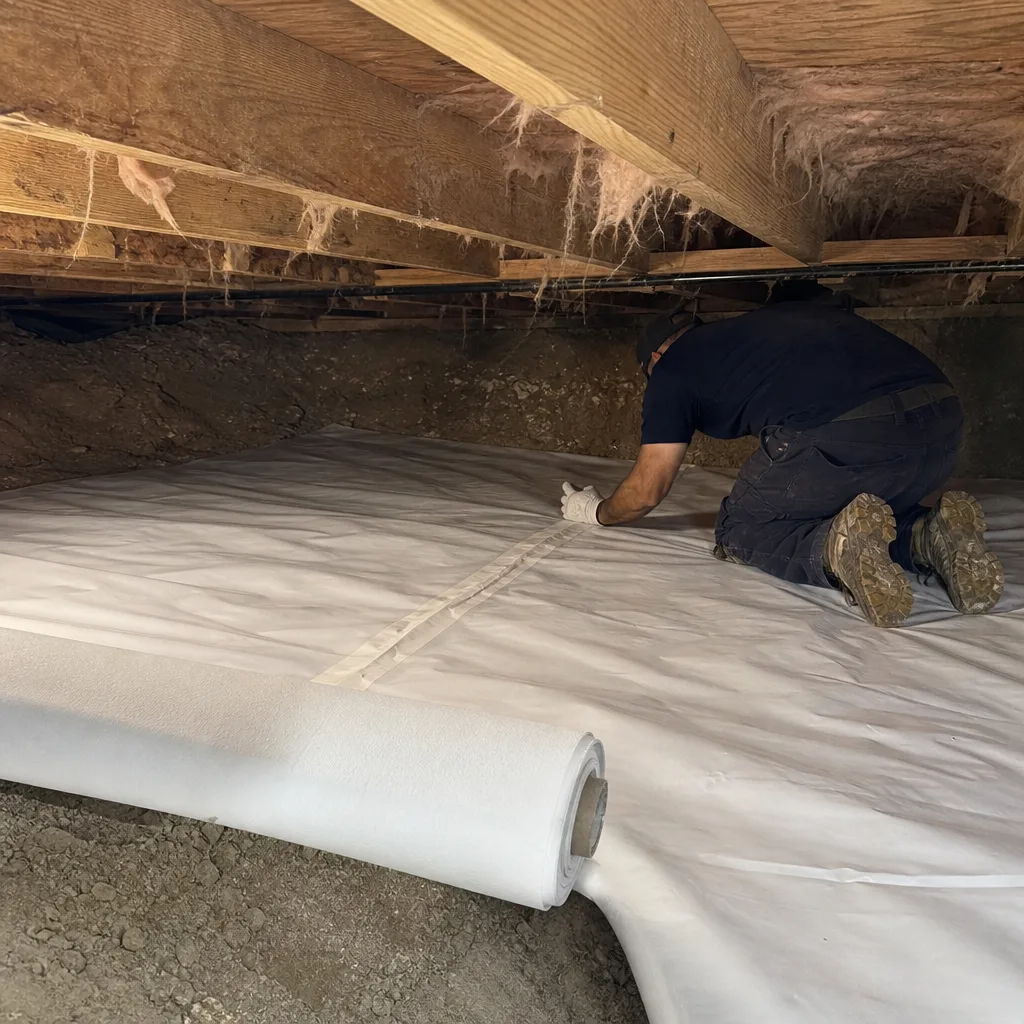
Spray foam insulation is maintenance-free as a material and not maintenance-free as an assembly. The schedule that matters is short: inspect the transition zones once a year, in fall, and re-test with a blower door every five years against the original ACH50 reading. Add a pre-summer UV check if any foam is exposed, and re-test within a year of any roof, window, or addition work. Distinguish pest damage from thermal-stress cracking before calling anyone. Catch the gaps early and the assembly performs for decades. Skip the schedule and the failures show up in your energy bill first and your blower-door reading second. Envelope Insulation Boulder City handles inspections, repairs, and re-tests with a written price before any work starts – call (844) 320-7926 for a free estimate.
Written by the team at Envelope Insulation Boulder City.