
Last updated November 17, 2026
Crawl Space Encapsulation & Vapor Barrier Warning Signs Every Homeowner Should Know
A sagging vapor barrier gets blamed on the product almost every time. In our experience it’s usually a drainage failure: hydrostatic pressure from an unsealed perimeter pushed water under a liner that was never built to hold standing water in the first place. We’ve pulled liners out of Boulder City crawl spaces where the plastic itself was sound and the installation beneath it wasn’t. This guide walks you through the warning signs as a diagnostic trail, not a damage checklist. You’ll learn to tell liner failure from installation failure, read efflorescence and odor correctly, and ask for the paperwork that settles whether the job was done right.
Quick Answer
The warning signs that matter most in a crawl space encapsulation are standing water or damp soil under the liner, a barrier pulling away from the foundation wall at the perimeter, musty odor that returns after rain, white mineral bloom on the concrete, and wood moisture above 19% on a pin meter. These point to moisture that was never addressed before the liner went down, or to a liner that isn’t attached, overlapped, or drained the way it should be. Visible tears matter too, but they’re less common than installation failures.
Table of Contents
- Read the Signs as a Diagnostic Trail, Not a Checklist
- Liner Failure vs. Installation Failure: How to Tell Them Apart
- What Crawl Space Odor Patterns Tell You
- Efflorescence on Crawl Space Walls: Reading the Water Source
- Wood Moisture Content: The 19% Threshold
- Documentation to Request Before Calling It a Failure
- Rim Joists, Penetrations and Pest Entry: The Pre-Liner Work
- Drainage Details Most Encapsulations Skip
Read the Signs as a Diagnostic Trail, Not a Checklist
Most homeowner guides hand you a list: look for tears, look for mold, look for bugs. That’s not how a crawl space fails. Symptoms connect to causes in a chain, and the order you find them in tells you where the job went wrong.
Take a barrier that’s pulled loose at one wall. On its own, that’s a fastener problem. But if the same wall shows white mineral bloom at the base and the soil underneath is wet, you’re looking at water entering laterally from outside the foundation, pushing against the liner, and forcing it off the wall. Two symptoms, one cause, and it isn’t the plastic.
We’ve seen this pattern repeatedly in Boulder City, where the desert soil drains fast on the surface but caliche layers trap water against foundations after a heavy monsoon soak. A liner installed in June looks fine through August. By the next February, after a wet winter, the same liner is bubbling. Understanding Boulder City’s swing between dry heat and concentrated rain events is half of reading these signs correctly.
Here’s the diagnostic order we use:
- Water first. Is there standing water or saturated soil under the liner, or against the footing on the outside? Water is the upstream cause of nearly everything else.
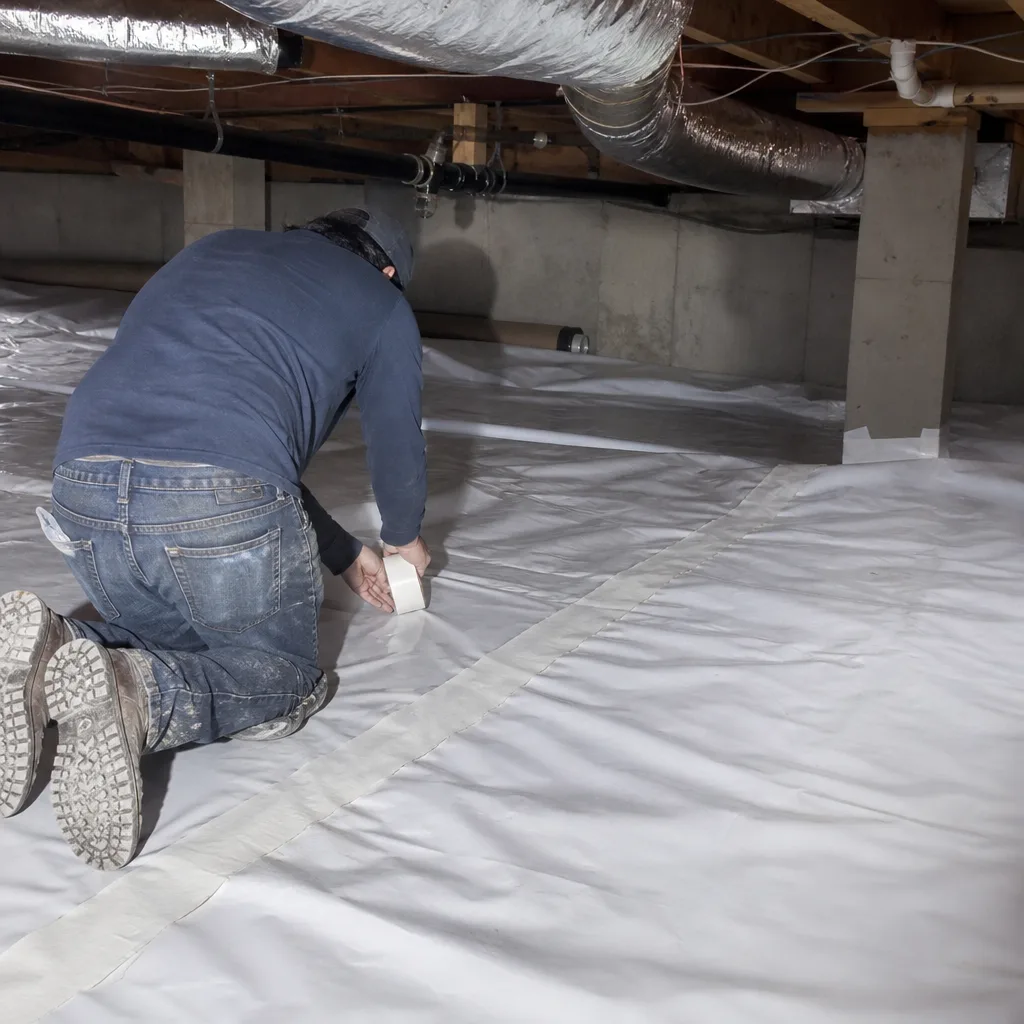
- Attachment second. Is the liner mechanically fastened to the perimeter at the top, or just laid over the soil and taped?
- Penetrations third. Are pipes, piers, and posts sealed at the liner, or cut around and left open?
- Material last. Only after the first three do you evaluate the plastic itself for tears, delamination, or thin gauge.
Working in that order keeps you from replacing a perfectly good liner that was installed wrong.
Liner Failure vs. Installation Failure: How to Tell Them Apart
These are different problems with different fixes, and conflating them wastes money. A liner failure is the material giving up. An installation failure is the material never getting a fair chance.
Signs of a genuine liner failure
- Tears at folds or along the bottom where the plastic meets the soil, not at the perimeter
- Delamination or a chalky white film on the surface of the sheeting, which means the plastic has degraded
- Seams that have separated along the tape line even where the liner was well-supported
- Uniform thinning or embrittlement across the whole sheet, not just high-traffic spots
Signs of an installation failure
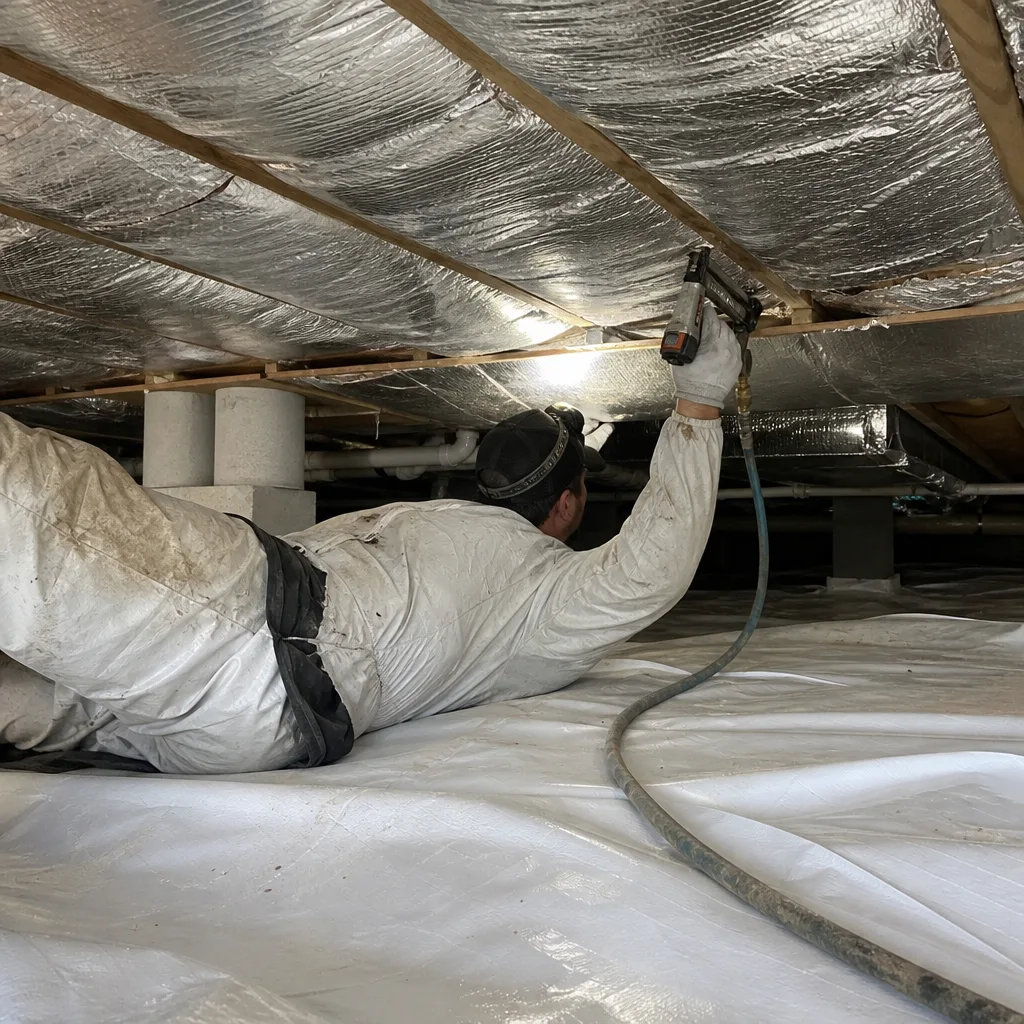
- Liner detached from the foundation wall at the top edge, with no fasteners visible
- Seams overlapped two or three inches instead of the eight to twelve inches most liner specs call for
- Penetrations cut wide and left unsealed, so water and air pass right through
- No drainage mat or gravel layer under the liner where the soil holds water
- Liner laid flat across a sloped or uneven floor with no relief, so water pools in the low spots
The tell with installation failures is that the damage clusters at edges and transitions. Liner failure clusters in the middle of the field where the material takes stress. If your barrier’s problems are all at the perimeter, the plastic was probably fine.
What Crawl Space Odor Patterns Tell You
Musty odor is the symptom homeowners notice first, and it’s also the one most often misread. The question isn’t whether it smells. It’s when it smells and whether the smell changes.
An odor that’s present year-round, faint and steady, usually points to historic moisture that got sealed in rather than removed before the encapsulation. The wood was damp when the liner went down, the moisture had nowhere to go, and now it cycles slowly through the space. That’s an encapsulation that trapped a problem.
An odor that spikes after rain, then fades over a week or two, points to active moisture bypass. Water is still getting in somewhere the liner doesn’t cover: an unsealed rim joist, a foundation crack above the liner line, a vent left open against the encapsulation design. You’ll notice the smell strongest in Boulder City after a winter storm cycle, when the ground is saturated and the crawl space takes on water from the wet side.
A sharp, sour, or ammonia-tinged smell is a different animal. It can mean rodent activity or a plumbing leak under the house. We’ve found both in Boulder City crawl spaces where the homeowner assumed the odor was just “old house smell.”
Write down the pattern before you call anyone: when the odor appears, how long it lasts, and whether it tracks with weather. That record is worth more to a diagnostician than a nose alone.
Efflorescence on Crawl Space Walls: Reading the Water Source
Efflorescence is that white, powdery bloom that shows up on concrete and masonry. It’s salt pushed to the surface by water moving through the material and evaporating. When you see it on a crawl space wall, the question is which direction the water came from.
Lateral intrusion leaves efflorescence in a band at the base of the wall, often with a tide-line pattern that rises and falls with the water table. The wall feels cold and damp near the bloom. This means water is entering from outside the foundation, and no liner inside will fix it. The fix is exterior drainage, grading, and sometimes a French drain or footing drain.
Condensation leaves efflorescence more evenly distributed, often on the upper portion of the wall and on cold pipes. It shows up when warm humid air meets a cool surface. In a sealed crawl space, that’s usually a sign the space isn’t being dehumidified properly, or the encapsulation was done without addressing the vapor source above.
The difference matters because the fixes are opposite. Intrusion needs exterior water management. Condensation needs interior humidity control. If someone sells you a dehumidifier for a lateral intrusion problem, you’ll have a drier crawl space and a wet foundation wall for years. In Boulder City, where the soil usually dries fast but caliche can hold water against a footing, we look for the tide-line pattern first before recommending anything.
Wood Moisture Content: The 19% Threshold
Here’s the number to remember: 19%. Wood in a healthy crawl space should read between 10% and 16% on a pin meter, depending on the season and the species. Above 19%, you have active wetting, even if the liner looks perfect.
A pin meter is cheap, twenty to fifty dollars at any hardware store, and it’s the single most useful tool a homeowner can own for crawl space diagnostics. You press two pins into the wood, and it reads the moisture percentage. Check the joists, the subfloor above, and the sill plate. Take readings in three or four locations and write them down with the date.
What the readings tell you
- Under 16%: Normal. The encapsulation is doing its job and the wood is stable.
- 16% to 19%: Borderline. Watch it over a season. It may be a slow vapor source you haven’t found yet.
- Above 19%: Active wetting. Something is feeding moisture to the wood despite the liner. Find the source before it becomes rot.
We check joist ends at the rim first, because that’s where air leakage and moisture tend to concentrate. If those read dry but the middle of the floor reads wet, you have a different problem than if the whole floor reads wet. The pattern is the diagnosis. A homeowner tracking a single joist with a pin meter month to month will catch a slow leak long before it shows up as a stain.
Documentation to Request Before Calling It a Failure
Before you blame a contractor or a product, get the paperwork. Any reputable encapsulation job should have generated a small package of records, and its absence is a warning sign all by itself.
What to ask for
- Pre-job moisture readings. Liner jobs should start with a documented baseline: wood moisture content in several locations, soil condition, and any visible water intrusion. If there’s no baseline, nobody can prove the encapsulation was supposed to prevent what’s now happening.
- The liner specification sheet. Gauge, mil thickness, puncture resistance, and manufacturer. You want to know what was installed, not just that “a liner” went in.
- Seam-overlap measurements. Good installers document seam overlap because the spec calls for it. Two inches is not the same as ten.
- A photo record of the finished work. Photos of the perimeter attachment, the penetrations, and the floor before the liner went over them tell you exactly what was done.
At Envelope Insulation Boulder City, every job closes with a documented photo record of the completed crawl space encapsulation and vapor barrier, and before-and-after blower-door readings on applicable jobs. If you can’t produce those records for a prior installation, ask the installer for them in writing. If they can’t be produced, that’s your answer about whether the job was done to spec. A free second opinion on a written estimate is standard with us, and it applies just as much to a finished job under dispute.
Rim Joists, Penetrations and Pest Entry: The Pre-Liner Work
Half of what fails in a crawl space encapsulation was never done before the liner went down. The liner is the last step, not the first, and skipping the air-sealing work ahead of it is how moisture gets trapped.
Rim joists and band joists are a common culprit. On a lot of Boulder City homes, the rim is where outside air and moisture meet the floor structure, and if those bays aren’t sealed and insulated before the crawl space is closed up, you’ve sealed a moisture highway into the building. In our experience, a rim bay that’s left unsealed will show condensate on the joist after a cold snap, even with the liner in place.
Penetrations matter just as much. Pipes, conduit, and piers that pass through the liner need to be sealed with a proper boot or sealant, not just cut around. An open penetration is a hole in the whole system.
Pest entry points are the ones most often forgotten. A crawl space liner that goes down over an active rodent route turns into a tunnel. We’ve opened Boulder City crawl spaces where the liner was chewed through because rodent proofing wasn’t done first. If the attic insulation work in Boulder City shows rodents, the crawl space almost certainly has them too, and encapsulation without pest exclusion is a shortcut that costs more later.
The right order is air sealing, pest exclusion, drainage, then liner. Every time.
Drainage Details Most Encapsulations Skip
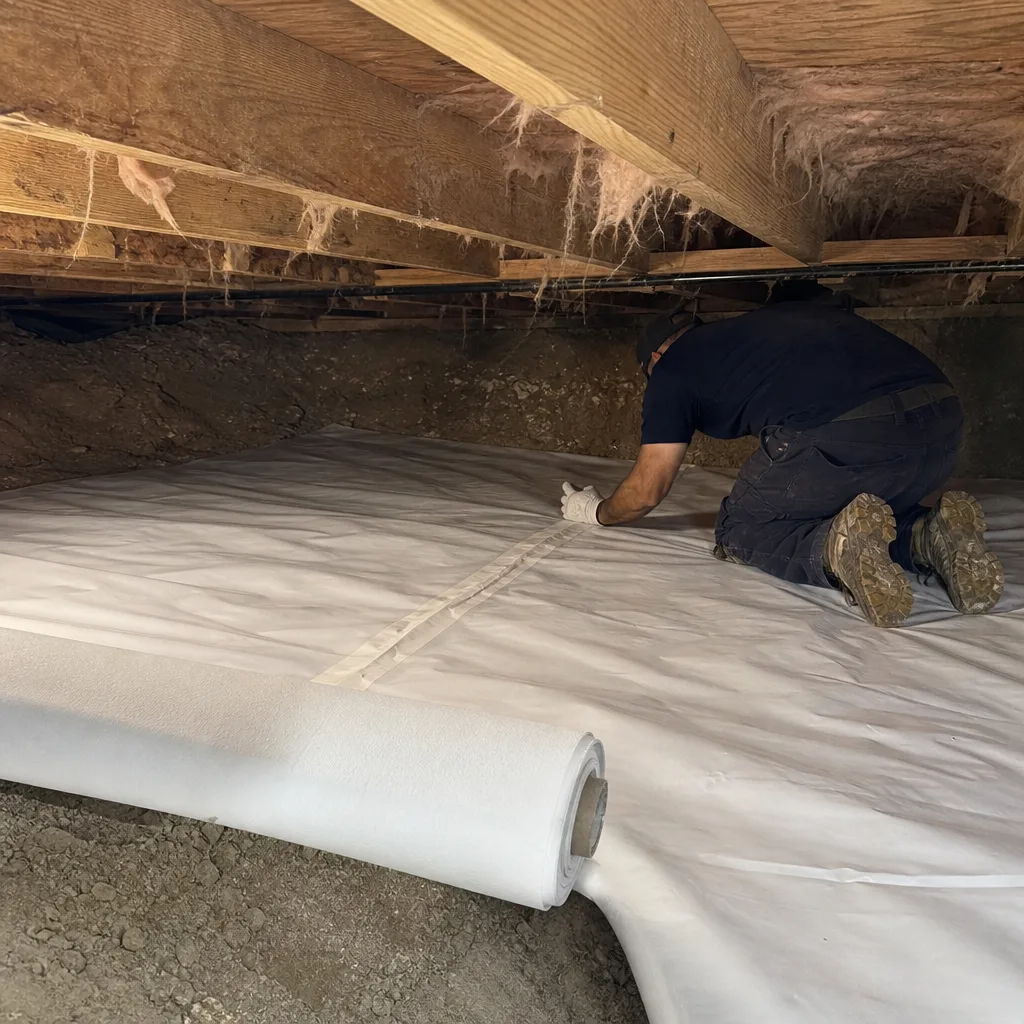
A liner is a vapor barrier, not a waterproofing membrane. It’s not designed to hold standing water. But on a lot of jobs, the liner goes down over soil that could hold water, with no drainage layer underneath, and the homeowner is told the crawl space is “encapsulated” and done.
What’s missing is a plan for what happens to water that does reach the liner. Three details matter:
- Slope. The soil beneath the liner should drain toward a low point or sump, not sit flat or cup under the middle of the house.
- Drainage mat or gravel bed. A layer under the liner lets water move to the sump instead of pooling against the plastic.
- Perimeter drainage at the footing. If water is entering laterally, it needs somewhere to go outside the foundation, or the liner will be fighting it forever.
In Boulder City, sump pumps aren’t the default some contractors assume. Most years the crawl space stays dry, and a sump is overkill. But in a monsoon year, or if the home is on a slope where water runs toward the foundation, the sump stops being optional. Skipping it is how a liner tears at a fold after a heavy rain, because it was never given a drainage path. If you’re comparing quotes, ask each one where water goes when it reaches the liner. If the answer is a shrug, that’s the quote you leave behind.
Common Mistakes to Avoid
- Blaming the liner for a drainage failure. If the perimeter wasn’t sealed and water was entering laterally, no liner was going to hold it. Replace the drainage plan, not just the plastic.
- Encapsulating over wood that reads above 19%. Any wood over the threshold is damp wood. Dry it or find the source before the liner goes down, or you’ve sealed moisture into the assembly.
- Skipping rodent proofing before the liner. In Boulder City, a crawl space with no pest exclusion becomes a rodent highway under the plastic. Exclude first.
- Accepting a job with no pre-job moisture baseline. Without a written baseline, you can’t prove what the encapsulation was supposed to prevent. Ask for it before work starts.
- Deciding on a failure before reading the seam overlaps. Two inches isn’t ten. Measure the overlaps before you call it a product defect.
- Treating a dehumidifier as a fix for lateral intrusion. Drying the air inside a wet foundation is a patch. The water source outside is still there.
- Skipping the rim joist air sealing. A crawl space that’s sealed to the ground but open to the rim will still collect moisture at the joist ends. Sealed first, then insulated, in that order.
When to Call a Professional
Call a professional when you find standing water under a liner, wood moisture above 19% in more than one location, efflorescence in a tide-line pattern at the base of the foundation wall, or an odor that returns after every rain. Those four point to water sources a homeowner can’t fix with a fan and a dehumidifier. Call when you’re comparing encapsulation quotes and the contractor won’t put a written scope, a moisture baseline, or a photo record on paper before work starts. And call when the warranty question goes unanswered, because under Haven Standard Clause 1, a written price, written scope and written warranty before anyone lifts a tool aren’t perks.
Envelope Insulation Boulder City offers free estimates in Boulder City, with a written price before any work starts, a free second opinion on any written estimate, and a documented photo record on every visit. Call (844) 320-7926 to schedule one.
Frequently Asked Questions
The most common warning sign is a liner that’s pulling away from the foundation wall at the perimeter, which usually points to an installation failure rather than a product failure. It appears when the liner was laid flat and never mechanically attached at the top edge, or when water is pushing it off the wall from behind. Either way, it’s a fixable problem, but the cause has to be identified before the repair. For a Boulder City crawl space, an unsealed perimeter in a home near the historic district is the pattern we see most.
Look at where the damage clusters. A product defect shows up in the middle of the material field: tears at folds, delamination on the surface, or seams separating where the liner takes stress. An installation defect clusters at the edges and transitions: detached perimeter, short seam overlaps, unsealed penetrations, no drainage layer. Check the manufacturer’s spec sheet against what’s actually installed. Call (844) 320-7926 if you’d like a second opinion on the diagnosis, and estimates are free.
Above 19% means active wetting: the wood is taking on moisture despite the liner being in place. Healthy crawl space wood usually reads 10% to 16%. Readings above 19% mean you have a live vapor or liquid source that the encapsulation isn’t stopping, and it needs to be traced before rot sets in. A twenty-dollar pin meter from any hardware store will give you that reading in ten seconds. If yours comes back high, call (844) 320-7926 for a professional assessment.
An odor that spikes after rain, then fades, points to active moisture bypass: water is getting in somewhere the liner doesn’t cover. Typical spots are the rim joist, an open foundation crack above the liner, or a vent left open against the encapsulation design. Boulder City’s winter storm pattern is the trigger for most of these, because the soil holds water longer than a monsoon would. Call (844) 320-7926 and we’ll trace the bypass source rather than just treat the smell.
Not necessarily. White powder is efflorescence, and it means water is moving through the concrete and evaporating, leaving salt behind. If it’s in a band at the base of the wall, it’s usually lateral intrusion from outside and the encapsulation was never going to stop it. If it’s spread across the upper wall, it’s more likely condensation. The two need different fixes. Bring us a photo and a moisture reading and we’ll tell you which one you’re looking at, with a free estimate.
Ask for three things: the pre-job moisture readings, the liner spec sheet with gauge and manufacturer, and the seam-overlap measurements or photos. If the original installer can’t produce them, that’s information. At Envelope Insulation Boulder City, a documented photo record is standard on every visit, and we publish before-and-after blower-door readings on applicable jobs so the result is documented, not claimed. Call (844) 320-7926 to schedule a free estimate and see what the record looks like before work starts.
The Bottom Line
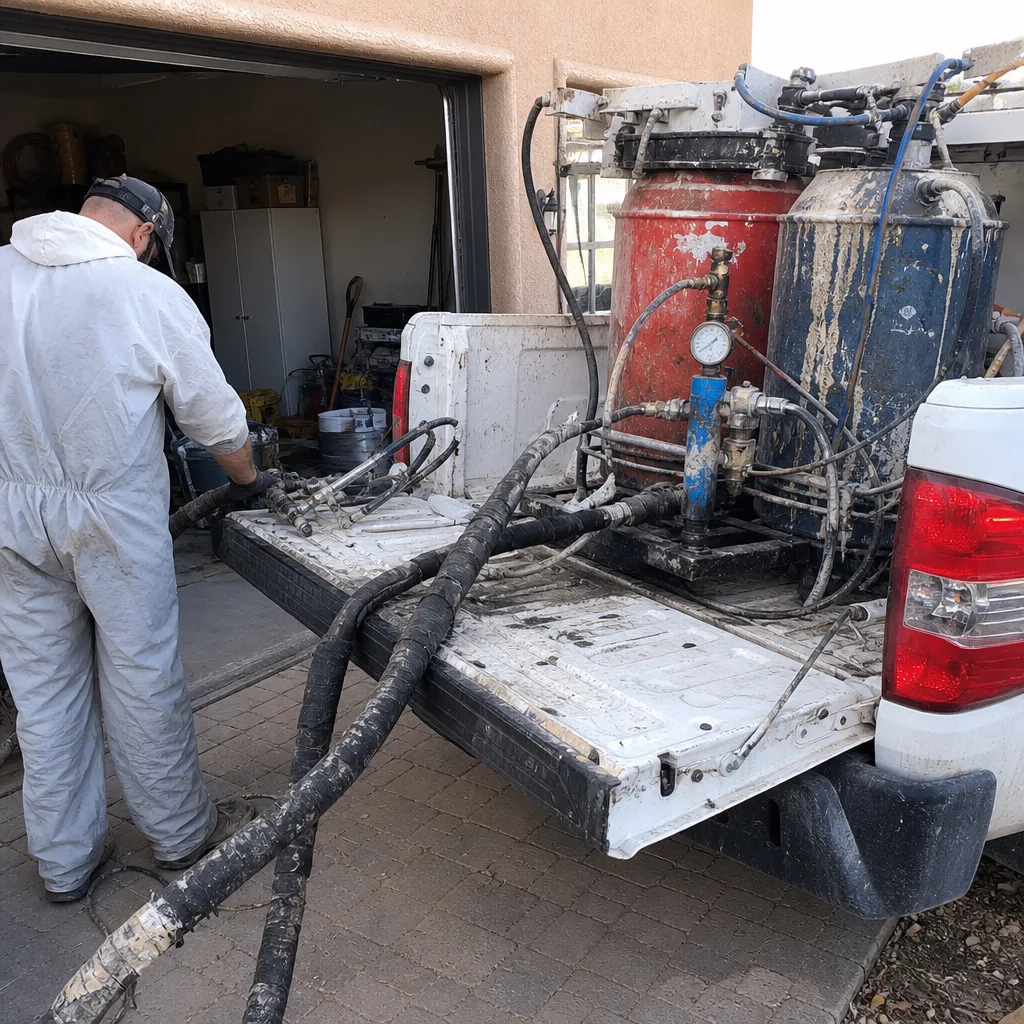
Crawl space encapsulation failures are usually read wrong. The liner takes the blame when the real problem is upstream: unsealed rim joists, unaddressed pest entry, skipped drainage details, and moisture that was sealed in rather than removed. Read the signs as a diagnostic trail. Water first, attachment second, penetrations third, material last. Then check the paperwork. A job that produced a pre-job moisture baseline, a liner spec sheet, seam-overlap measurements and a photo record can be evaluated. A job that didn’t is a warning sign on its own. The Envelope Insulation Boulder City home page and our spray foam insulation service in Boulder City describe how we handle the sealing work that has to come before any liner goes down. When the signs point to a real problem, get a second opinion on paper. It costs nothing and it answers the question.
Call (844) 320-7926 for a free estimate. Every job begins with a written price before any work starts, ends with a documented photo record, and is backed by the 365-Day Done Right Promise. If it’s not done right, we make it right.
Written by the team at Envelope Insulation Boulder City.