
Last updated November 17, 2026
Radiant Barrier Installation Maintenance Schedule: What to Do and When
Dust on a radiant barrier does something quiet and measurable: it walks the surface away from being a mirror and toward being a regular building material. A clean foil surface with a low emissivity of roughly 0.05 reflects most radiant heat back before it can load your attic deck. Coated with a decade of desert particulate, that same surface drifts toward the emissivity of ordinary drywall, around 0.90, and stops doing the job you paid for. The change is invisible from the ladder unless you know what you’re looking for. Below is the maintenance schedule we’ve refined across Boulder City attics, built around the dust rather than the calendar.
Quick Answer
Inspect your radiant barrier every year, measure surface reflectance with a wipe test at Years 1 and 3, and plan a dry cleaning between Years 5 and 7 in a Boulder City attic with active air infiltration. If your attic is sealed to a low ACH50 (air changes per hour at 50 pascals), the same foil can go 10 to 15 years between cleanings. The schedule follows dust accumulation, not the calendar.
Table of Contents
- Why Dust Matters More Than Time
- How Desert Air Infiltration Coats Your Foil
- How to Measure Surface Dust Without a Lab
- The Year 1, 3, 7, and 15 Inspection Schedule
- Physical Inspection Beyond Dust: Sagging, Tape, and Moisture
- The Correct Cleaning Method (and When Not to Bother)
- Why Air Sealing Changes the Maintenance Case
- When Cleaning Becomes Replacement
Why Dust Matters More Than Time
Radiant barriers work through a property called emissivity, which is a measure of how much heat a surface radiates. A clean foil facing the attic air space has an emissivity of roughly 0.05. That means it re-radiates very little of the heat that hits it, and the deck below stays cooler. Dust is a broadband infrared emitter. It sits somewhere between 0.85 and 0.95 emissivity depending on mineral content and moisture. When a layer of it covers the foil, the barrier effectively takes on the dust’s emissivity, not the foil’s.
The performance loss is not linear. A light haze knocks reflectance down maybe 10%. A visible uniform coating takes you to 30% or more. In a home in Boulder City with an attic that pulls in outside air through unsealed penetrations, we’ve measured coatings thick enough to drop emissivity to within range of standard sheathing by Year 7.
That is why the maintenance schedule is a dust schedule. A foil that sits in a tight, well-sealed attic in a leafy suburb might not need attention for a decade. The same product in a Boulder City attic near the wash or downwind of a gravel yard can be functionally shot in seven years. Location matters more than the brand on the box.
How Desert Air Infiltration Coats Your Foil
Boulder City sits in a high desert basin with fine particulate that never really stops moving. Wind events in spring push dust through attic vents, ridge vents, and every can light or top plate that wasn’t sealed during construction. The building science term is “air infiltration,” which is simply outside air finding its way in through a gap that should have been closed.
Once that air is inside the attic, it slows. The particulate it’s carrying drops out and lands on horizontal surfaces. Radiant barrier foil is, by design, one big horizontal surface. It is also perforated or unperforated depending on the product, but either way the top face collects like a shelf.
Two things speed the process up in Boulder City specifically:
- Temperature cycling. Day-night swings of 30 degrees or more in summer pull air in and push it back out through the same leaks, depositing a fresh layer every cycle.
- Attic fan and vent stack drafts. Homes with a powered attic ventilator pull outside air across the foil at higher velocity than a passive ridge vent, and they pull more particulate with it.
We see this in attics built from 2015 to 2025 in Boulder City because that’s the era of tighter wall assemblies paired with attic penetrations that were never sealed at the top plate. The walls got better. The ceiling plane didn’t. The foil faces the fallout.
How to Measure Surface Dust Without a Lab
You don’t need a reflectometer to know roughly where you stand. A simple wipe test at a fixed spot on the attic floor gives you a repeatable answer every year. Here’s how to do it safely:
- Pick a marked test location. Choose one spot on the foil in an accessible area and mark the joist above it with a pencil or a strip of painter’s tape labeled with the date. Every inspection uses the same spot so you can compare results year over year.
- Wipe with a clean white rag. A microfiber cloth or a scrap of white cotton works. Press it flat against the foil and wipe an area about the size of a playing card. Use dry pressure, no cleaner.
- Look at the rag, then look at the foil. A faint grey tint on the cloth means light dust. A clear grey-to-brown band means moderate accumulation. A thick coating that you can push into a line with one finger means heavy.
- Photograph both. A dated photo of the rag and the wiped foil patch is your record. Save it in a phone album labeled by year.
For those who want a number, a handheld emissometer borrowed or rented from a local building performance shop runs $300 to $800 to buy; the wipe test costs nothing and tracks the same trend. We use a blower-door test to read envelope airtightness in CFM50 (cubic feet per minute at 50 pascals), which is the number that predicts how fast your foil will dirty again. Homes above 3,500 CFM50 with foil in the attic are on the fast schedule. Homes below 2,000 are on the slow one.
The Year 1, 3, 7, and 15 Inspection Schedule
This is the schedule we hand to Boulder City homeowners after a radiant barrier install. It’s built around four checkpoints. Every one of them is a 20-minute walk-through, not a service call.
Year 1 (Baseline)
- Wipe test at your marked spot; photograph it and save.
- Note the color of the foil at the ridge and at the eaves; the ridge dirties first because it’s closest to the highest dust-load air.
- Visually check tape at every seam and penetration you can see from the access hatch.
- Look up at the underside of the foil from directly below; sagging shows up here first.
Year 3 (First Trend Read)
- Repeat the wipe test at the same spot; compare the rag photo to Year 1.
- If the rag is darker by more than one shade, your attic is pulling air faster than you thought.
- Check for condensation: any water spots, dark staining, or mineral streaks on the foil means you have a moisture problem, not a dust problem.
- Inspect any foil facing south-facing roof deck, because that side heats and cools hardest in Boulder City.
Year 7 (The Decision Year)
- If the foil is uniformly coated to the point where the wipe leaves a clean streak only under pressure, plan a cleaning.
- If you can see a clear reflective surface under a dust haze, you’re still performing, note it and schedule Year 10.
- Check tape integrity again. Any lifted tape joint should be re-taped now, not later.
- Check for sagging between staples; a belly more than a quarter-inch deep is a sign of fastener pull-through.
Year 15 (Long-Term Assessment)
- By Year 15 in a Boulder City attic without prior air sealing, expect to find heavy accumulation and some physical degradation of the foil itself.
- Decide between a deep cleaning and a sectional replacement; the physical inspection in the next section gives you the criteria.
Physical Inspection Beyond Dust: Sagging, Tape, and Moisture
Dust is the main event, but there are three other failure modes we look for on every visit. Each one has a signature you can spot without tools.
Foil sagging between staples. Radiant barrier is stapled to the underside of the roof rafters or laid over the ceiling joists depending on the product. When staples are shot into a rafter and the loads of temperature expansion pull them through, the foil sags. A belly more than a quarter inch between fasteners means fastener pull-through. Left alone, the sagging area collects more dust because it’s now a low spot in the airflow, and eventually the foil tears at a staple line.
Tape failure at seams and penetrations. Every seam in a radiant barrier is taped. That tape lives in a hostile environment: 140-degree summer attic temperatures, dust on the substrate, and daily expansion. After five to seven years, we regularly find tape that has lifted at the edges or failed outright at can light boxes and duct penetrations. Re-taping now is a $15 job with a roll of foil tape. Ignoring it lets the foil flap and tear.
Moisture condensation on the foil surface. This one matters most. A radiant barrier is a vapor retarder when it’s unperforated, and if warm moist air from the house finds its way to the cold foil in winter, it condenses. Look for water spotting, white mineral streaks, or dark staining on the foil underside. In a Boulder City home with a crawl space or one with a bathroom fan venting into the attic, condensation on foil is a red flag for a bigger envelope problem. That’s a call-the-professional moment, not a clean-it-yourself one.
The Correct Cleaning Method (and When Not to Bother)
Radiant barrier foil is a thin aluminum layer on a substrate. It does not like water, and it does not like abrasives. The correct method is dry, gentle, and top-down:
- Safety first. If your attic has blown-in insulation on the floor, wear a respirator and eye protection. If the attic temperature is above 100 degrees, wait for a cooler morning. Radiant barrier work in a Boulder City attic in July is not a weekend task.
- Work from ridge to eave. Start at the highest point and move down. Dust you dislodge falls away from the surface you’re cleaning, not back onto areas you already did.
- Use a soft horsehair brush or a microfiber flat mop. Dry only. No spray bottles, no cleaners, no vinegar, no soap. Water lifts the aluminum layer on cheap foil and stains it on good foil.
- Light pressure, overlapping passes. Two passes with light pressure is better than one with heavy pressure. You’re lifting dust, not scrubbing it in.
- A shop vac with a brush attachment, on low, catches the falloff. Don’t put a high-powered vac nozzle directly on the foil; it will pull the material. Keep it six inches away.
When is cleaning not worth it? Three situations. First, when the foil has lost its aluminum layer to scuffing or moisture damage; there is nothing to clean. Second, when the sag and fastener failure are extensive enough that the section needs replacement anyway. Third, when you’re looking at a foil product that was installed directly over an unsealed attic floor with 12 inches of blown-in insulation already on top of it; the foil is not doing radiant work and the money is better spent on air sealing and a properly installed barrier. Cleaning labor in Boulder City typically runs $150 to $400 for a 1,500-square-foot attic, and replacement of a section runs $1.20 to $2.00 per square foot for the material and labor.
Why Air Sealing Changes the Maintenance Case
Here is the piece almost every radiant barrier article leaves out: the maintenance schedule is not a property of the product, it’s a property of your attic’s airtightness. A radiant barrier installed over an attic that pulls 4,000 CFM50 of outside air will be dirty in seven years. The same barrier installed over an attic sealed down to 1,800 CFM50 will stay clean for more than a decade, because the dust-carrying air isn’t coming in.
We’ve seen this play out on Boulder City homes the same way. Seal the top plates, the can lights, the bath fan housings, and the plumbing penetrations, and then measure. Blower door readings before and after air sealing give you the number that maps to your dust rate. A home that drops from 4,200 CFM50 to 2,100 CFM50 is on a slower maintenance clock before the radiant barrier ever gets installed. That’s why our order of operations is sealed first, then insulated, and why we don’t blow insulation over an unsealed attic floor or install a barrier on a ceiling plane that leaks.
If you’re planning a Envelope Insulation Boulder City home evaluation, include the attic air sealing scope with the radiant barrier scope, not after it. It changes what you’ll be doing at Year 7 and Year 15 in ways that are easy to see on the CFM50 printout. Learn more about the order on our Attic Insulation in Boulder City page, which covers the same sealed-first sequence.
When Cleaning Becomes Replacement
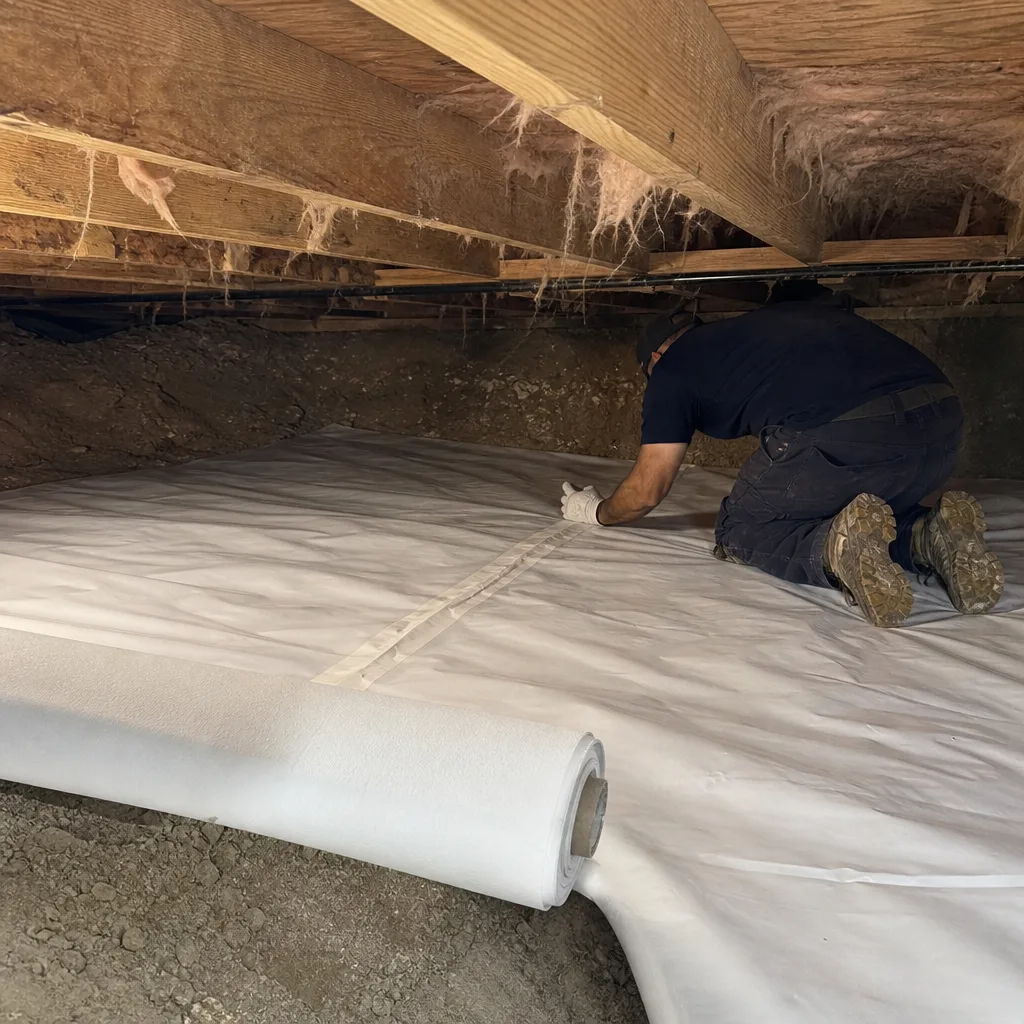
Cleaning makes sense when the foil is intact, the tape is holding, and the sag is minor. It stops making sense in four cases:
- The foil surface no longer reads as foil anywhere in the attic; you’re looking at dust bonded to a dull grey substrate.
- Fastener pull-through has created a sag deeper than an inch across a run of rafters, because the material has lost tension and will tear on the next cleaning pass.
- Moisture staining or mineral deposit is present on the foil underside, which means the material has been cycling wet and dry and the aluminum layer is compromised.
- You’re upgrading anyway; a full barrier replacement with new tape and fasteners costs less than cleaning plus two more years of performance you won’t get from the old material.
If any of these describe your Boulder City attic, we’d rather show you the numbers than the sales pitch. Ask for a blower-door reading before the assessment, so you know your starting airtightness next to the foil’s condition.
Common Mistakes to Avoid
- Cleaning on a calendar instead of a condition. A foil that hasn’t seen a dust event in three years doesn’t need Year 3 cleaning just because it’s on a chart. Test first, clean if warranted.
- Wet cleaning the foil. This is the one that costs you a whole section of barrier. Water does not clean radiant barrier foil; it damages it, and it leaves mineral deposits that increase emissivity instead of lowering it.
- Cleaning the foil before sealing the air leaks. You’re cleaning a surface the next wind event will dirty again. Seal first, clean after, and the interval stretches.
- Ignoring lifted tape because “it’s just tape.” A failed seam at a can light or duct penetration lets moisture into the assembly. Tape is the cheapest fix in the whole maintenance schedule.
- Missing the underside of the barrier. Looking up from the floor of the attic reveals sag, tear, and moisture staining that isn’t visible walking across the joists. Bring a headlamp.
- Assuming a perforated product behaves like unperforated. Perforated foil lets some vapor pass and tends to hold dust differently. Know which product you have before you build the schedule. A Johns Manville or CertainTeed barrier will have its product spec on the install record; find it.
- Trusting a visual “still shiny” pass. Sunlight on the access hatch can hit the foil at an angle that makes a moderate dust coating look reflective. The wipe test is the only reliable read.
When to Call a Professional
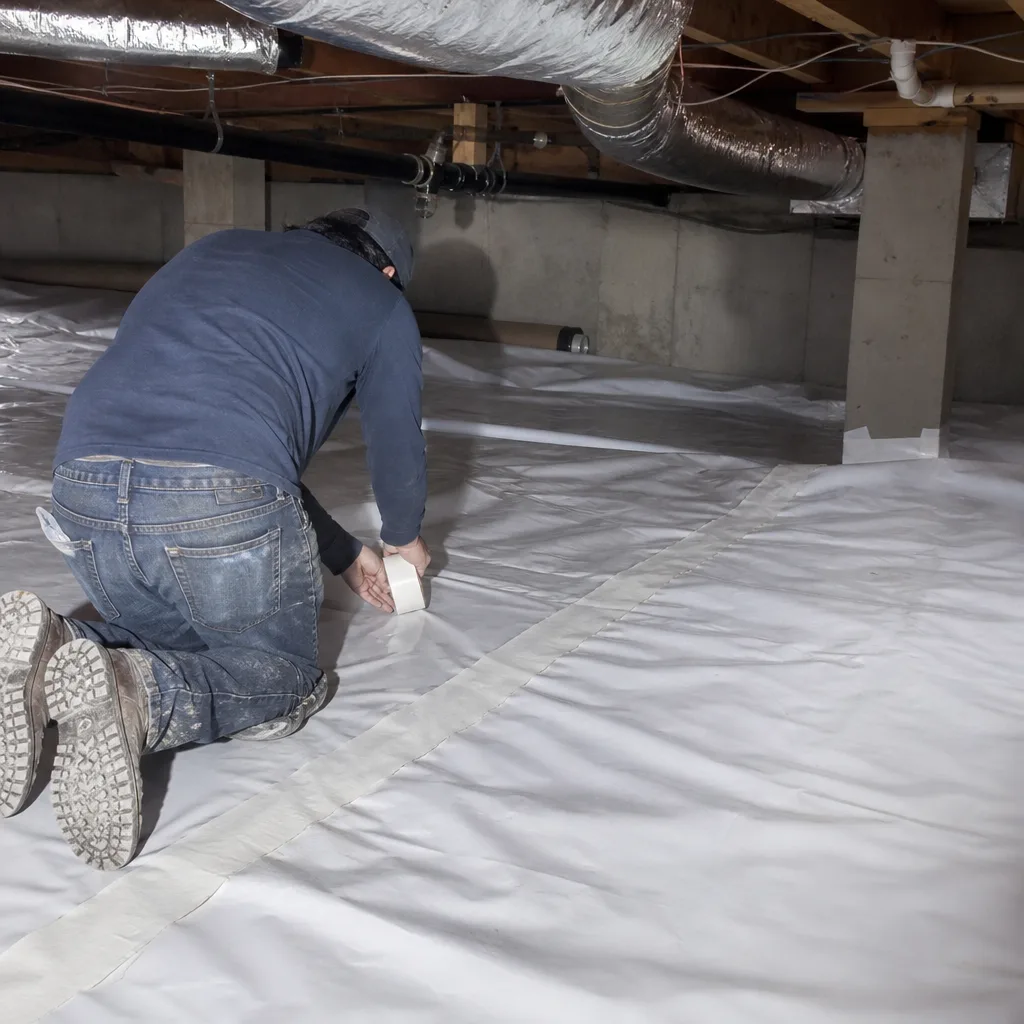
Call us when any of these describe your situation. Attic temperatures above 110 degrees in Boulder City summers make anything but a quick visual inspection a job for people with the right respirators and the right schedule. Condensation on foil, damage from rodent traffic, a barrier installed over active knob-and-tube wiring you didn’t know was there, more than 10% of the barrier area showing sag or tear, or a blower-door reading above 3,500 CFM50 all warrant a professional look. We also want to see the attic if your barrier is more than 10 years old and has never been assessed; a physical inspection plus a wipe test tells you in an hour whether you’re on the Year 7 fast schedule or a longer one. Envelope Insulation Boulder City offers free estimates in Boulder City and the surrounding area. If your crawl space shares dust with the attic, our Crawl Space Encapsulation & Vapor Barrier in Boulder City page shows the same sealed-first logic for the lower half of the envelope. For spray-applied options on the envelope itself, see Spray Foam Insulation in Boulder City.
Frequently Asked Questions
Plan a dry cleaning every 5 to 7 years in a Boulder City attic with active air infiltration, and every 10 to 15 years in an attic that’s been air sealed tight. The interval is set by dust accumulation, not by the calendar, so a yearly wipe test at a marked spot tells you which schedule you’re on. Call (844) 320-7926 for a free estimate if you’re unsure which side of that line your attic sits on.
Clean it if the foil still reads as foil under the dust and the tape and fasteners are intact. Replace the section if the aluminum layer has scuffed off, sag exceeds an inch across a rafter run, or you find moisture staining and mineral streaks on the underside. Photograph a wipe test and a straight-up view of the foil; those two photos answer the question most of the time. Call (844) 320-7926 if you want a second set of eyes.
Yes. A clean foil runs emissivity around 0.05, and a heavy dust coating pushes that toward the 0.85 to 0.95 range of a plain building material. That’s the difference between a barrier that reflects most of the radiant heat and one that mostly behaves like drywall. In a Boulder City attic with unsealed penetrations, that transition can happen in under a decade. Call (844) 320-7926 for a blower-door reading so you can see how fast your attic will dirty the foil again.
Yes, with caution. A dry microfiber mop or horsehair brush, light pressure, working from ridge to eave, is the correct method. Skip the water, skip the cleaners, and wear a respirator if there’s blown-in insulation on the floor. If the attic temperature is above 100 degrees or you see condensation or rodent damage, it’s a professional job. Call (844) 320-7926 for a free estimate on a cleaning and inspection.
Yes, if the tape has lifted or failed, and you should check it at every inspection point. Radiant barrier tape lives in a 140-degree summer attic and expands with the roof structure; after five to seven years, edge lift is common. Re-taping is inexpensive and prevents the foil from flapping and tearing. Call (844) 320-7926 if you want an inspection and a written quote for the tape work.
Substantially. Every CFM50 you remove from between the attic and the outdoors is a volume of dust-carrying air that no longer sweeps across the foil, and we’ve seen the maintenance interval move from roughly 7 years to 12 or more after a proper sealing job. Seal the top plates, can lights, bath fan housings, and penetrations first; then the barrier you install or clean stays clean longer. Call (844) 320-7926 for a free estimate on sealing plus an inspection of your existing barrier.
The Bottom Line
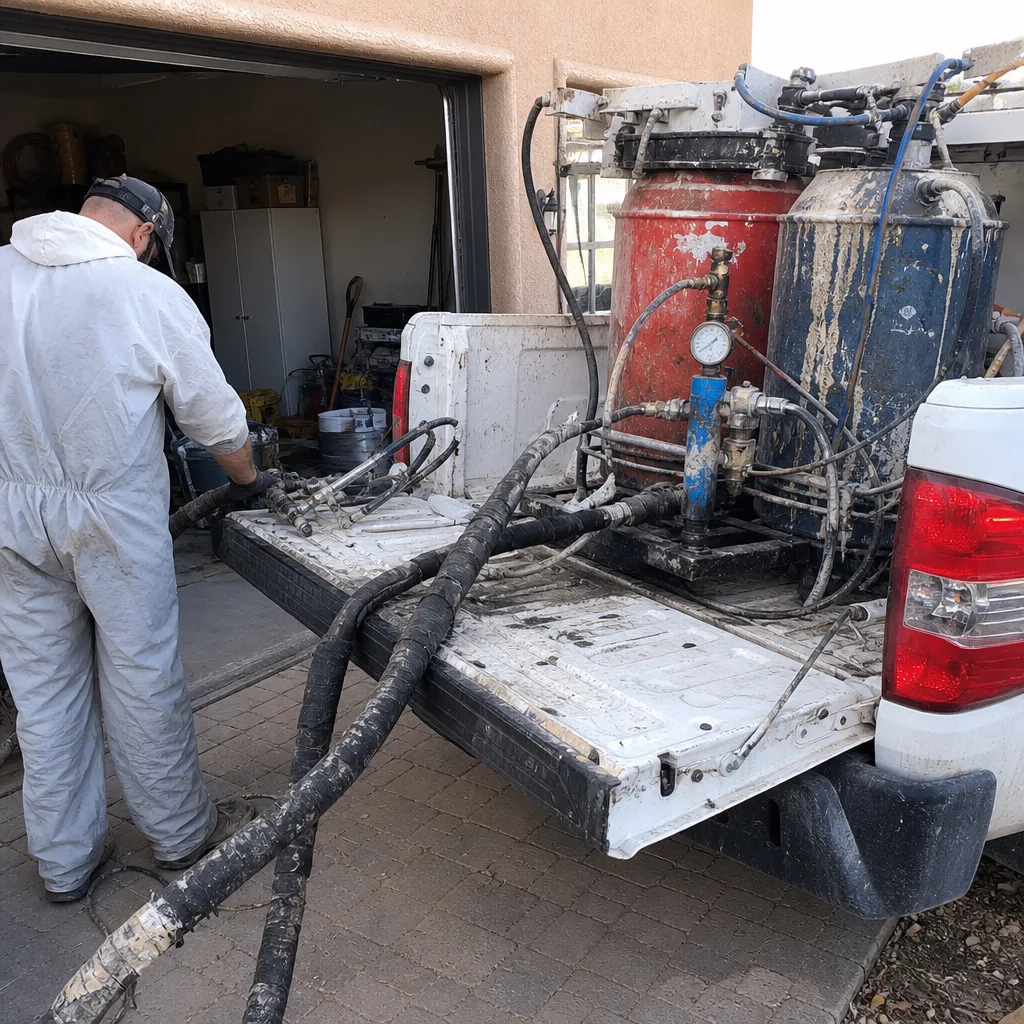
Radiant barrier maintenance is a dust schedule, not a calendar. Your foil’s performance lives or dies on emissivity, and every gram of desert particulate that settles on it pulls the surface closer to ordinary building material. Test the surface every year with a wipe at a marked spot, check tape, fasteners, and condensation at the same time, and plan a dry cleaning between Years 5 and 7 in a Boulder City attic that leaks air. If you seal the attic first, the whole schedule stretches to 10 to 15 years. Clean gently, dry only, ridge to eave, and know the four conditions that mean replacement rather than cleaning. The dust tells you what to do next; the calendar just gives you a place to write it down.
Call (844) 320-7926 for a free estimate. Every job begins with a written price before any work starts, closes with a Documented Photo Record, and on applicable jobs comes with before-and-after blower-door readings so you can see the change in your envelope in a single number.
Written by the team at Envelope Insulation Boulder City.