
Last updated November 17, 2026
Radiant Barrier Installation Troubleshooting: Common Problems and How to Fix Them
If a radiant barrier was installed two summers ago and the upstairs is still uncomfortable at 4 PM, the foil probably isn’t the problem – the air gap is. The foil loses most of its performance value when it’s in contact with the deck or the insulation surface, and that condition isn’t visible from the attic hatch. You have to get up there and measure. In our experience across Boulder City attics, nine out of ten “failed” radiant barriers were installed with good intentions and one of three defects: no air gap, the wrong face down, or foil bridged over a gap that broke the reflective plane. This guide gives you the diagnostic sequence – an infrared thermometer, a flashlight, and about forty minutes – to figure out which one you have and what it takes to fix it.
Quick Answer
A radiant barrier that isn’t performing is almost always suffering from a missing air gap, an emissivity-side error (the dull face pointing the wrong way), or a breach in the foil plane at a penetration or lap joint. You can diagnose all three with an infrared thermometer by comparing roof deck temperature, air gap temperature two inches below the foil, and ceiling surface temperature. If those readings look correct and the house is still hot, the problem is air sealing and insulation depth, not the foil.
Table of Contents
- How a radiant barrier actually works (and doesn’t)
- The three-step infrared diagnostic
- The air gap defect: how to spot it and what the spec is
- The emissivity-side error: which face goes down
- Lap joints, penetrations, and hot spots
- When the install is right but performance is still poor
- Repair or replace: the decision
- Common mistakes to avoid
How a Radiant Barrier Actually Works (And Doesn’t)
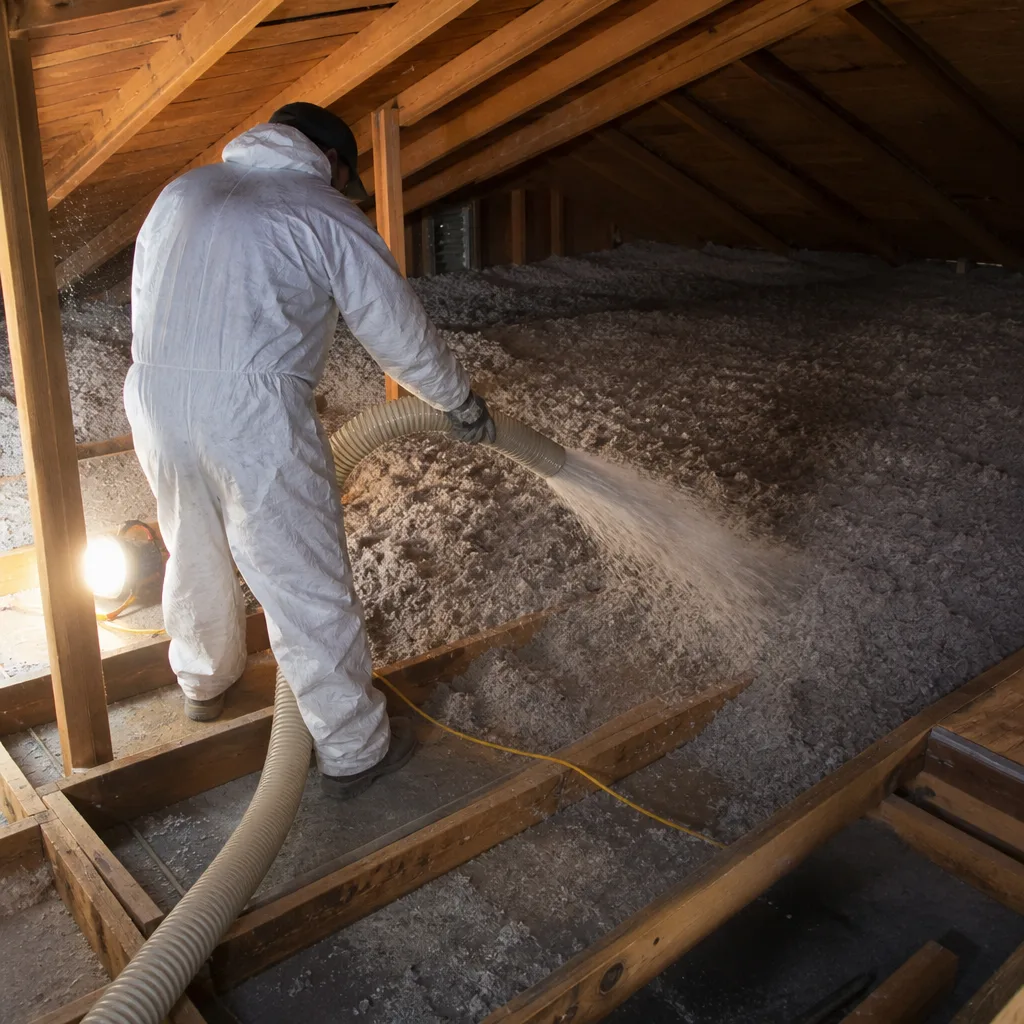
A radiant barrier is a low-emissivity surface – usually aluminum foil bonded to a substrate like poly scrim or kraft paper – that reflects radiant heat instead of absorbing and re-radiating it. In an attic, the roof deck gets hot from sun exposure in Boulder City summers that routinely push 105°F, and that heat radiates downward onto the insulation and ceiling. A properly installed barrier intercepts that radiant load and reflects it back up. What it does not do is stop conductive heat transfer, block air movement, or substitute for insulation depth.
The key number is emissivity. Fresh aluminum foil has an emissivity of about 0.03 to 0.05, meaning it radiates almost nothing. The underside of an asphalt shingle deck runs emissivity around 0.90. That gap – 0.05 versus 0.90 – is why the barrier works. But here’s the part that gets skipped: the foil only performs if it faces an air space. If it’s in contact with the deck above or the insulation below, heat conducts straight through and you lose the reflective gain. That’s why manufacturers specify an air gap on at least one side, usually the side facing the attic space.
The US Department of Energy and the Oak Ridge National Laboratory testing both show that radiant barriers cut attic heat flux by 30-40% in a well-detailed install. Those numbers assume the gap is there. In a typical Boulder City attic where a crew stapled foil flat against the deck because it was faster, the actual reduction is closer to 5%. The homeowner paid for a barrier and got a hot attic with a shiny sheen on the underside of the roof.
The Three-Step Infrared Diagnostic
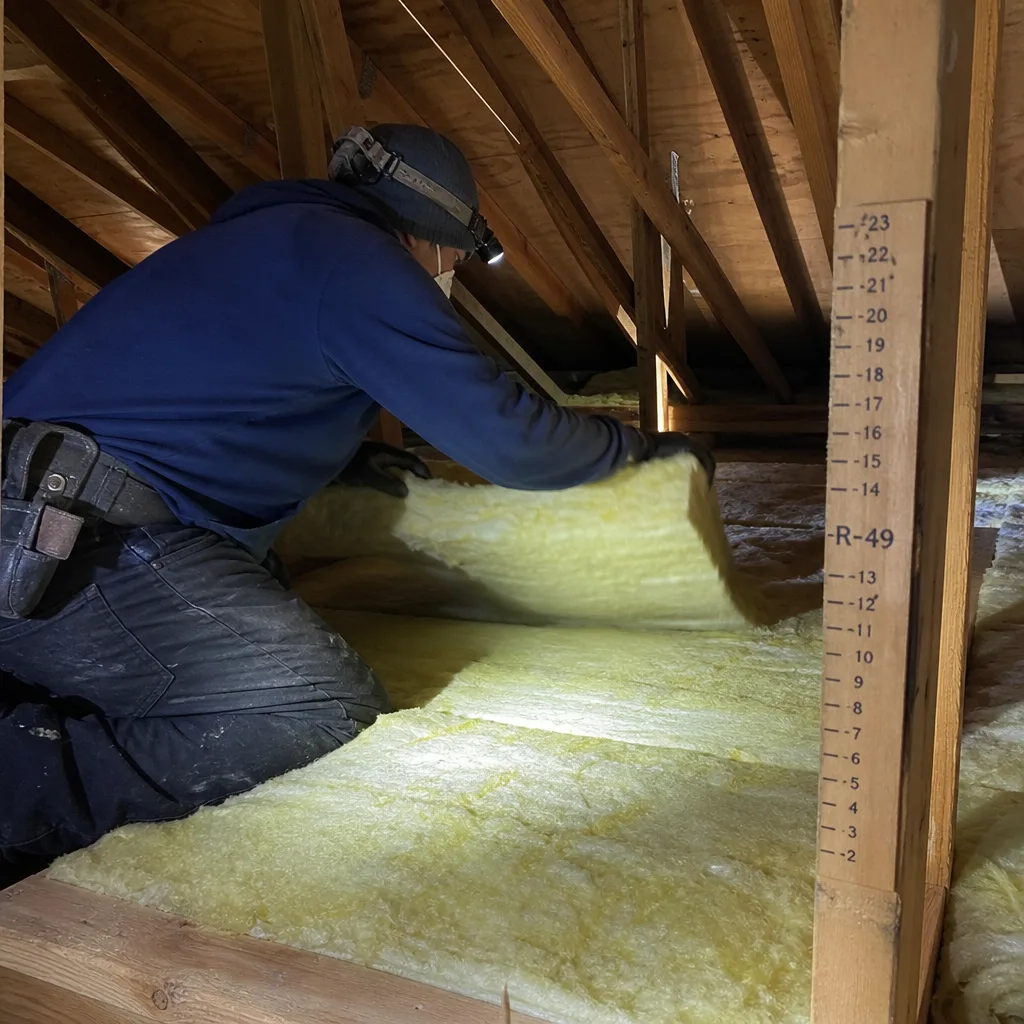
You don’t need a thermal camera to diagnose a radiant barrier problem. A handheld infrared thermometer with a laser dot (the kind that costs $30-60 at any hardware store) and a flashlight will get you through the three readings that tell the story. Do this on a hot, sunny afternoon in July or August – the diagnostic depends on a real heat load on the roof.
Step 1: Measure the roof deck temperature
Point the infrared thermometer at the underside of the roof deck, in a bay between rafters, away from any penetrations. A healthy reading in a Boulder City attic in mid-afternoon sits between 130°F and 160°F. If the deck reads 165°F or higher, the attic is loading heat aggressively – which is normal for this climate, but it sets the baseline for the next two measurements.
Step 2: Measure the air gap temperature 2 inches below the foil
Hold the thermometer so its sensor is in the air space between the shiny foil surface and the attic ambient air, roughly 2 inches below the foil. If the barrier is working, the air in that gap will read 20-30°F cooler than the deck. If the gap reads within 5°F of the deck, the foil is either in contact with the deck (no gap) or facing the wrong way. That’s a signal that something is wrong with the install, not the product.
Step 3: Measure the ceiling surface temperature
Point the thermometer at the drywall or plaster ceiling directly below the bay you just measured. In a house with working insulation and a functional radiant barrier, the ceiling surface should read 78-85°F on a 105°F day. If the ceiling reads 92°F or higher, the barrier and the insulation are both failing to stop heat from reaching the living space – which usually points to the fourth problem: inadequate insulation depth or unsealed air leaks.
Write the three numbers down with a photo of the thermometer display for each reading. That record is worth more than any verbal description when you bring in a contractor for a Envelope Insulation Boulder City home assessment, and it’s exactly the kind of documentation we publish on every job – before-and-after blower-door numbers alongside the photos.
The Air Gap Defect: How to Spot It and What the Spec Is
The air gap defect is the single most common radiant barrier failure we see in Boulder City, and it’s the one most installers won’t admit to because the fix requires re-stapling the whole plane. The barrier needs at least 0.75 inch of clear air space on the reflective side, and most manufacturers spec 1 inch or more. When a crew staples the foil tight to the underside of the roof deck to save time, the gap disappears. The foil may still look perfect from a distance. It isn’t working.
Visual signs the air gap is gone
- The foil looks taut and flat against the deck, with no sag between rafters.
- Staples are visible at close intervals along the rafter edges with no foil bubbling or billowing.
- You can’t slide a finger or a pencil between the foil and the deck at any point.
- The foil has no visible breathing room – no daylight gap at the ridge or eaves.
The straightedge check
Bring a yardstick or a 24-inch framing square into the attic. Place one edge against the underside of the roof deck and the other edge against the foil surface. If you can’t see a clear gap of at least 0.75 inch at every point along the straightedge, the install fails spec. Check at the top, middle, and bottom of at least three bays. In our experience, a failed gap will be obvious within the first bay you check.
What the fix requires
Re-establishing the gap is not a matter of tugging the foil down. It means removing the existing foil, inspecting the deck for moisture or damage, and re-stapling with the correct standoff – usually a perforated foil product with a built-in spacer, or a foil-faced polyiso panel that holds its own air space. On a typical 1,200-square-foot attic floor in Boulder City, expect 6-10 hours of labor and $1.80-$3.20 per square foot in materials. This is a job worth getting right the second time, which is why we don’t start any attic job without a written scope and a documented photo record of the existing conditions.
The Emissivity-Side Error: Which Face Goes Down
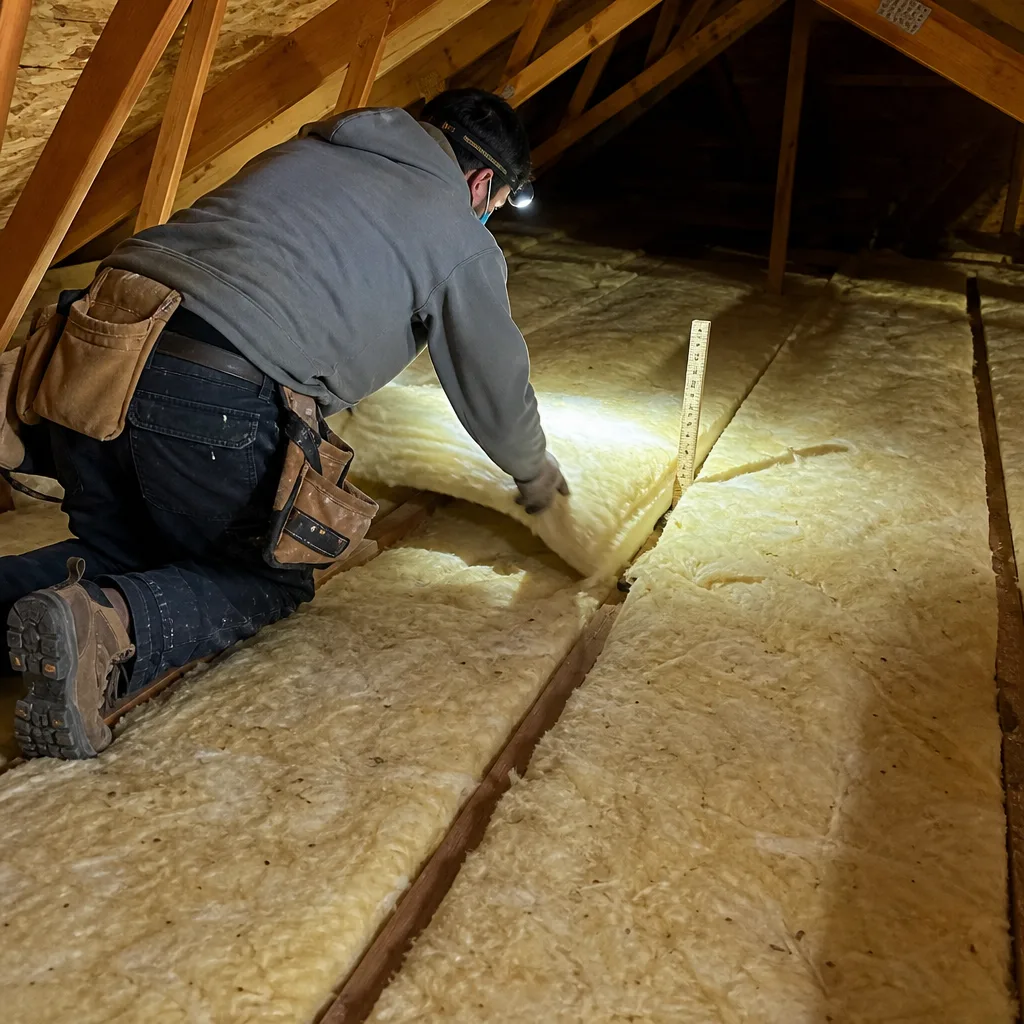
Most radiant barrier foil products are double-sided in appearance but only one face is treated for low emissivity. The shiny side goes down – facing the attic air space – and the dull, reinforced, or printed side goes up against the deck. Get it backwards and you lose 40-60% of the reflective performance because the emissivity of the wrong face runs 0.35-0.55 instead of 0.03-0.05. The barrier is doing something, just not what you paid for.
How to identify which side is correct after the fact
- Look at the foil in the attic with a strong flashlight. The reflective side will mirror the light brightly and show a clear reflection of your hand. The dull side will look like matte gray or printed kraft paper.
- Find the product label or the printed edge if you can. Most products print the brand name, the emissivity rating, or a “THIS SIDE DOWN” arrow on the face that should be facing the attic.
- If no label is visible, peel back a small corner of the foil where it laps over a rafter. The shiny face is usually the aluminum side of the laminate; the dull face is the scrim or kraft backing.
- Compare a section that’s clearly correct with a section that’s suspect. Any bay where the reflection is dull is upside-down.
What the fix requires
Flipping a radiant barrier is not always as simple as pulling staples and re-hanging the same sheet. A lot of foil gets damaged during removal, and the staples leave holes. In practice, most upside-down installs in Boulder City get fixed by pulling the barrier and re-installing new material with the label side verified against the manufacturer’s spec. Expect $2.00-$3.50 per square foot in materials plus 4-8 hours of labor for a typical attic. Brand choice matters here – we source Owens Corning and Johns Manville barrier products because both print clear orientation markings on the correct face, which cuts installation error.
Lap Joints, Penetrations, and Hot Spots
A radiant barrier is only as good as its continuous surface. Every gap – a lap joint where two sheets meet, an HVAC boot, a can light, an attic hatch frame, a plumbing vent stack – is a hole in the reflective plane, and heat pours through it. These show up on a thermal image as bright hot spots, and you can find them with a flashlight and the infrared thermometer by scanning the attic ceiling for localized temperature spikes.
Where breaches happen in Boulder City attics
- HVAC penetrations: supply and return boots where the ductwork passes through the attic floor. Foil often gets cut tight around the boot with no overlap, and a 1-inch gap around a 10-inch boot is a big hole in the barrier plane.
- Can lights (recessed fixtures): the foil gets pie-cut or skipped entirely around the housing. Standard can lights are leaky by design; the barrier makes the leak worse if it’s cut without a sealed housing.
- Attic hatch: the frame is almost always foil-bare, and if the hatch door itself isn’t insulated and sealed, the entire opening becomes a bypass chimney.
- Plumbing vents and flues: any pipe that penetrates the roof or ceiling gets a foil penetration that has to be sealed with foil tape, not duct tape.
How to check and repair a breach
Bring the infrared thermometer within 2 inches of each suspected penetration. A hot spot that reads 15°F warmer than the surrounding foil is a confirmed breach. Repair with a foil-tape patch cut to overlap the existing foil by at least 2 inches on all sides, and seal with a foil-faced tape rated for the temperature swing. In our experience, HVAC boots and can lights account for 70% of the hot spots we find. This is the same pre-job inspection that surfaces in crawl space and vapor barrier work, where continuity of the barrier matters just as much.
When the Install Is Right but Performance Is Still Poor
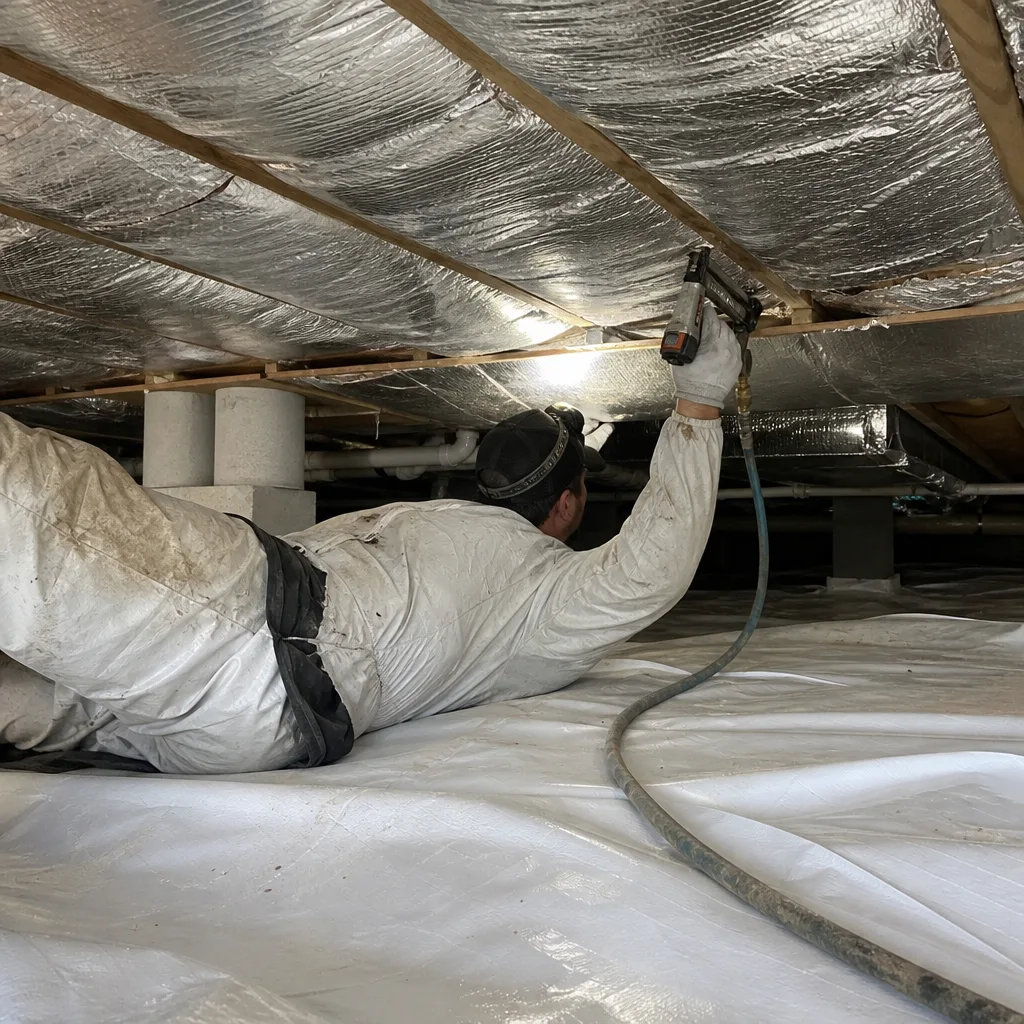
Here’s the case that sends a lot of Boulder City homeowners back to the internet looking for a “better” radiant barrier: the foil is correctly installed, shiny side down, air gap intact, no visible breaches – and the upstairs is still hot at 4 PM. The barrier is doing its job. The problem is that radiant gain was never the biggest heat load in the house. Conductive and convective loads are overwhelming the gain that the barrier was supposed to reduce.
What’s probably happening
- Air leaks at the ceiling plane: the attic floor is full of penetrations – top plates, can lights, wiring holes, the furnace flue – and hot attic air is being pulled into the living space by stack effect. A blower-door reading on an unsealed attic in Boulder City routinely shows 3,500-5,500 CFM50 of leakage. That’s a convective load the foil can’t touch.
- Inadequate insulation depth: Boulder City’s climate zone calls for R-38 to R-49 in the attic. If the existing blown insulation is 6 inches deep (roughly R-19), the ceiling is conducting heat straight through regardless of what the foil above is doing.
- Duct leakage in the attic: if the HVAC ducts run through a 140°F attic and leak 15% of their supply air, the house cools inefficiently no matter how good the barrier is. Duct sealing is a separate job from barrier work.
- Windows and envelope: a radiant barrier doesn’t fix single-pane windows or unshaded west-facing glazing. In Boulder City, the 4 PM west sun load through glass is significant.
What to do about it
The diagnostic is a blower-door test before and after air sealing. If the pre-test reading is high, the fix is to seal top plates, can lights, and penetrations before anything else – the same order we follow on every air sealing and spray foam job. In our experience, sealing an attic floor in a Boulder City house typically cuts CFM50 by 30-50%, and the comfort gain at 4 PM is often larger than the radiant barrier gain. Radiant barriers and air sealing work together; the barrier only pays back when the air leaks are closed.
Repair or Replace: The Decision
Not every radiant barrier problem justifies a full removal and re-install. Small air-gap defects at one or two bays can sometimes be corrected with localized re-stapling. A single upside-down section can be flipped if the foil is undamaged. Breaches at penetrations are always patch jobs. The math changes when the defect is systemic.
- Repair: one or two bays with a gap, a handful of penetration hot spots, a single lap joint that lifted. Cost: $300-$800 depending on access.
- Replace: more than 30% of the attic has no air gap, the majority of the foil is upside-down, or the barrier was installed over wet decking and shows staining. Cost: $2,200-$4,500 for a typical Boulder City attic, depending on square footage and material choice.
- Replace plus air seal plus insulation top-up: if the diagnostic shows both barrier defects and high blower-door leakage, doing all three at once is usually the right call. Cost: $4,500-$8,500. The barrier gets re-installed over a sealed, properly insulated attic floor, and the documentation includes before-and-after blower-door numbers.
Get the written quote on the page before you decide. Under our Haven Standard Clause 1, you get a flat written price, a written scope, and a written warranty before any tool is lifted – no verbal estimates, no price changes after the fact.
Common Mistakes to Avoid
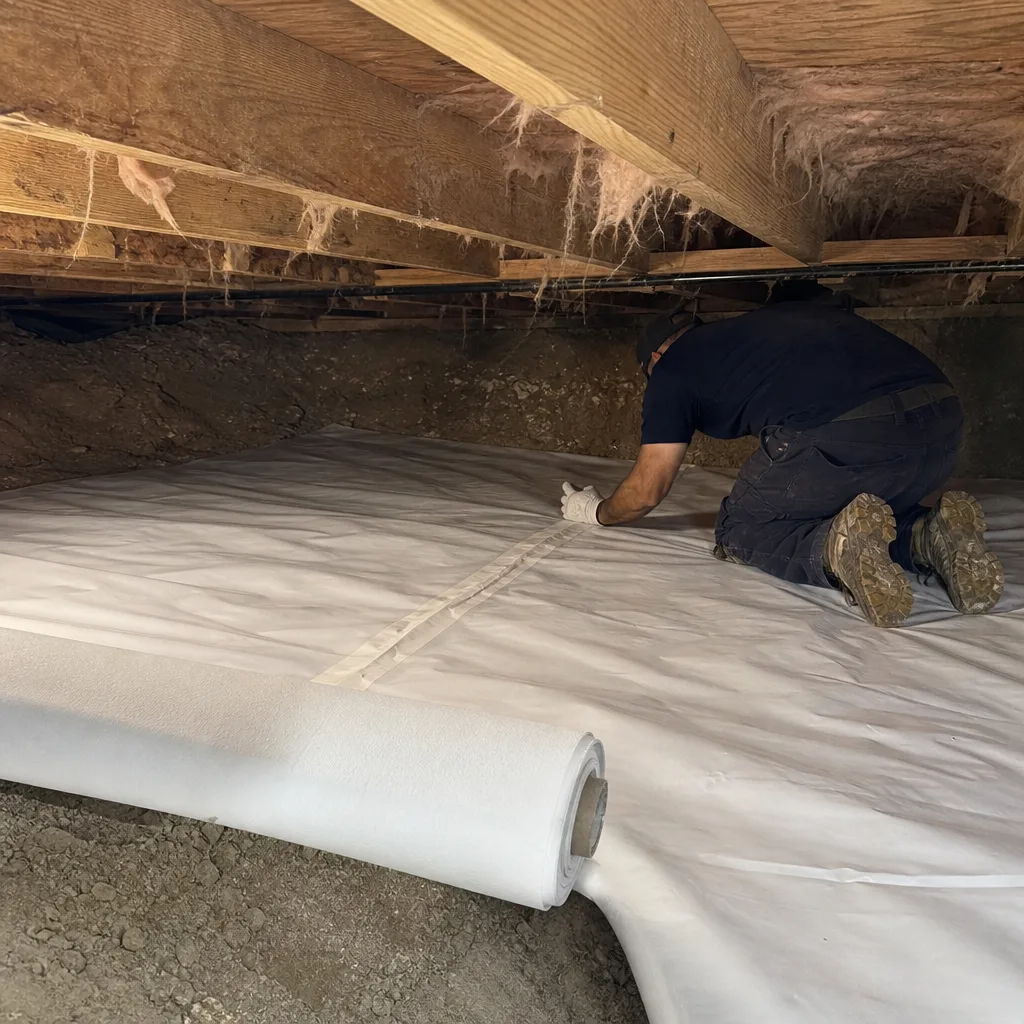
- Stapling the foil tight to the deck to “make it look clean.” A taut install is a failed install. The gap is the whole point, and a 0.75-inch minimum has to be visible at every rafter bay.
- Relying on the shiny side facing up because it looks better from below. The shiny side always faces the attic air space, not the deck. If the label isn’t clear, ask the supplier before you buy.
- Skipping foil tape at penetrations. Duct tape fails at 140°F within a year. Foil tape with an acrylic adhesive holds. Every HVAC boot, can light, and vent stack needs a 2-inch overlap patch.
- Installing a radiant barrier before air sealing the attic floor. This is the mistake we see most often in Boulder City. Blowing insulation or hanging foil over an unsealed attic floor locks in the air leakage and makes the barrier’s gain look smaller than it is.
- Choosing a barrier product with no label or emissivity spec. If the manufacturer won’t print the emissivity rating on the face, the product is a gamble. Stick with Owens Corning, Johns Manville, or Knauf foil-faced products with a published spec sheet.
- Ignoring the west-facing bays. The 4 PM sun load in Boulder City hits the west roof plane hardest. Those bays need the tightest install, not the fastest one.
- Forgetting the attic hatch. An uninsulated hatch frame is a bypass chimney that dumps hot attic air into the hallway below. Insulate and weatherstrip it as part of the job.
When to Call a Professional
Call us when the diagnostic readings point to a systemic defect – more than a couple of failed bays, an upside-down barrier across the whole attic, or a blower-door reading above 3,500 CFM50 that says air sealing is the real fix. Call us when the attic access is tight, when the barrier sits under 4 feet of blown insulation, or when the deck shows moisture staining that suggests a roof leak. Envelope Insulation Boulder City offers free estimates in Boulder City – written price, written scope, documented photo record, and a call answered by a live person at any hour. Reach us at (844) 320-7926. A free second opinion on any written estimate is also available – bring us a competing quote and we’ll read it with you.
Frequently Asked Questions
Measure three temperatures on a hot afternoon with an infrared thermometer: roof deck, air gap 2 inches below the foil, and ceiling surface. A working barrier shows a 20-30°F drop between deck and air gap. If the air gap reads within 5°F of the deck, the barrier has no gap or is upside-down. Call (844) 320-7926 for a free second opinion if the readings are unclear.
Yes, and it’s common. The shiny side must face the attic air space; the dull side goes against the deck. Upside-down foil loses 40-60% of its effectiveness because the dull face emissivity runs 0.35-0.55 instead of 0.03-0.05. Look for the printed label or the mirror-bright reflection on the correct face. Call us for an assessment before you commit to a re-install.
At least 0.75 inch on the reflective side, with most manufacturers specifying 1 inch or more. Check with a straightedge in at least three bays. If you can’t slip a pencil between the foil and the deck at any point, the gap is gone and the barrier is not performing. Call (844) 320-7926 for a free estimate on re-establishing the gap.
Air leakage and inadequate insulation depth are the usual culprits. An unsealed attic floor in Boulder City typically runs 3,500-5,500 CFM50 on a blower-door test, and that convective load overwhelms the radiant gain the barrier is supposed to provide. A blower-door test is the diagnostic. Call us for a free assessment at (844) 320-7926.
Yes, and it works well when installed correctly. Boulder City summers push roof decks to 150-165°F, and a properly gapped barrier cuts attic heat flux by 30-40% according to Oak Ridge National Laboratory testing. The performance depends on the air gap and the orientation, not the brand of foil. Call (844) 320-7926 for a same-day assessment.
Small repairs run $300-$800; a full removal and re-install runs $2,200-$4,500; and a combined barrier, air seal, and insulation package runs $4,500-$8,500 for a typical Boulder City attic. Every job we quote comes with a flat written price before any work starts. Call (844) 320-7926 for an exact quote – estimates are free.
The Bottom Line
Radiant barrier troubleshooting comes down to three defects and three infrared readings. Measure the deck, the air gap, and the ceiling on a hot afternoon. If the gap is missing, fix the gap. If the foil is upside-down, flip it. If penetrations are hot, tape them. And if the readings look correct but the upstairs is still hot at 4 PM in Boulder City, the problem is air sealing and insulation depth, not the foil. We’ve sealed and insulated 9,000+ homes since 2016 under the Haven Standard – sealed first, then insulated, documented with before-and-after blower-door numbers on every applicable job. Call (844) 320-7926 for a free estimate. We answer 24/7.
Written by the team at Envelope Insulation Boulder City.